Serverless with Azure Functions
Overview
Functions have been the basic building blocks of software since the first lines of code were written and the need for code organization and reuse became a necessity. Azure Functions expand on these concepts by allowing developers to create “serverless”, event-driven functions that run in the cloud and can be shared across a wide variety of services and systems, uniformly managed, and easily scaled based on demand. In addition, Azure Functions can be written in a variety of languages, including C#, JavaScript, Python, Bash, and PowerShell, and they’re perfect for building apps and nanoservices that employ a compute-on-demand model.
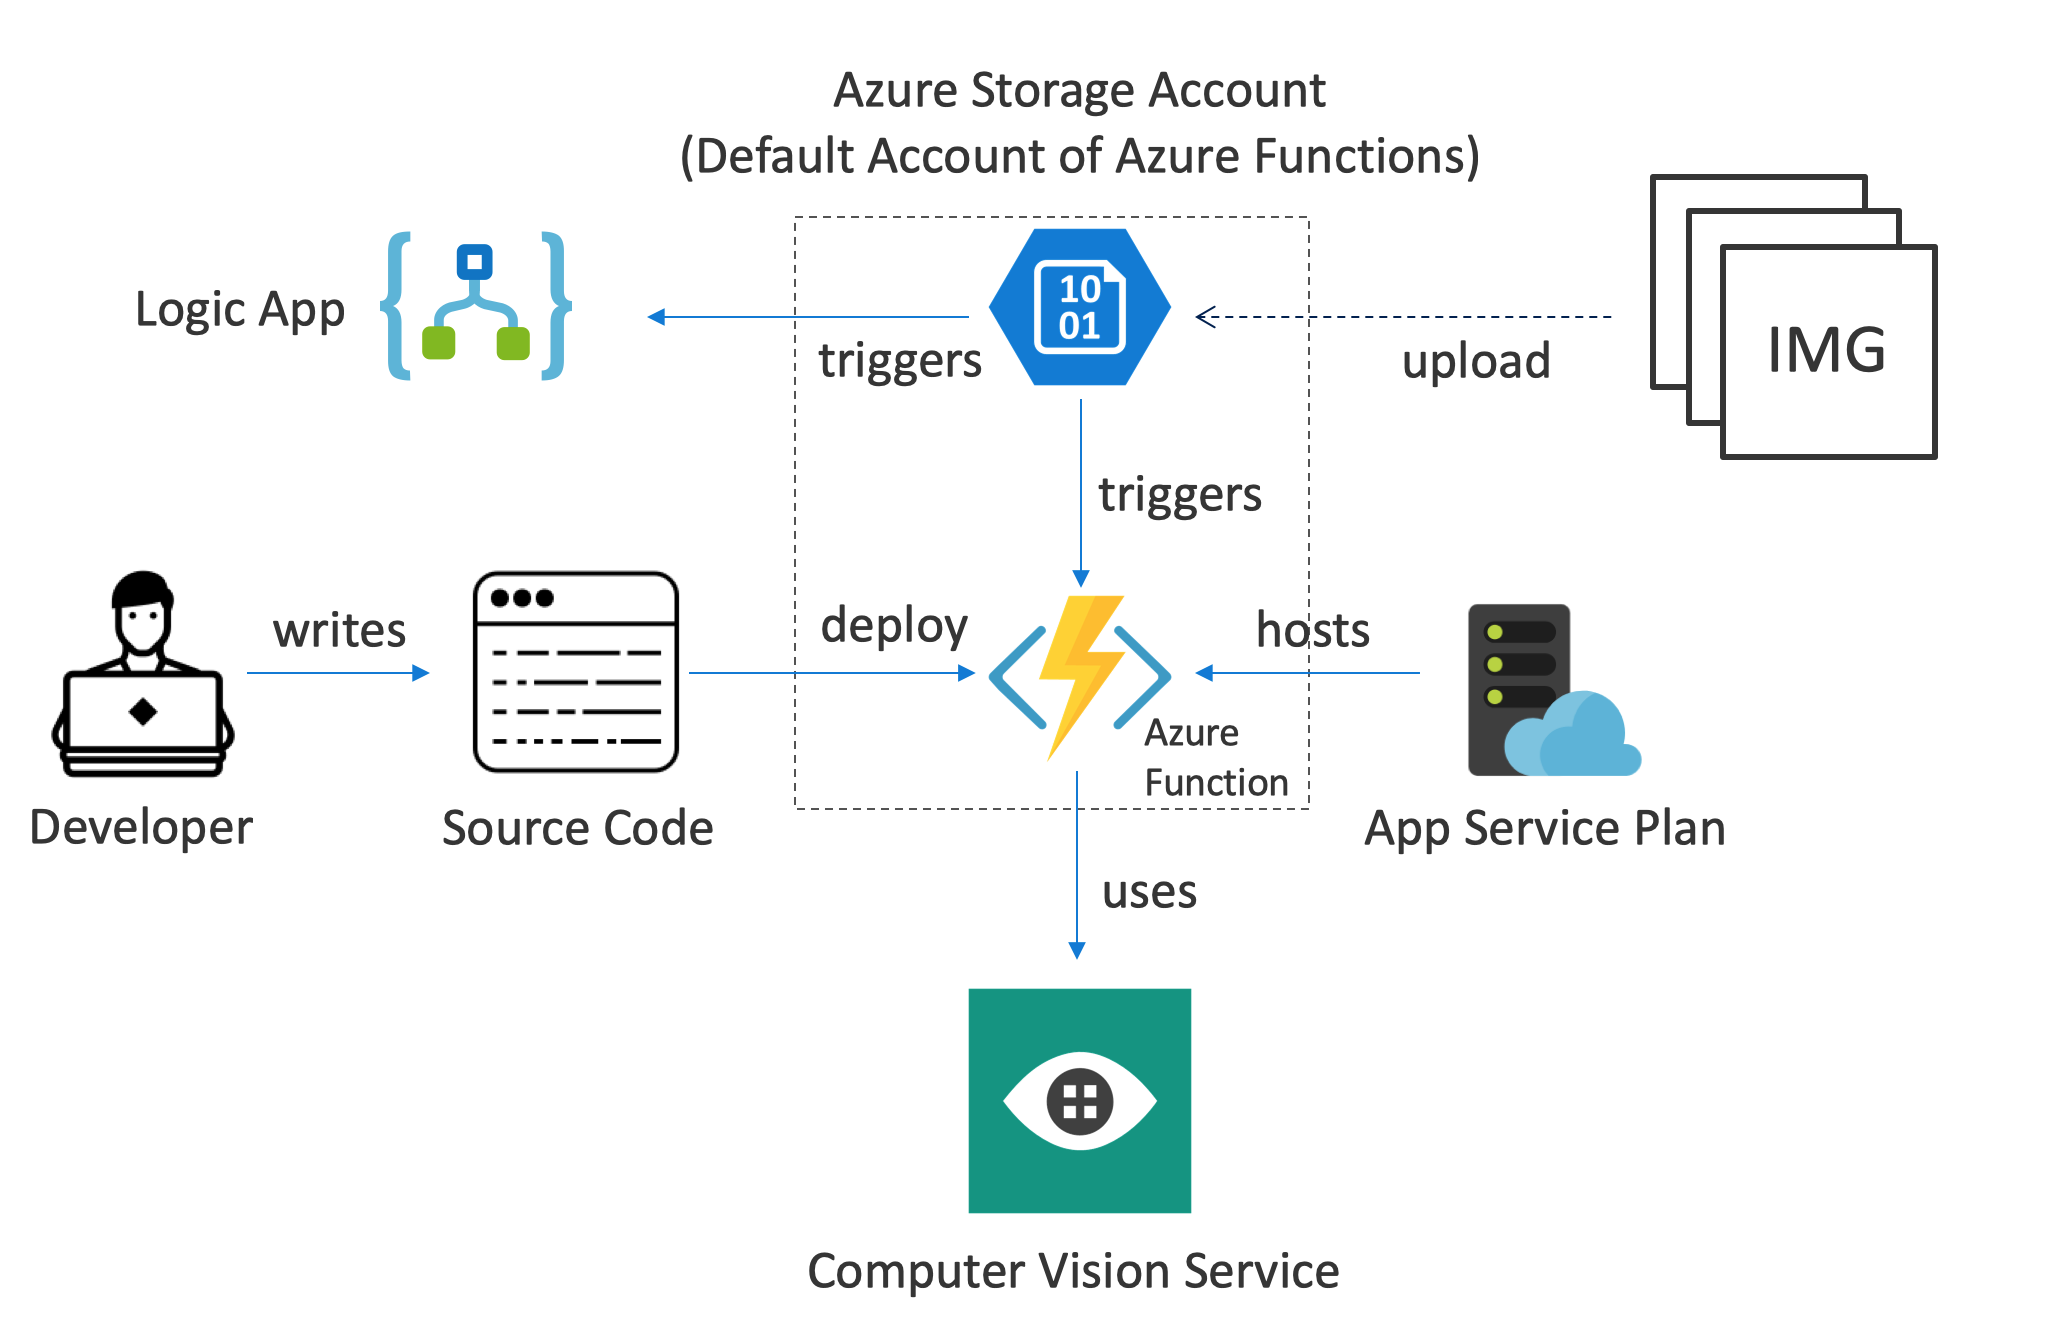
In this lab, you will create an Azure Function that monitors a blob container in Azure Storage for new images, and then performs automated analysis of the images using the Microsoft Cognitive Services Computer Vision API. Specifically, The Azure Function will analyze each image that is uploaded to the container for adult or racy content and create a copy of the image in another container. Images that contain adult or racy content will be copied to one container, and images that do not contain adult or racy content will be copied to another. In addition, the scores returned by the Computer Vision API will be stored in blob metadata. Finally, you will create an Azure Logic App to create a workflow to notify about rejected image.
The following illustration provides an overview:
Objectives
In this hands-on lab, you will learn how to:
- Create an Azure Function App
- Write an Azure Function that uses a blob trigger
- Add application settings to an Azure Function App
- Use Microsoft Cognitive Services to analyze images and store the results in blob metadata
- Use Azure Logic Apps to build serverless workflows
Prerequisites
Optional: Install the Microsoft Azure Storage Explorer. If you do not have administrative rights on your machine, skip this step. Alternatively, you can use the Azure Storage Web interface in the Azure Portal to perform the operations.
Resources
Click here to download a zip file containing the resources used in this lab. Copy the contents of the zip file into a folder on your hard disk. You will need it later.
Exercises
This hands-on lab includes the following exercises:
- Exercise 1: Create an App Service Plan and an Azure Function App
- Exercise 2: Add an Azure Function
- Exercise 3: Add a subscription key to application settings
- Exercise 4: Test the Azure Function
- Exercise 5: View blob metadata
- Exercise 6: Use a Logic App for a custom workflow
- Exercise 7: Challenge: Build an approval workflow
Estimated time to complete this lab: 45-60 minutes.
Exercise 1: Create an App Service Plan and an Azure Function App
Before you can write an Azure Function you need to create an Azure Function App as the deployment target and the execution environment. In addition, we will create an App Service Plan to avoid a shared resource conflict in our lab environment. In your own subscription you can instead use another option, the so-called “Consumption Plan” to avoid the extra creation of an App Service Plan. For more information, see Azure Functions - Scale and Hosting
In this exercise, you will create an App Service Plan and an Azure Function App using the Azure Portal. Then you will add the three blob containers to the storage account that is created for the Function App: one to store uploaded images, a second to store images that do not contain adult or racy content, and a third to contain images that do contain adult or racy content.
Task 1: Create an App Service Plan
-
Open the Azure Portal in your browser. If asked to log in, do so using your provided lab account or your own Azure subscription.
-
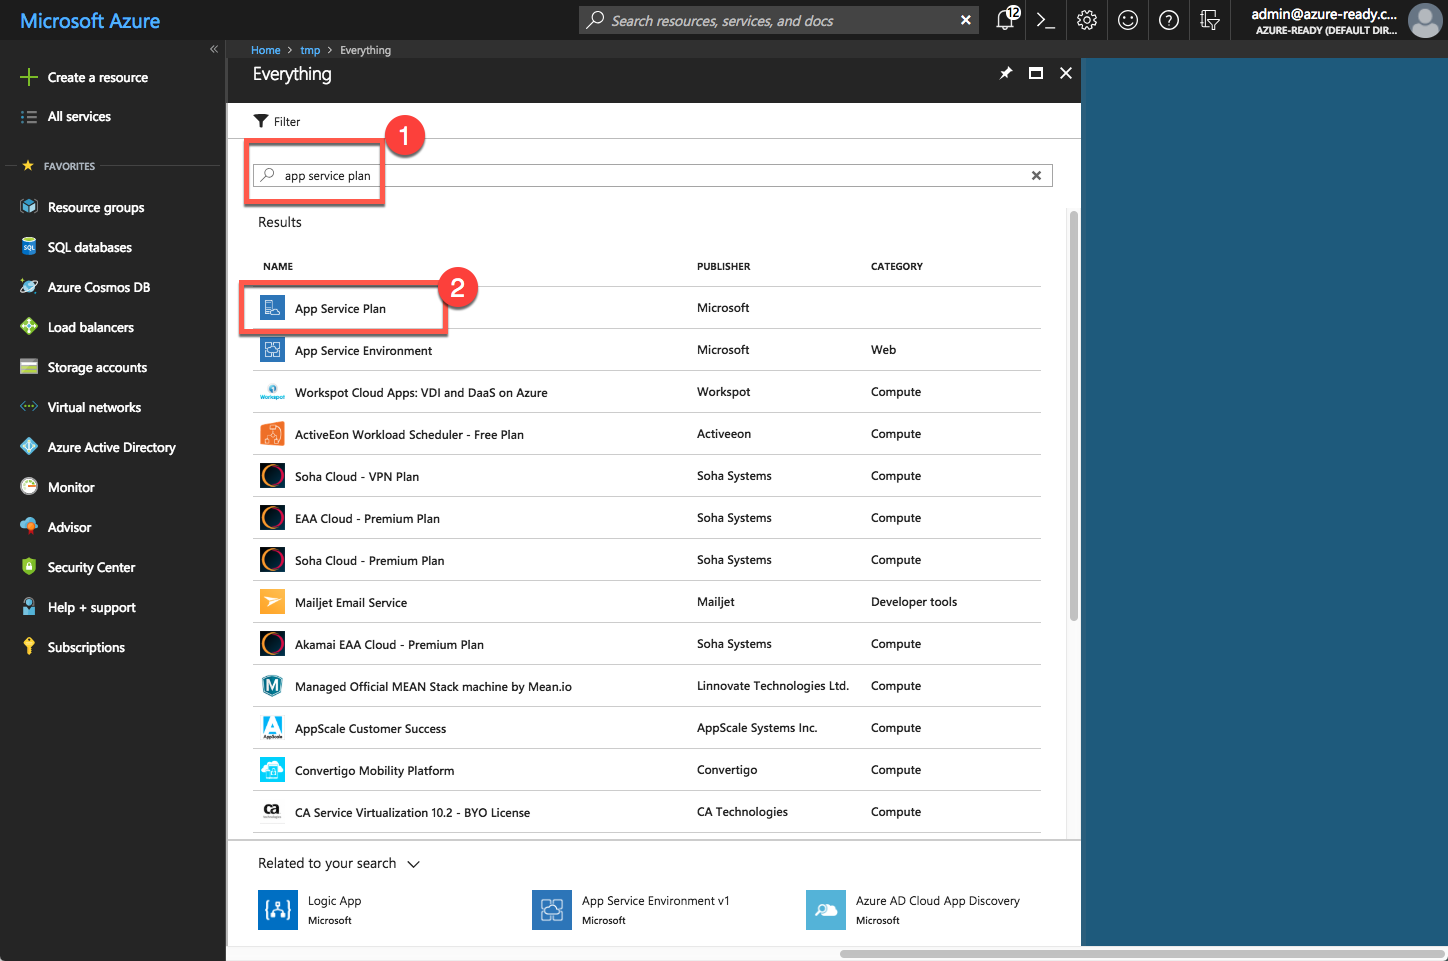
Click + Create a resource, followed by searching for App Service Plan
-
Confirm the start of the App Service Plan creation process.
- Provide App Service Plan configuration details.
- Make sure you select the existing resource group in (2).
- Make sure you select Windows in (3). This should be the default.
- Make sure you select the location matching the resource group’s location in (4). This should be the default.
- Make sure the Pricing Tier shows ‘S1 Standard’. This should be the default.

-
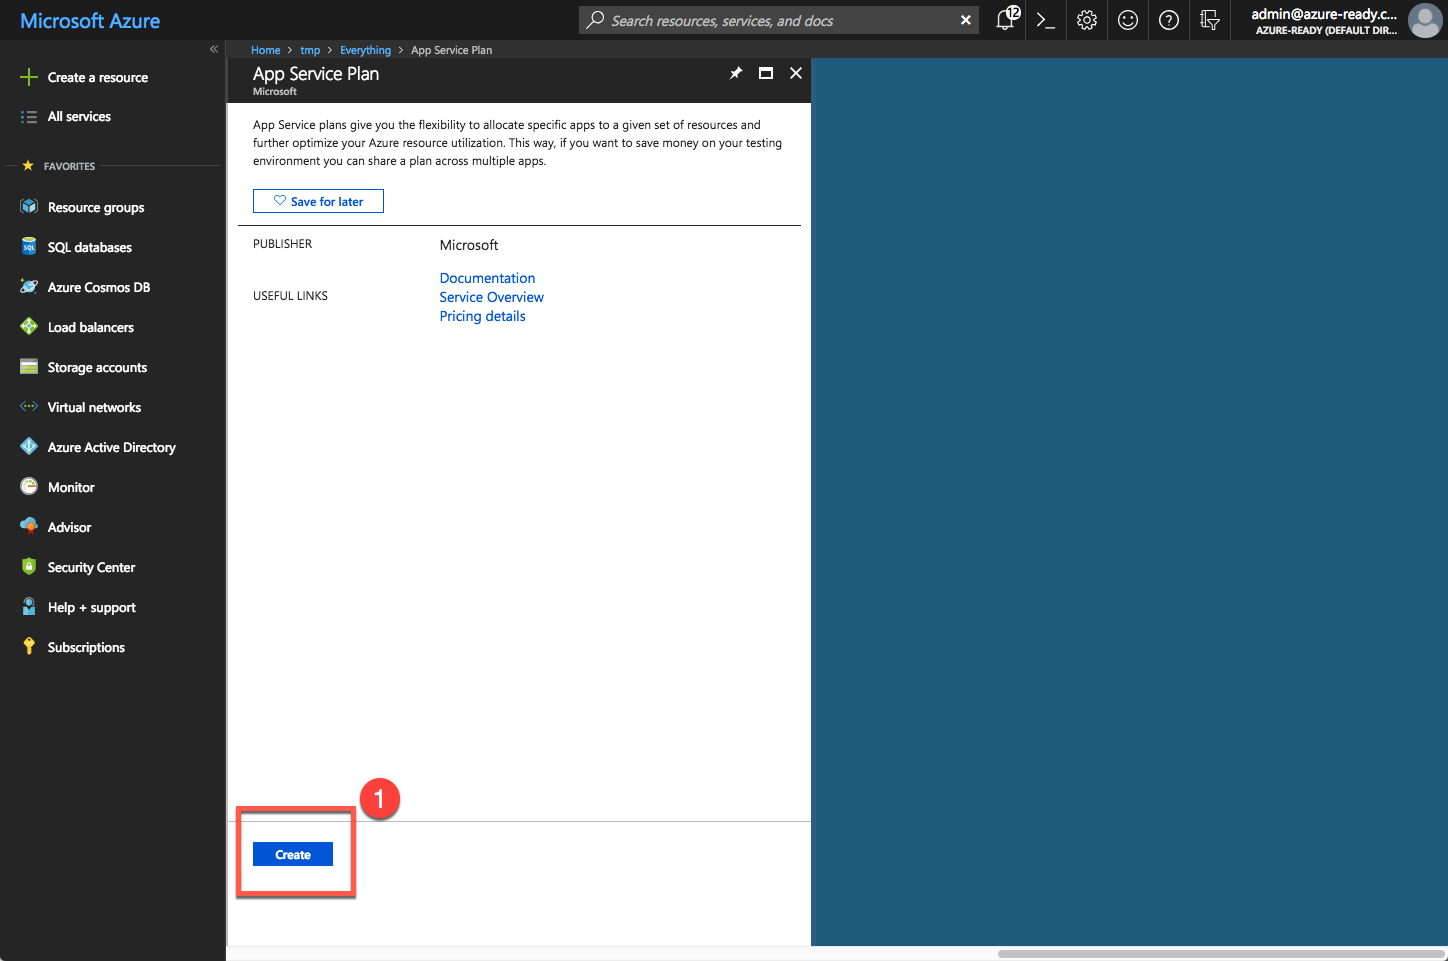
Click ‘Create’ (6).
-
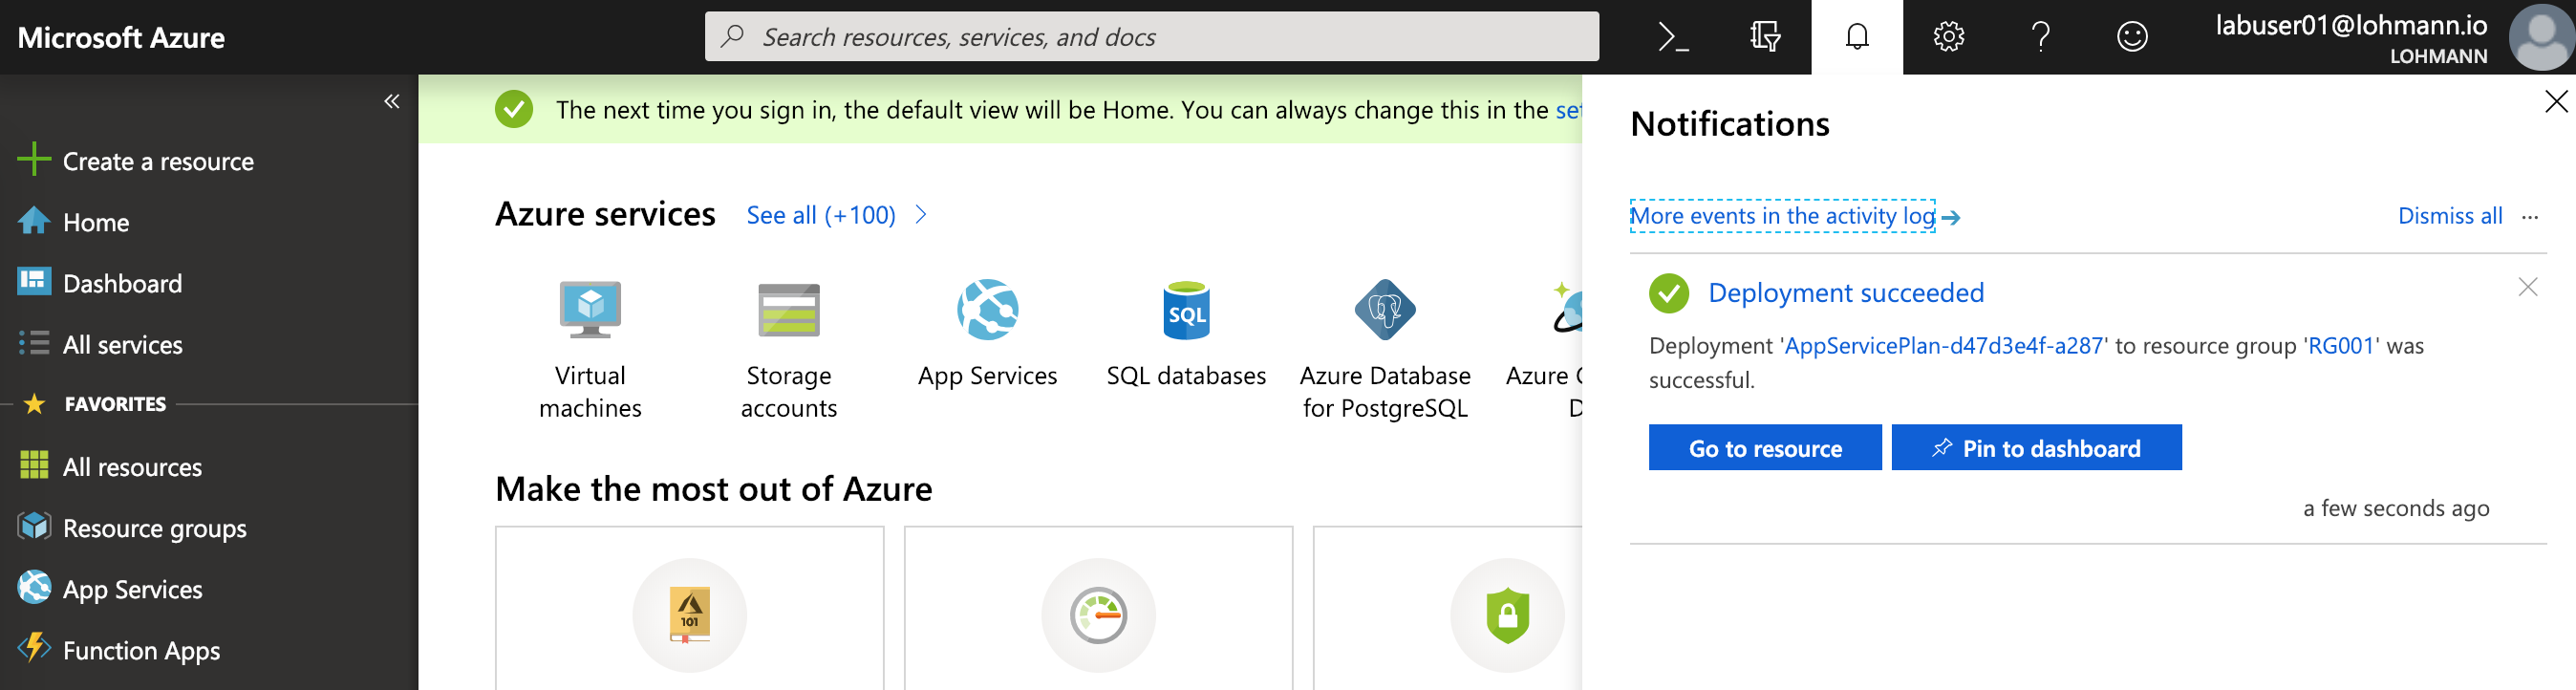
The deployment starts…
-
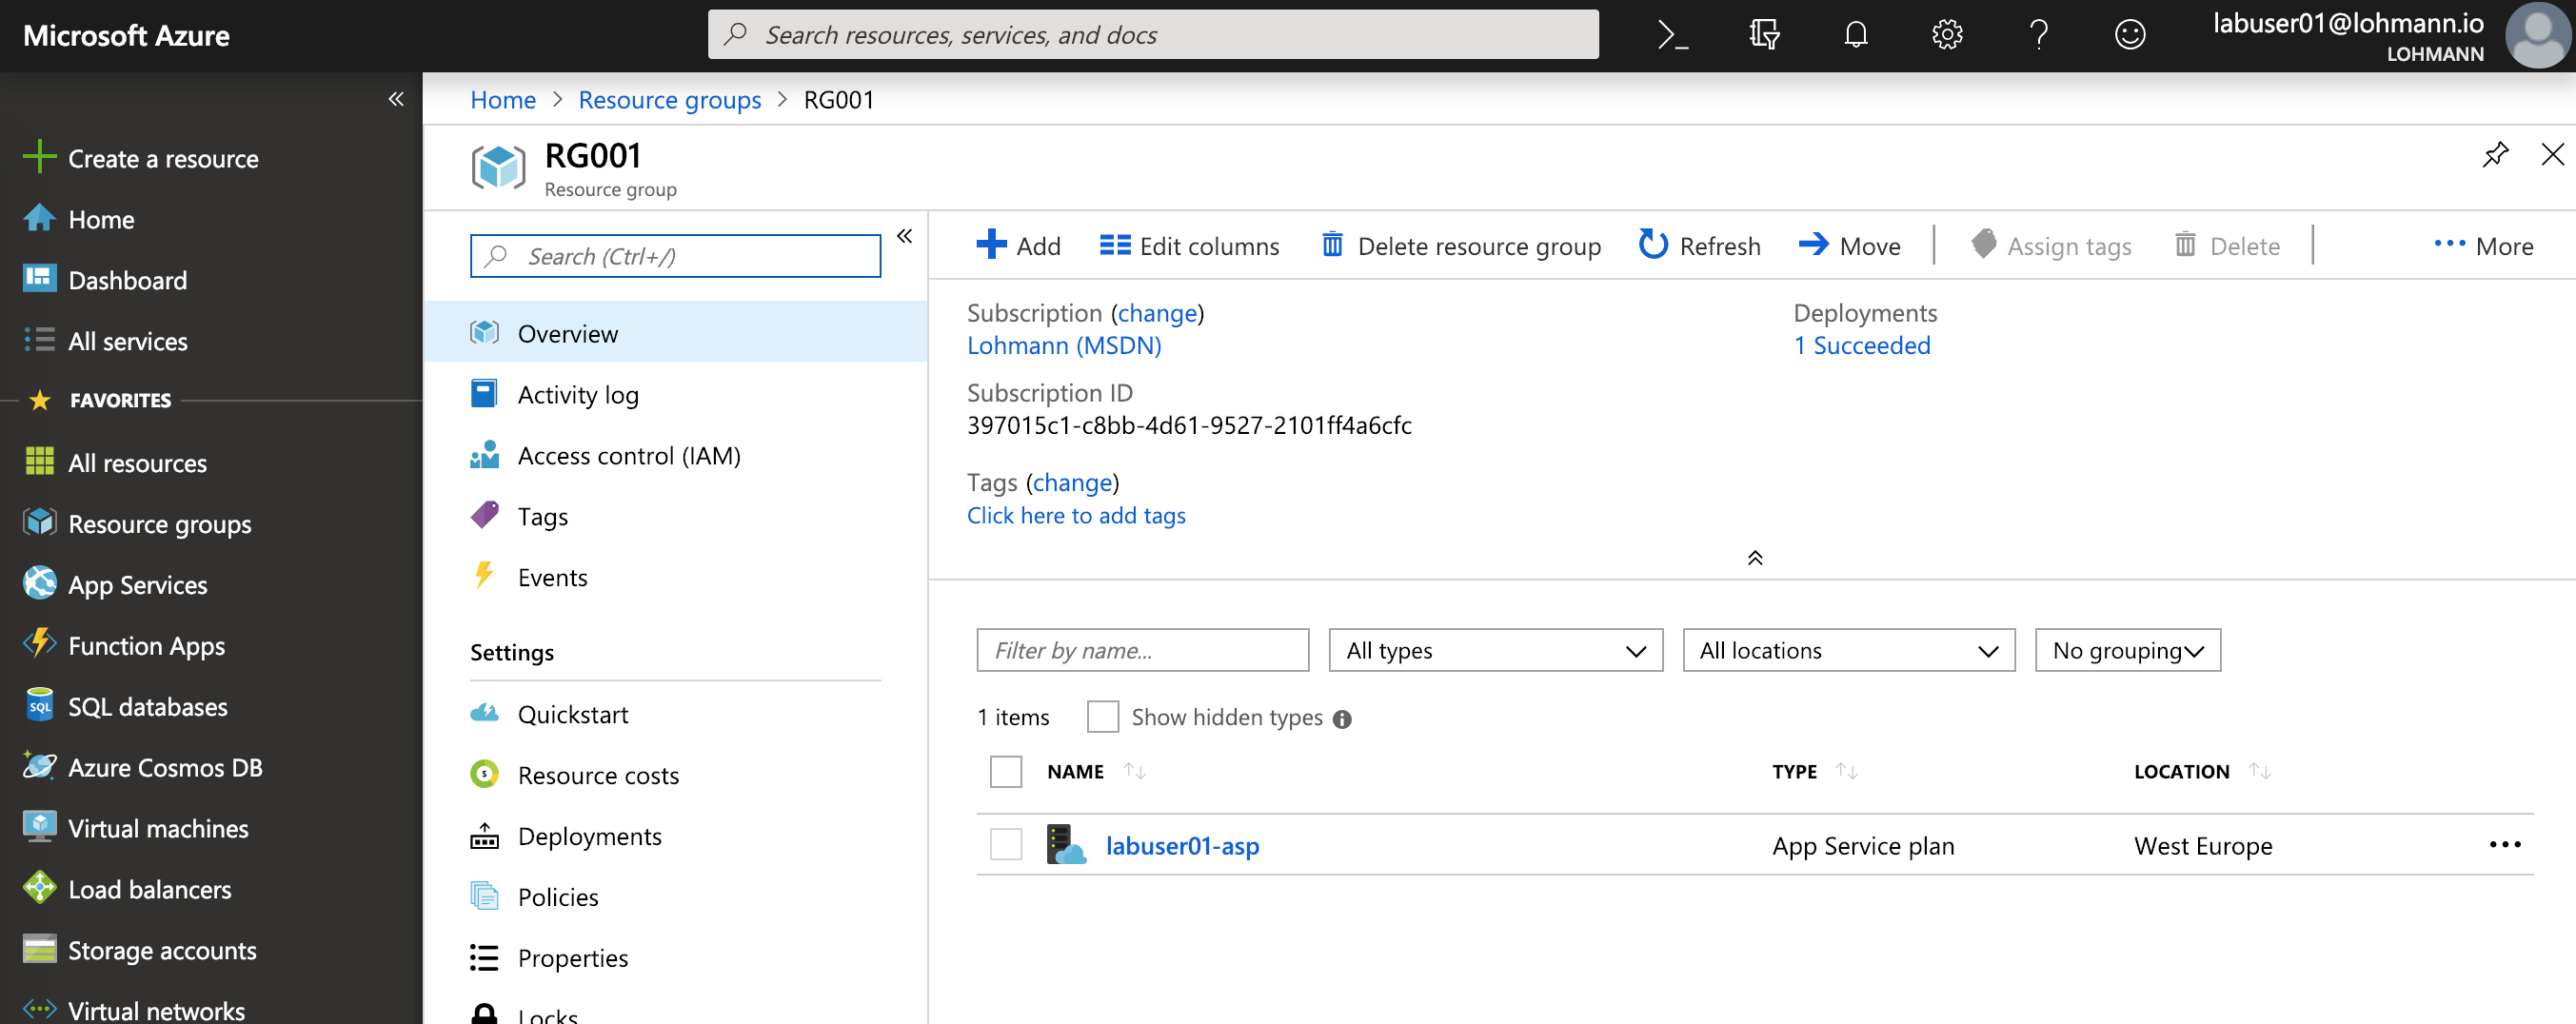
… and should finish a couple of minutes later. Selecting ‘Go to resource’…
- … should bring you to the overview:
Task 2: Create a Function App
-
Now we are going to create a Function App that references the created App Service Plan. Click + Create a resource and search for Function App.
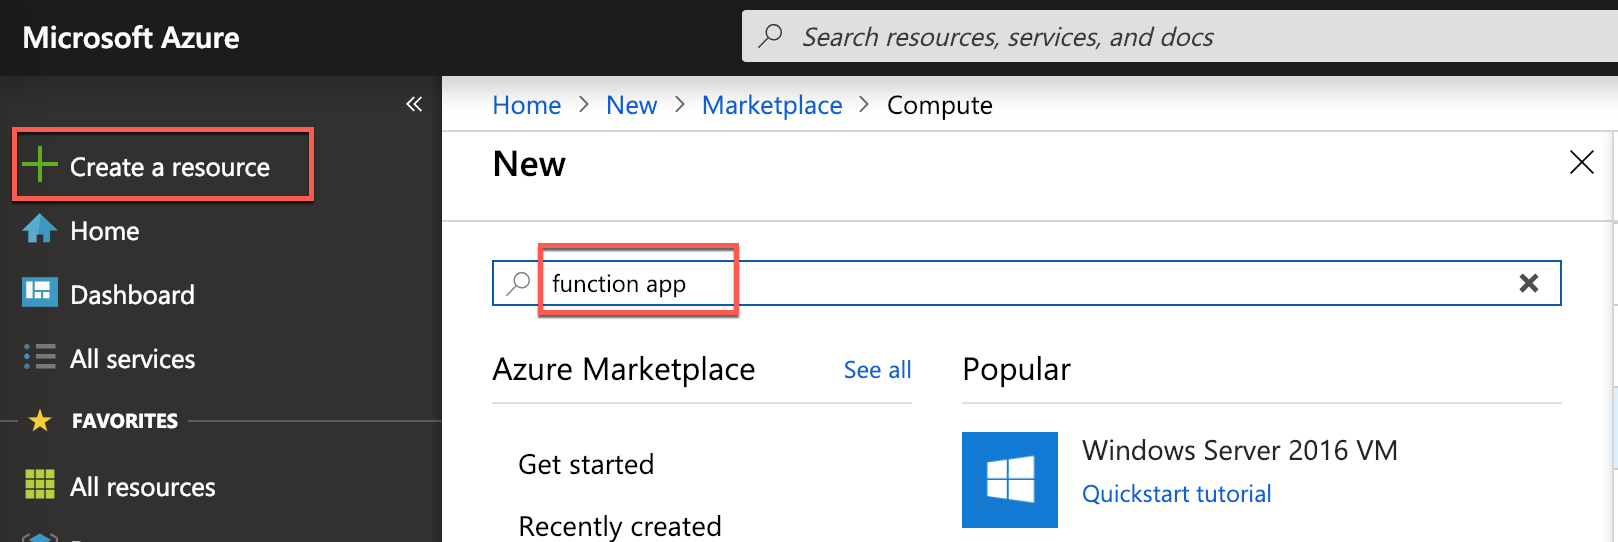
-
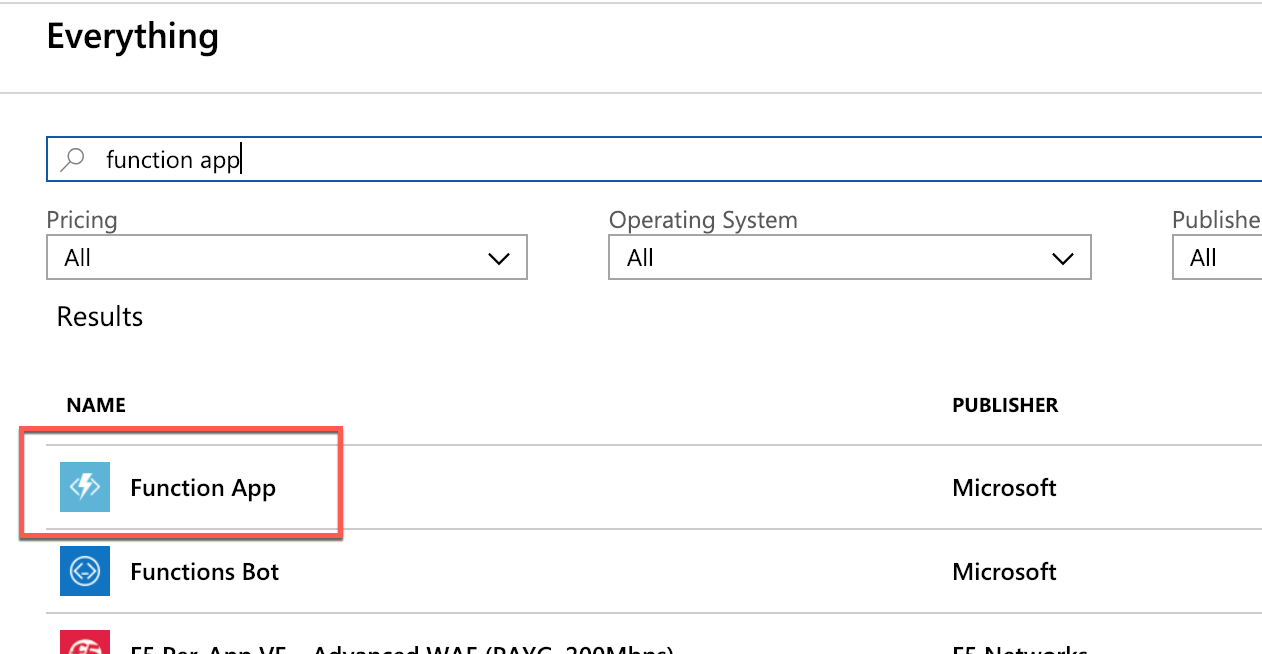
Select ‘Function App’ from the results
-
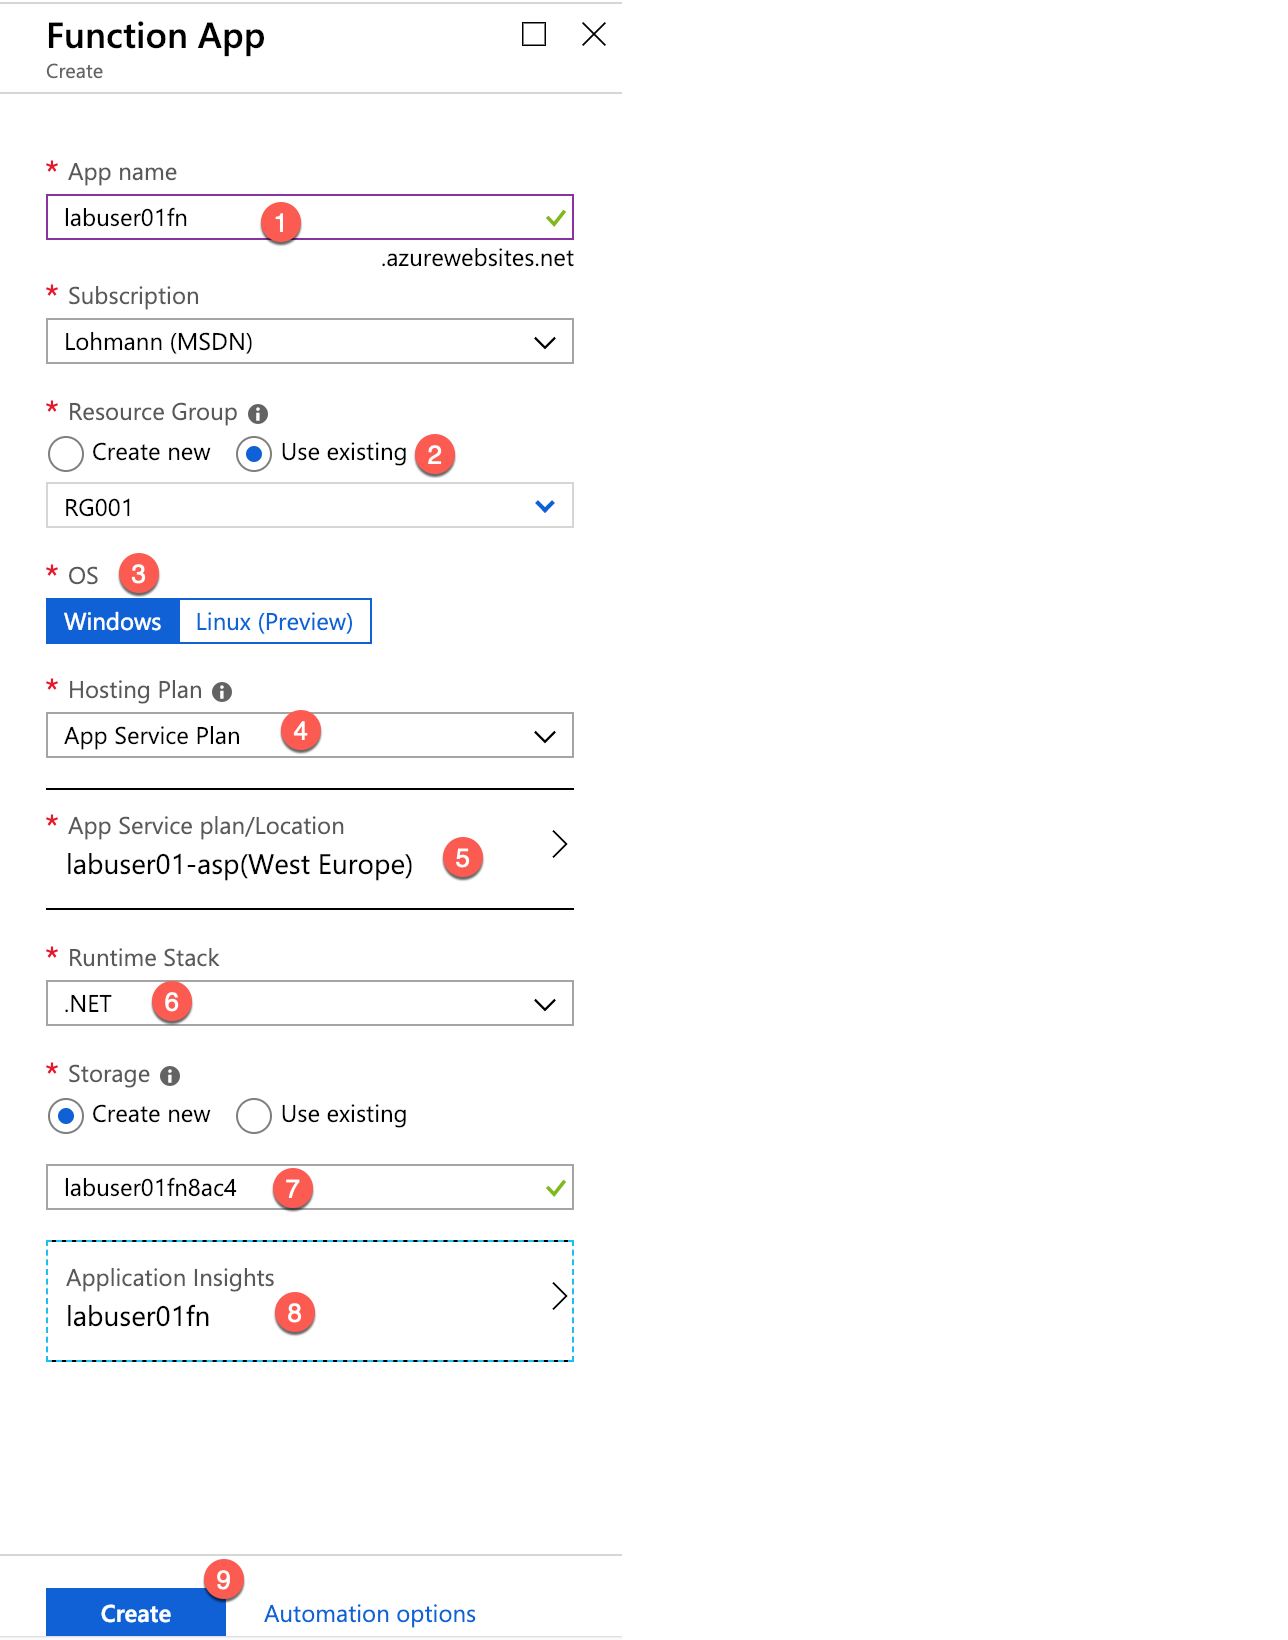
Take this screenshot of the function app creation dialog as a reference for the following steps:
-
In App name (1) enter an app name that is unique within Azure (e.g.
labuser01fn. In Resource Group (2), select Use Existing and choose your assigned resource group, for exampleRG001, as the resource group name to create a resource group for the Function App.The app name becomes part of a DNS name and therefore must be unique within Azure. Make sure a green check mark appears to the name indicating it is unique. You probably won’t be able to use “myfunction” as the app name.
-
Choose
Windowsas OS type (3). -
Change hosting plan to
App Service Plan(4). It should automatically select the previously created app service plan (5). -
Runtime Stack should be .NET (6). This is the default.
-
Select “Create new” for storage (7). It will generate a new unique name automatically. Keep it, there is no need for a manual name creation.
-
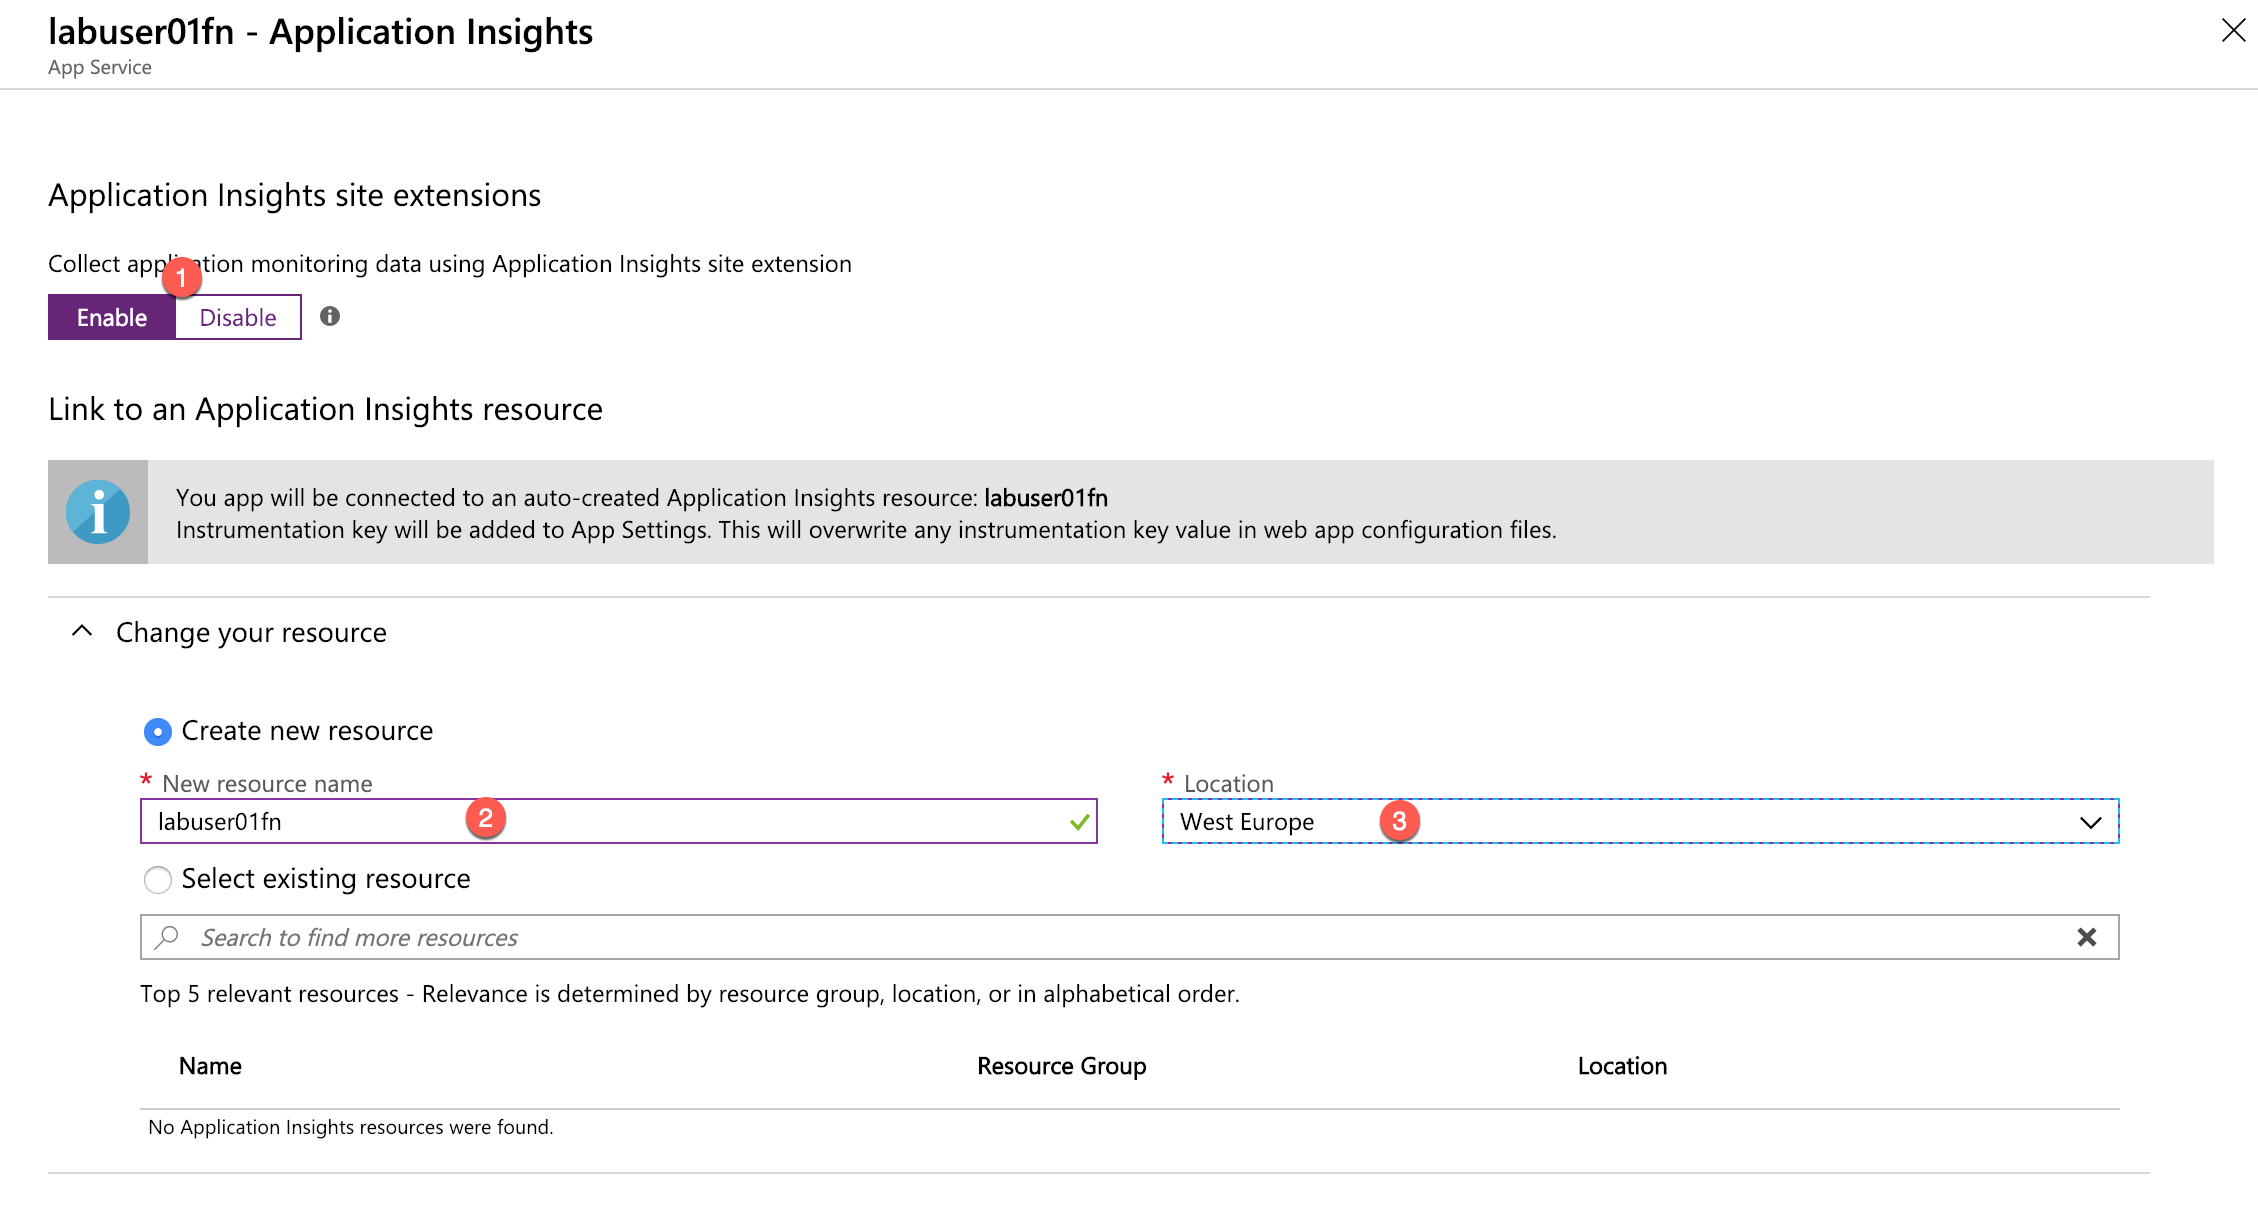
Enable application insights (8). This will open a sub dialog. Make sure to Enable (1) the application insights collection and link it to the function under creation (2) and use the same location (3):
-
Back in the Function App creation dialog hit ‘Create’ (9). Proceed with the next task.
Task 3: Uploading the test data
-
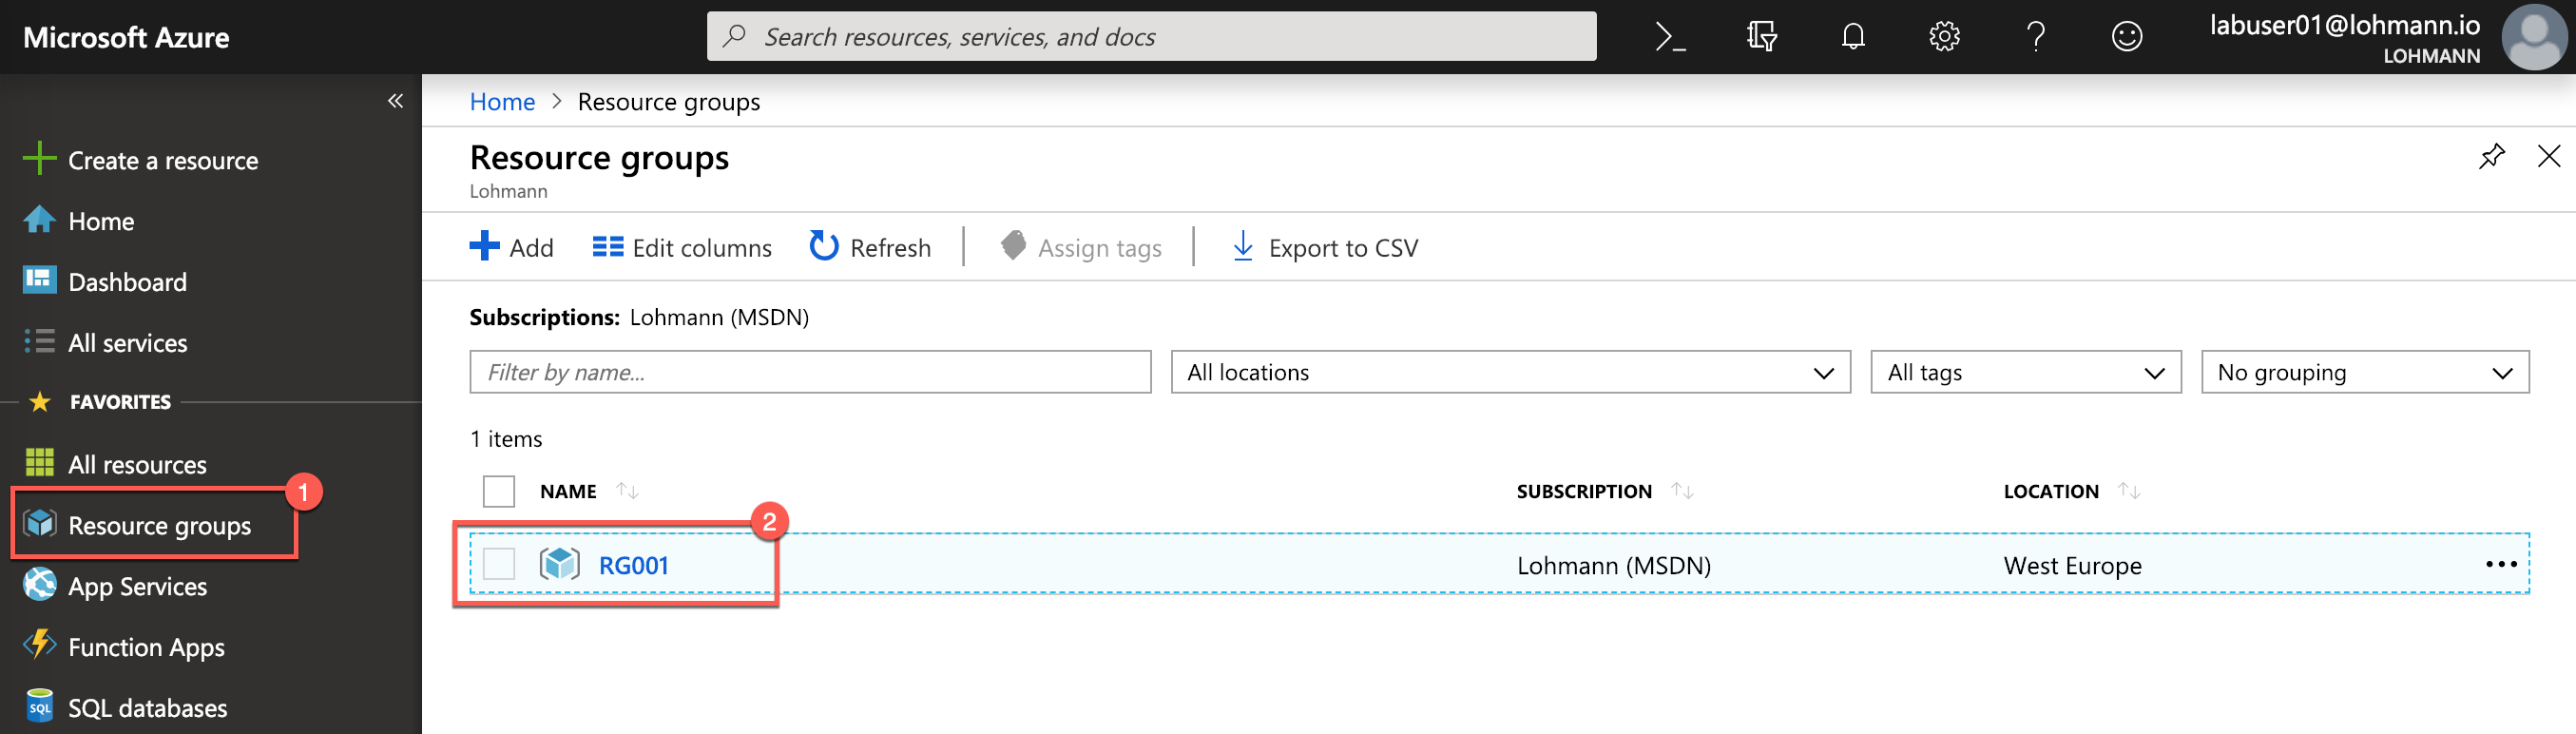
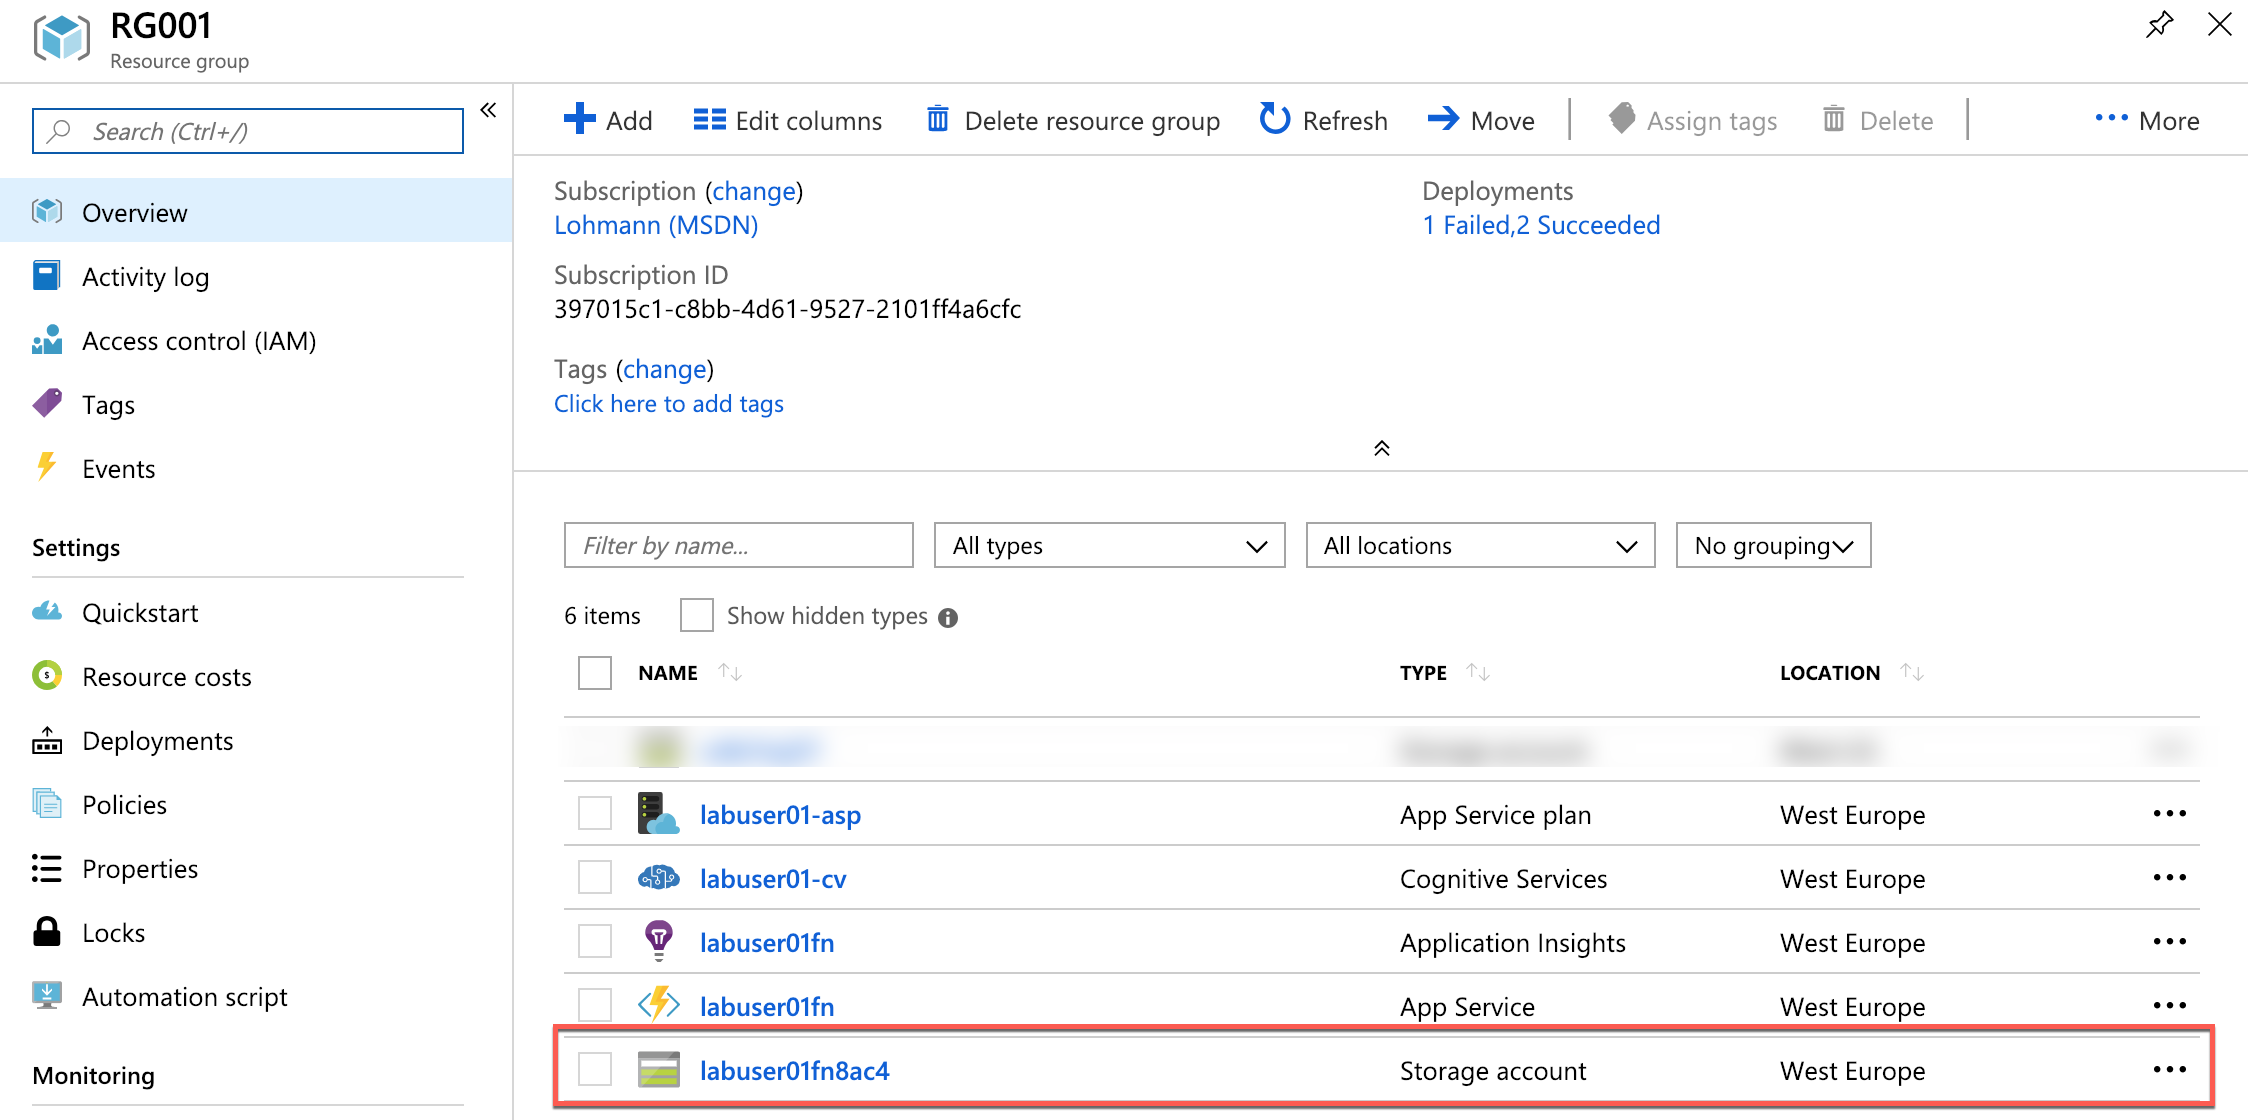
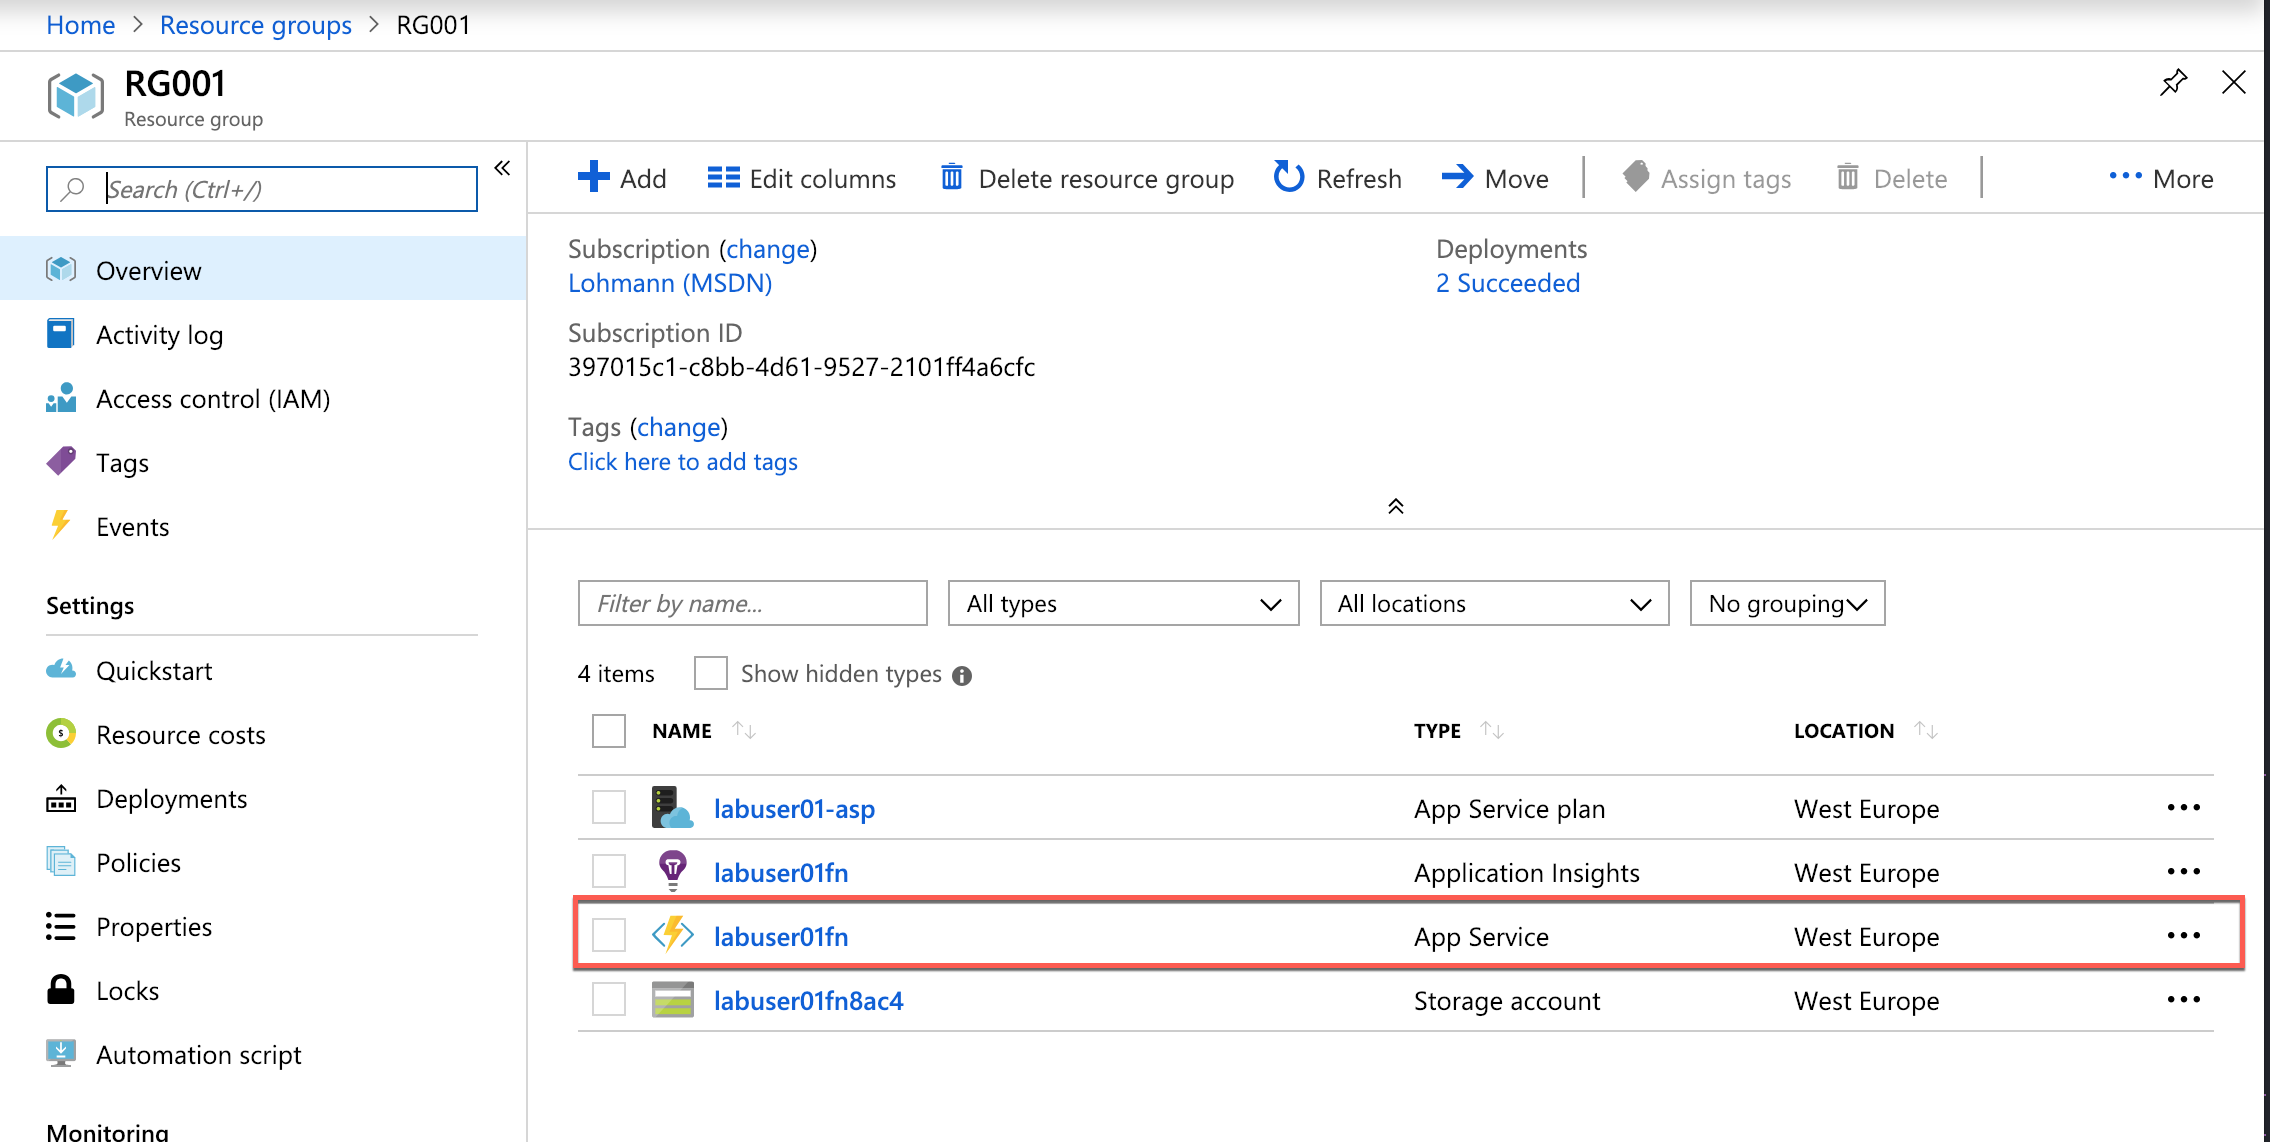
Click Resource groups in the ribbon on the left side of the portal, and then click the resource group created for the Function App.
-
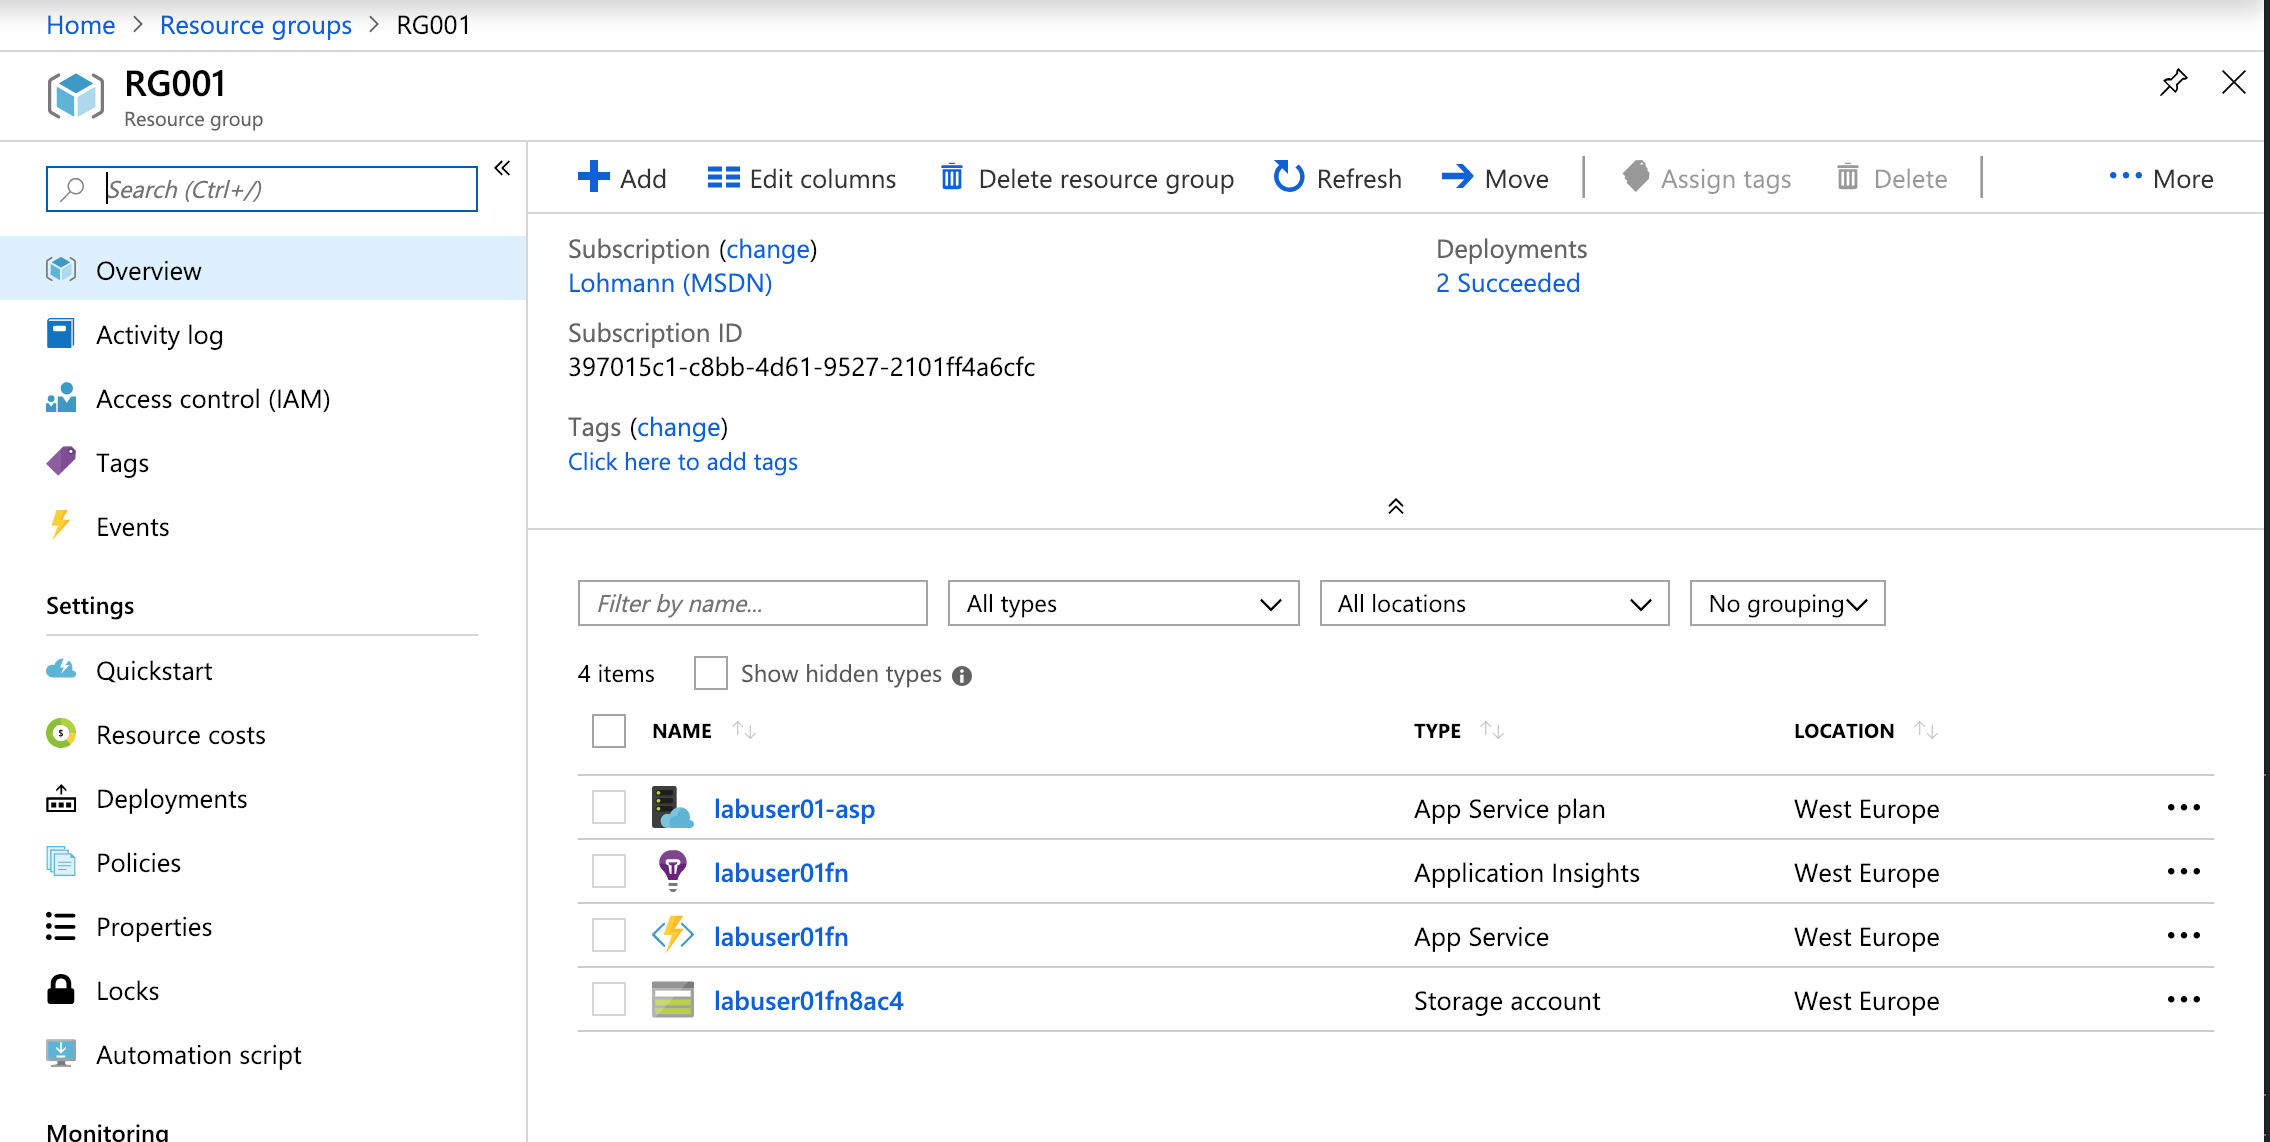
Periodically click the Refresh button at the top of the blade until “Deploying” changes to “Succeeded,” indicating that the Function App has been deployed. It should look similar to this screenshot:
-
Then click the storage account that was created for the Function App. The name of the storage account has random parts to it - specifically for your deployment. So expect it to be different than shown at the screenshot.
-
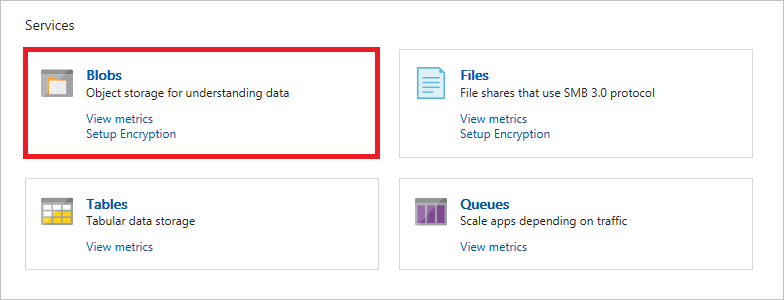
Click Blobs to view the contents of blob storage.
-
Click + Container. Type
uploadedinto the Name box and set Public access level to Private. Then click the OK button to create a new container.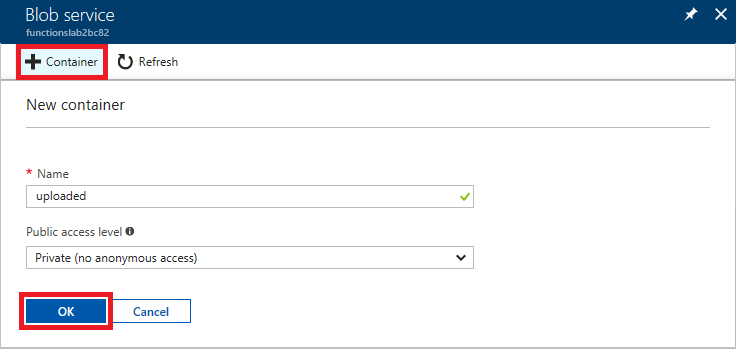
-
Repeat Step 4 to add containers named
acceptedandrejectedto blob storage. -
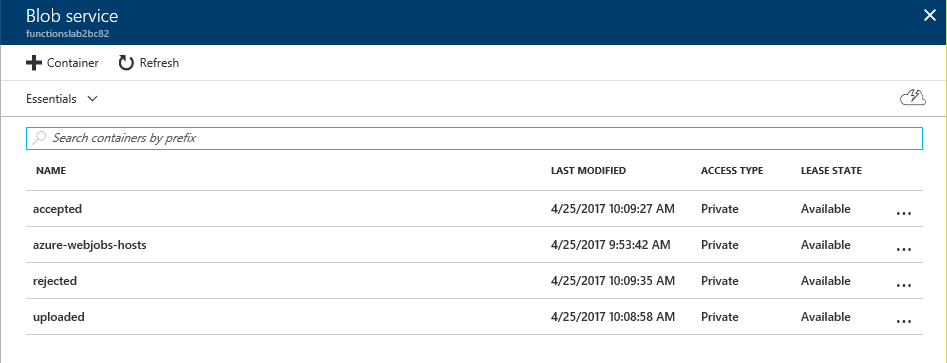
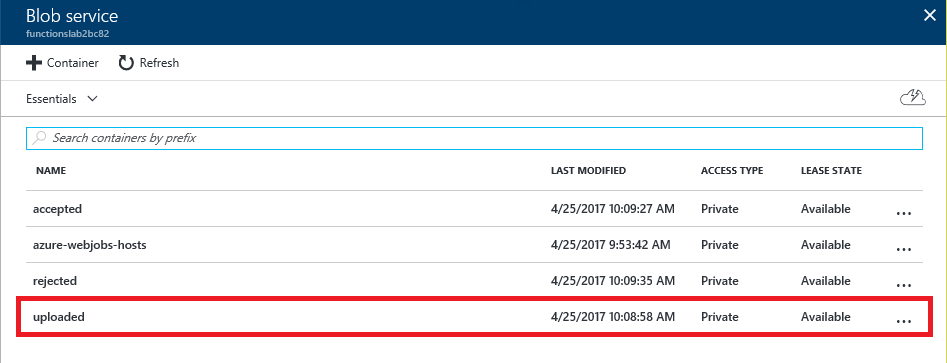
Confirm that all three containers were added to blob storage.
The Azure Function App has been created and you have added three containers to the storage account created for it. The next step is to add an Azure Function.
Exercise 2: Implement an Azure Function
Once you have created an Azure Function App, you can add Azure Functions to it. In this exercise, you will add a function to the Function App you created in the first exercise and write C# code that uses the Computer Vision API to analyze images added to the “uploaded” container for adult or racy content.
-
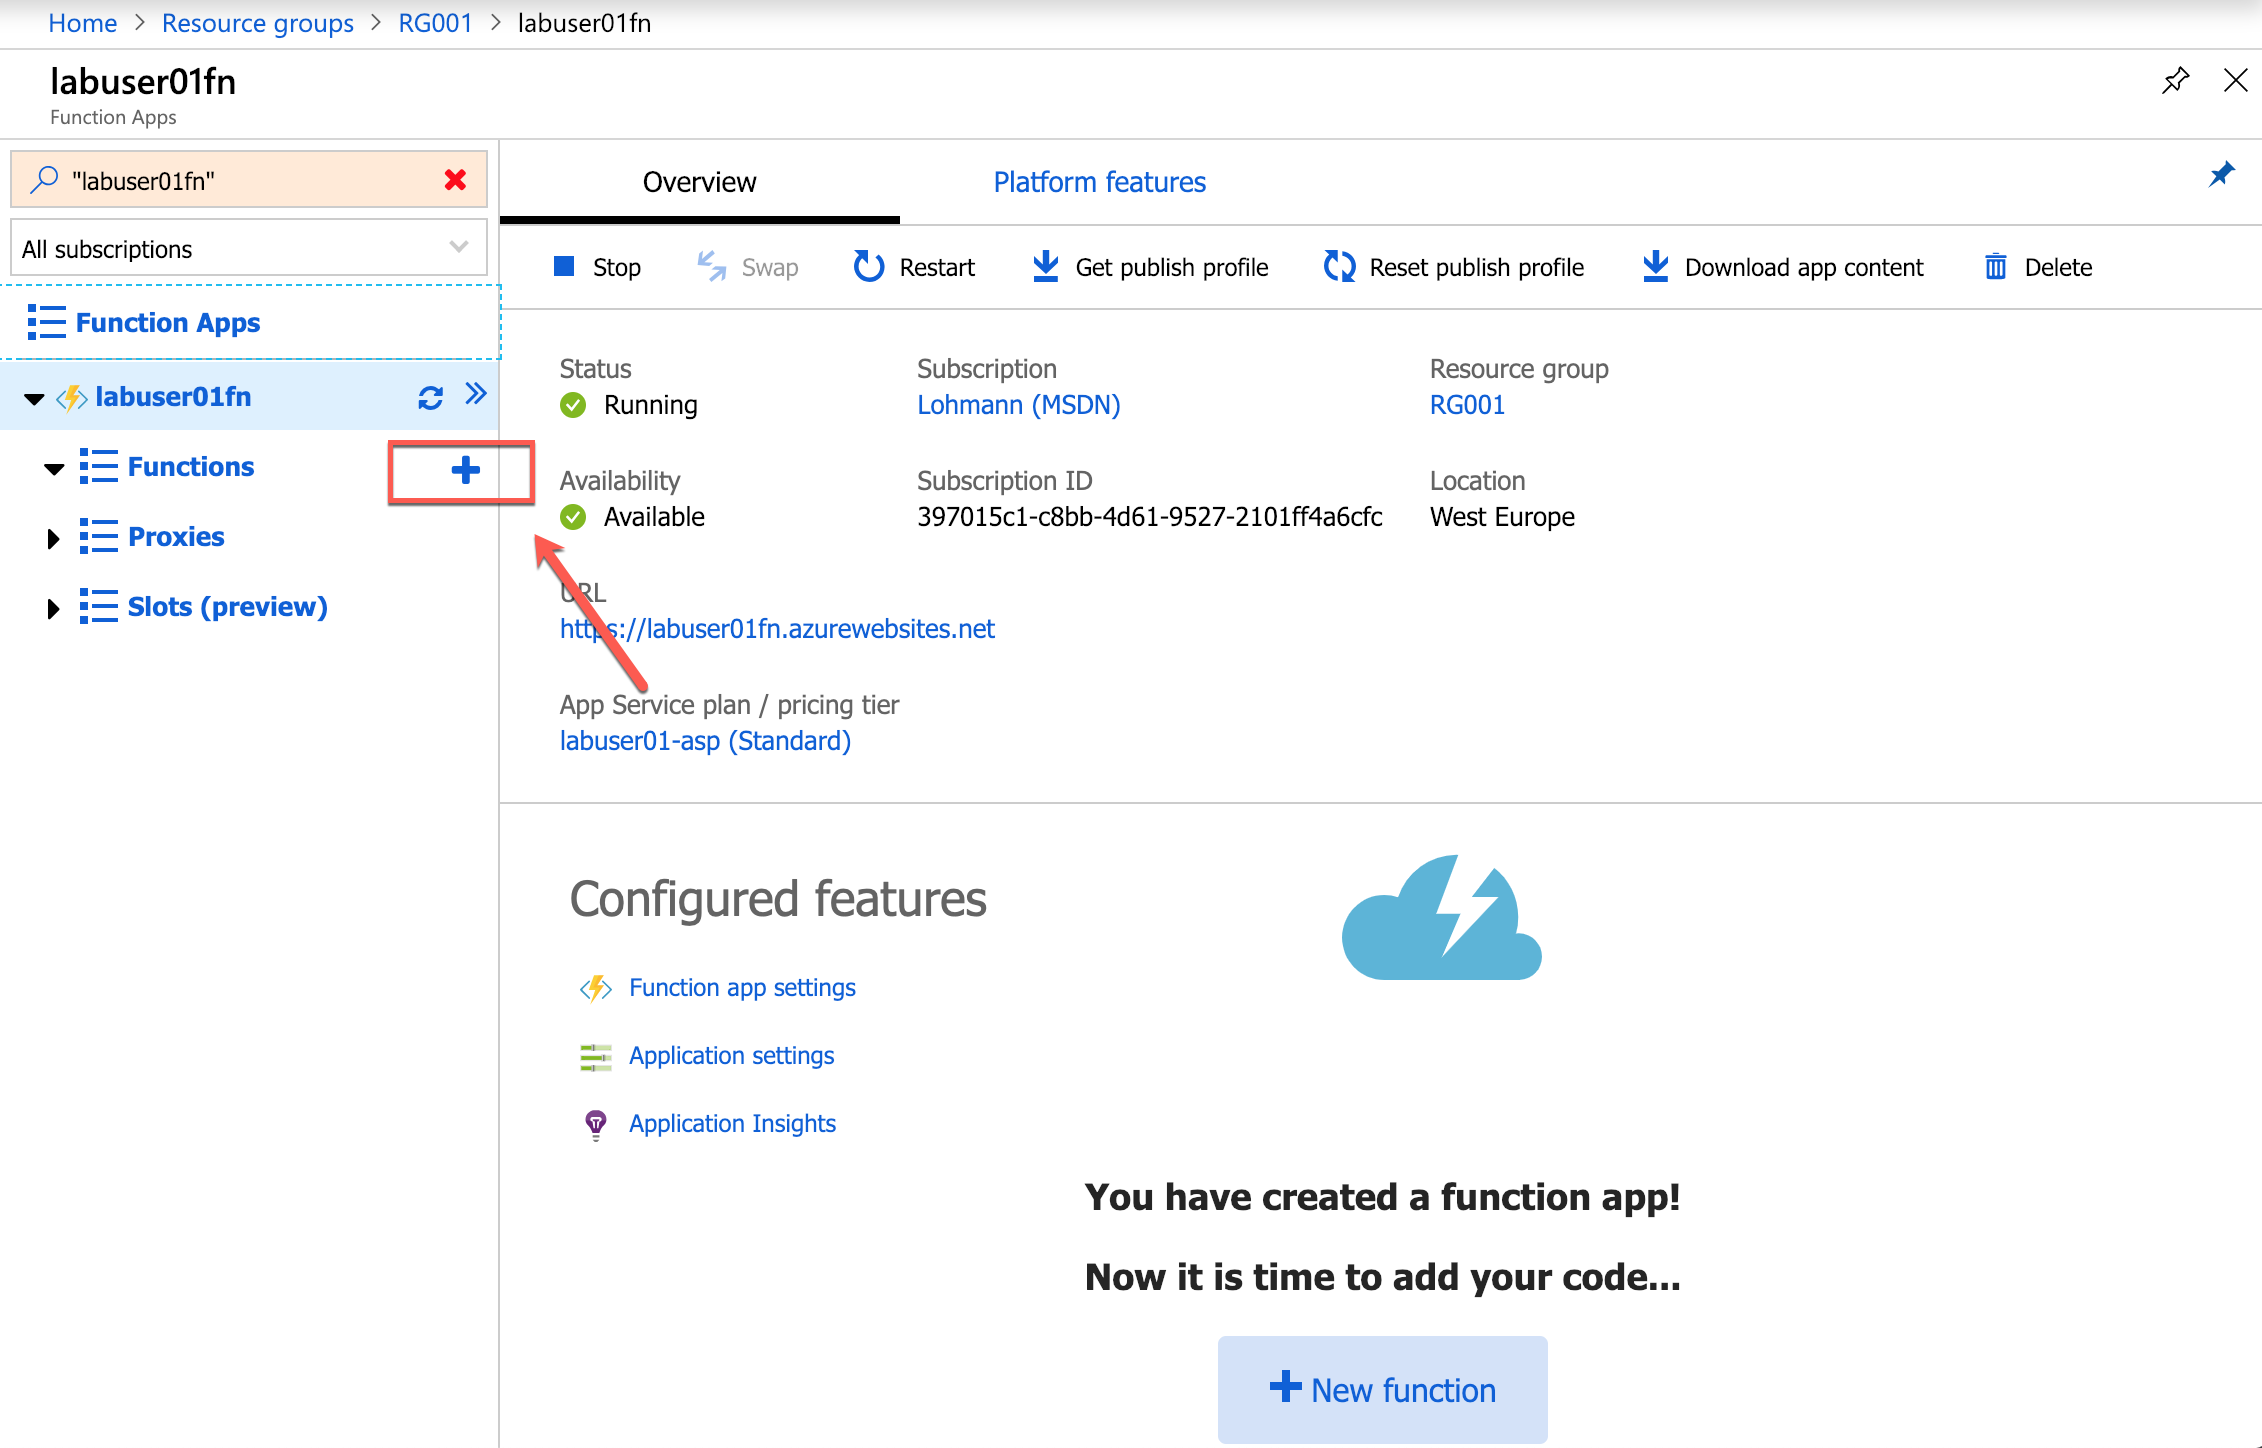
Return to the overview of your resource group and click the Azure Function App that you created in the first exercise.
-
Click the + sign to the right of Functions.
-
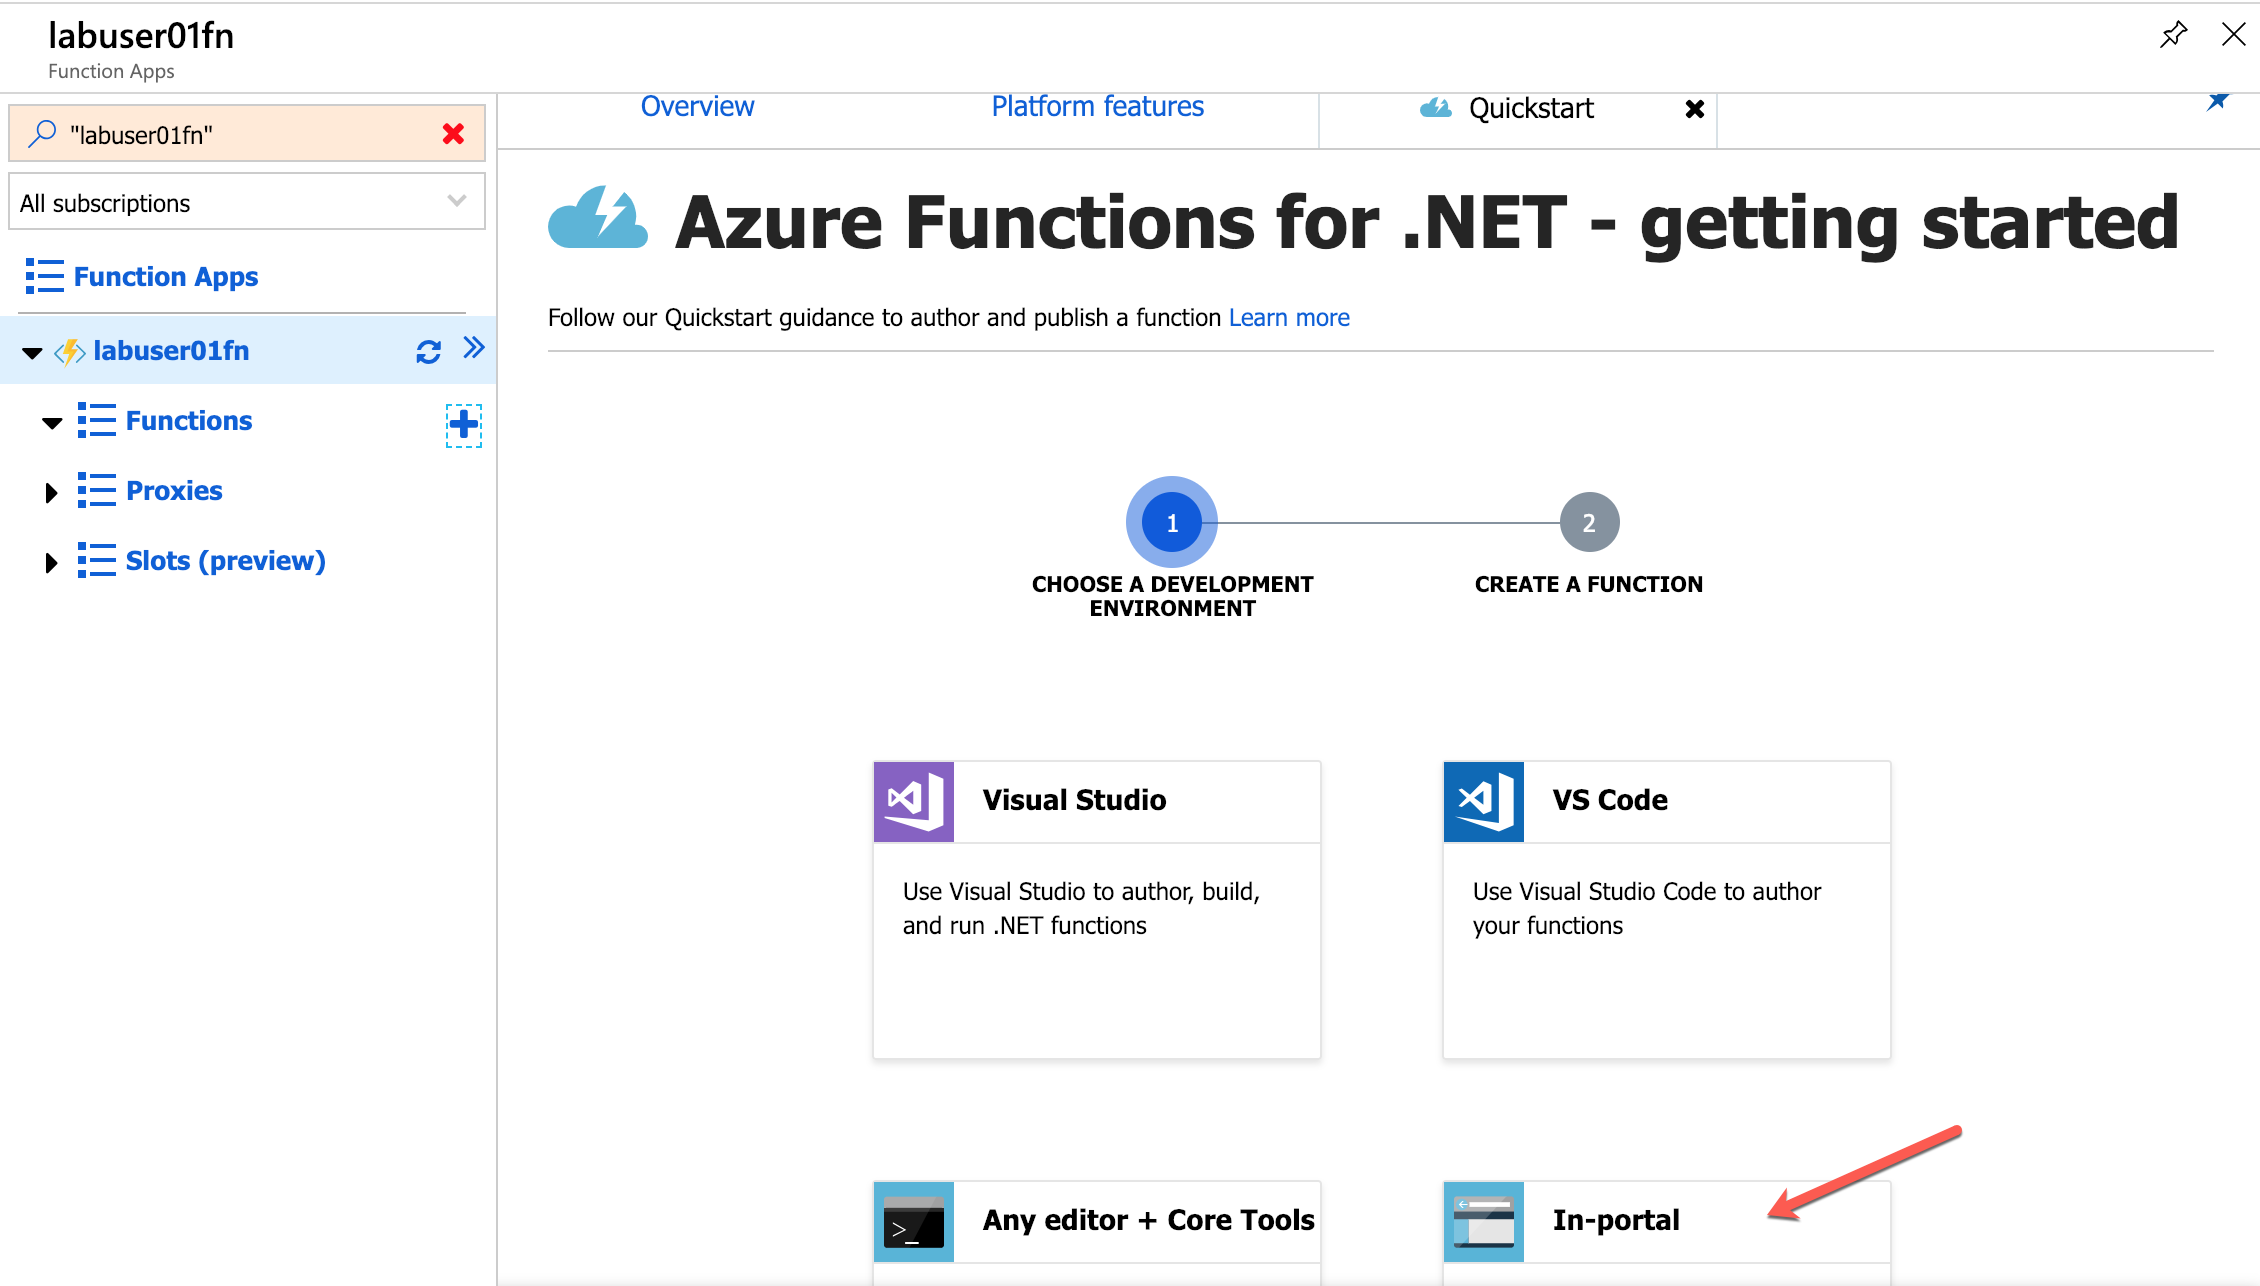
Select ‘In-portal’ in the template selection.
-
Click ‘Continue’.
-
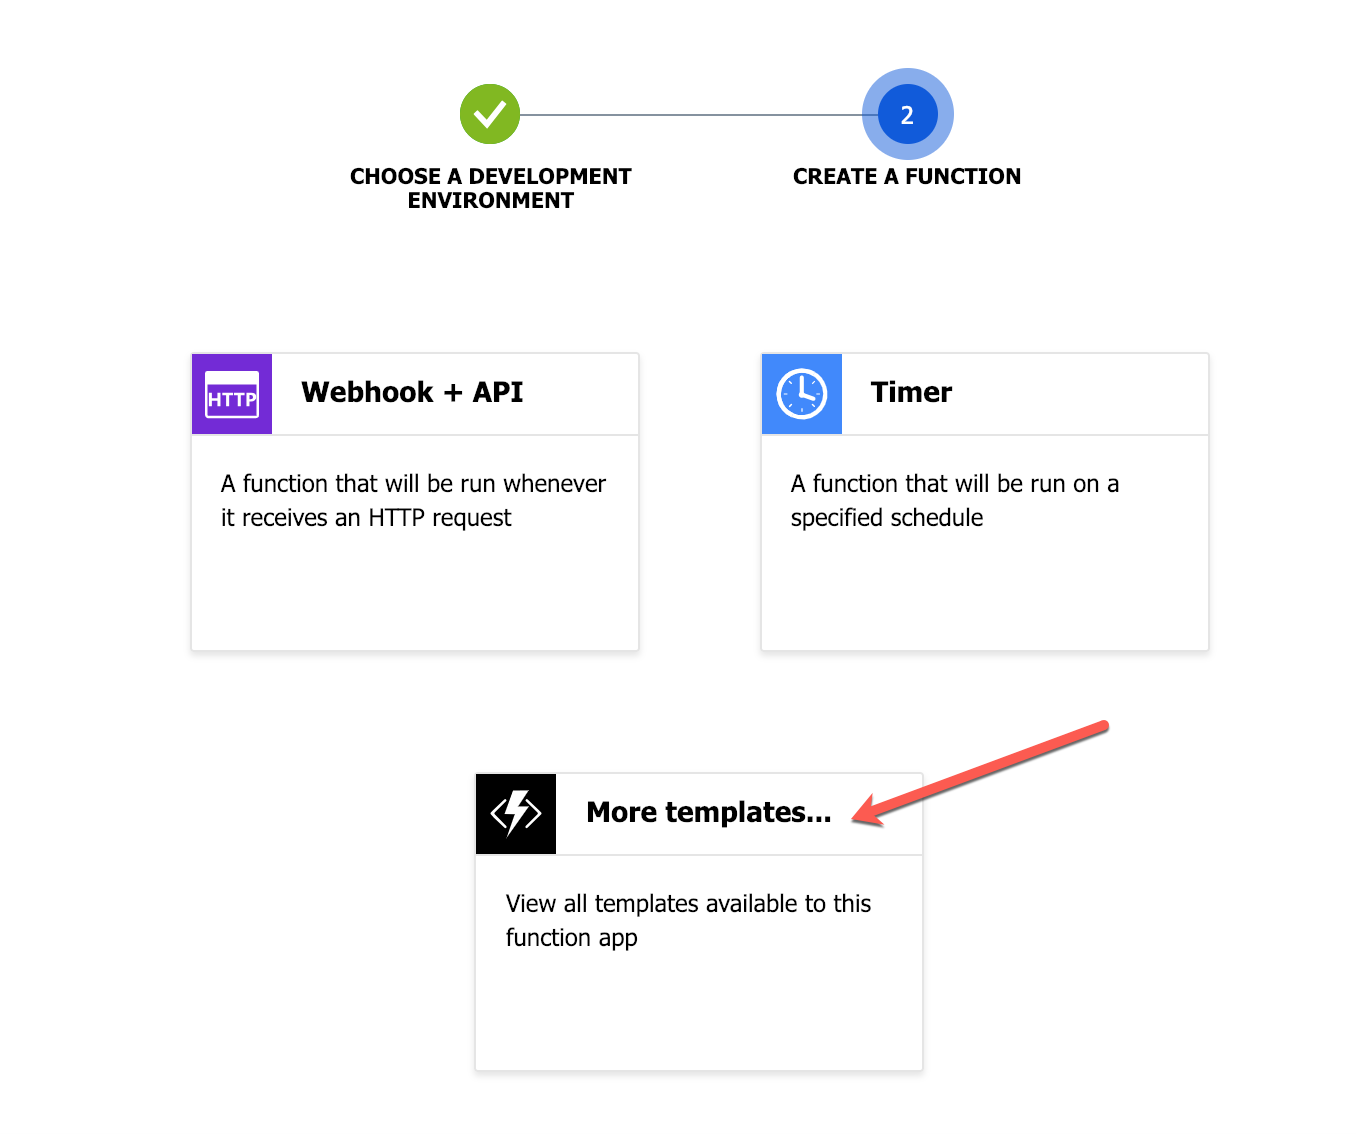
In the function creation sub-dialog select ‘More templates…’:
-
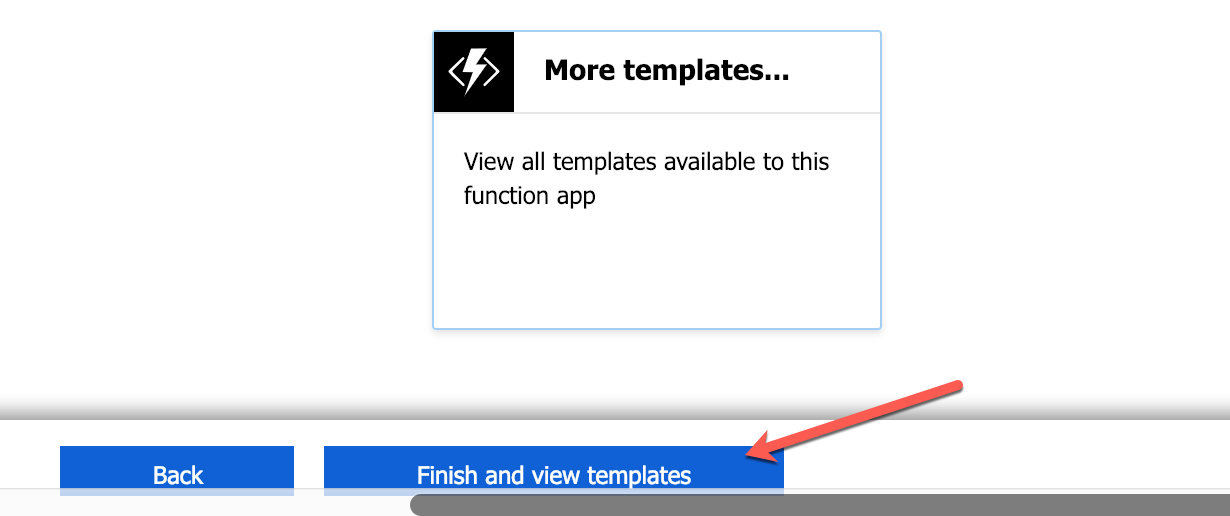
Press ‘Finish and view templates’ after the selection:
-
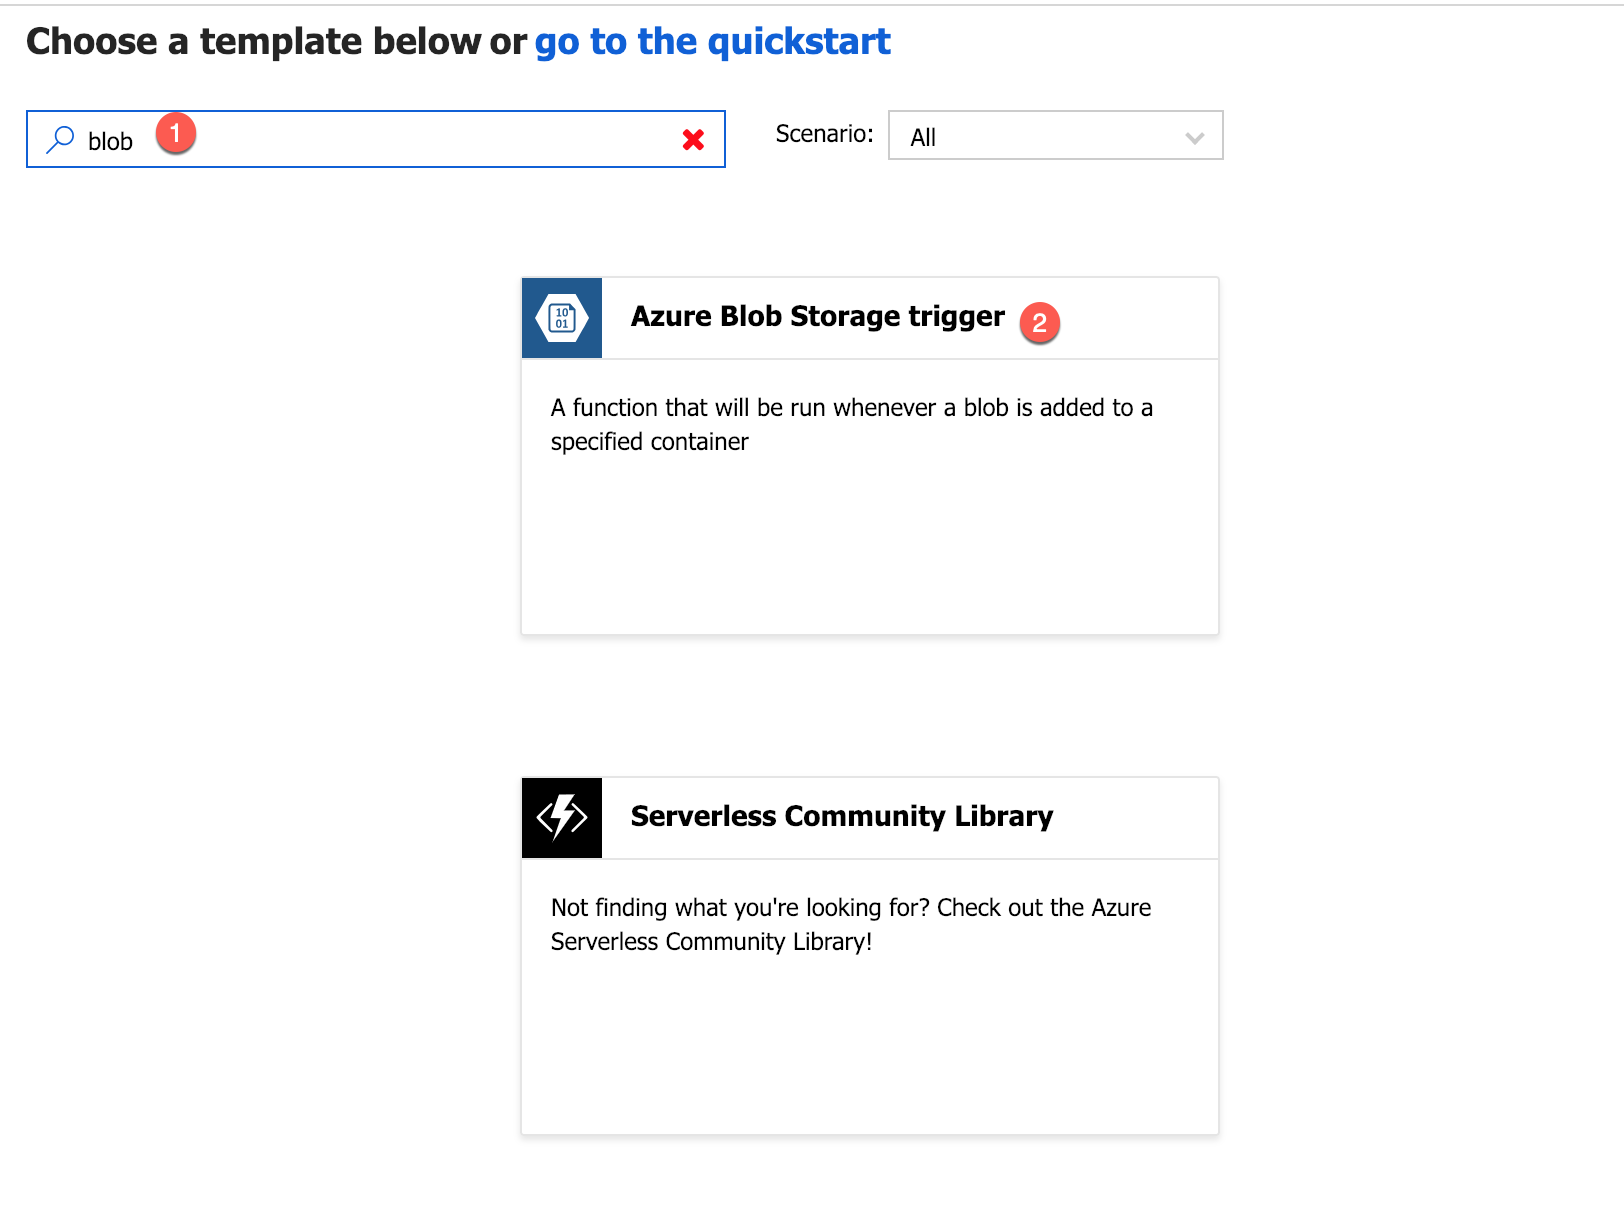
In the template explorer, search for ‘blob’ (1) and select the ‘Azure Blob Storage trigger’:
-
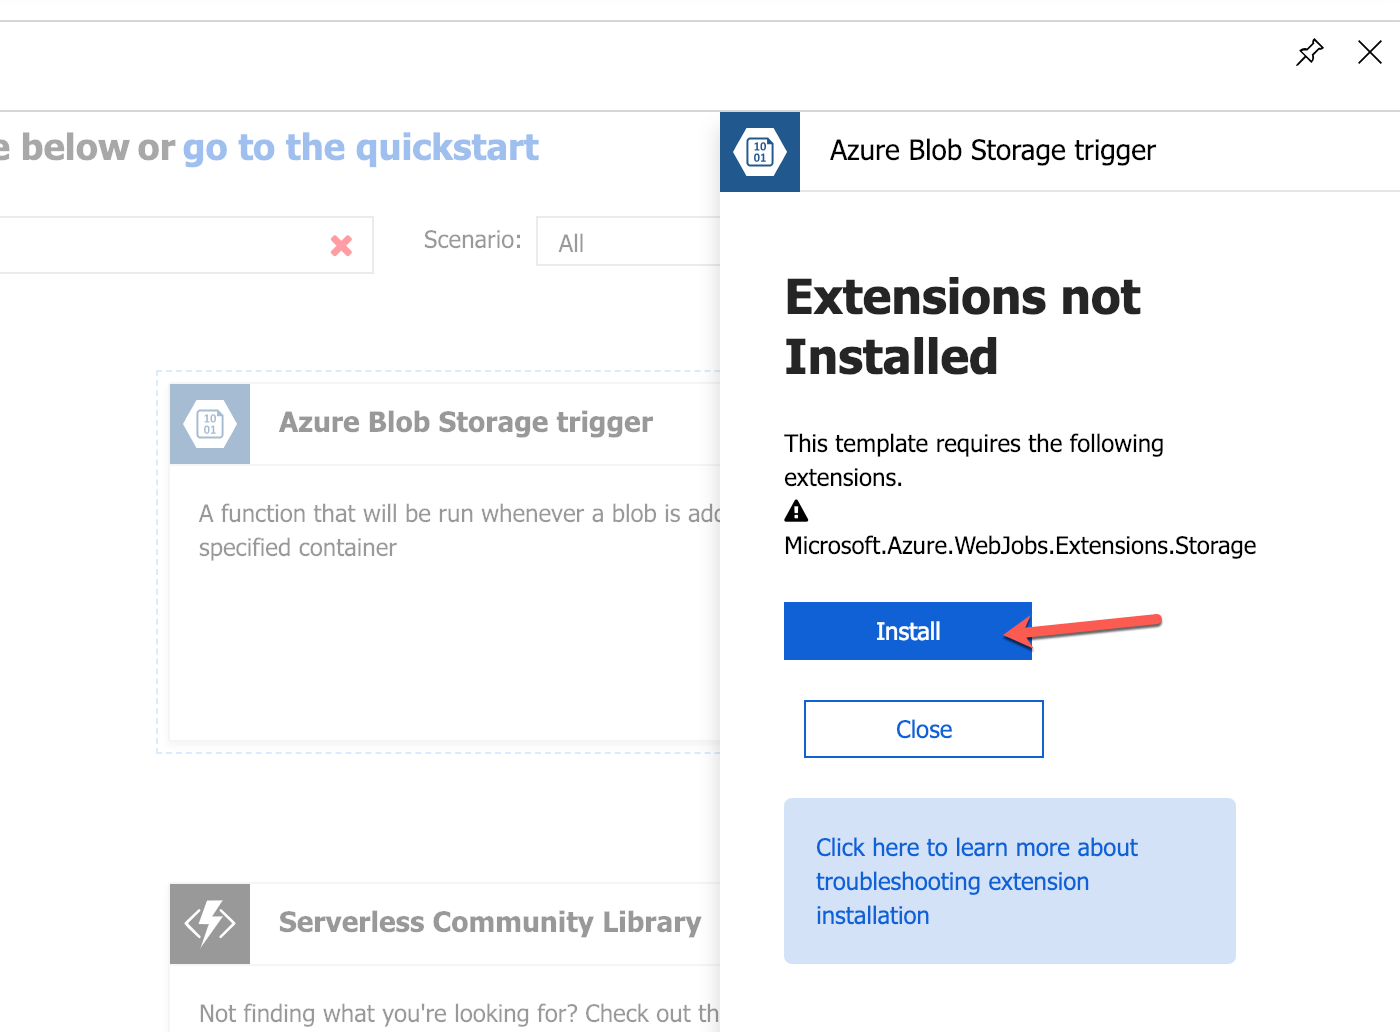
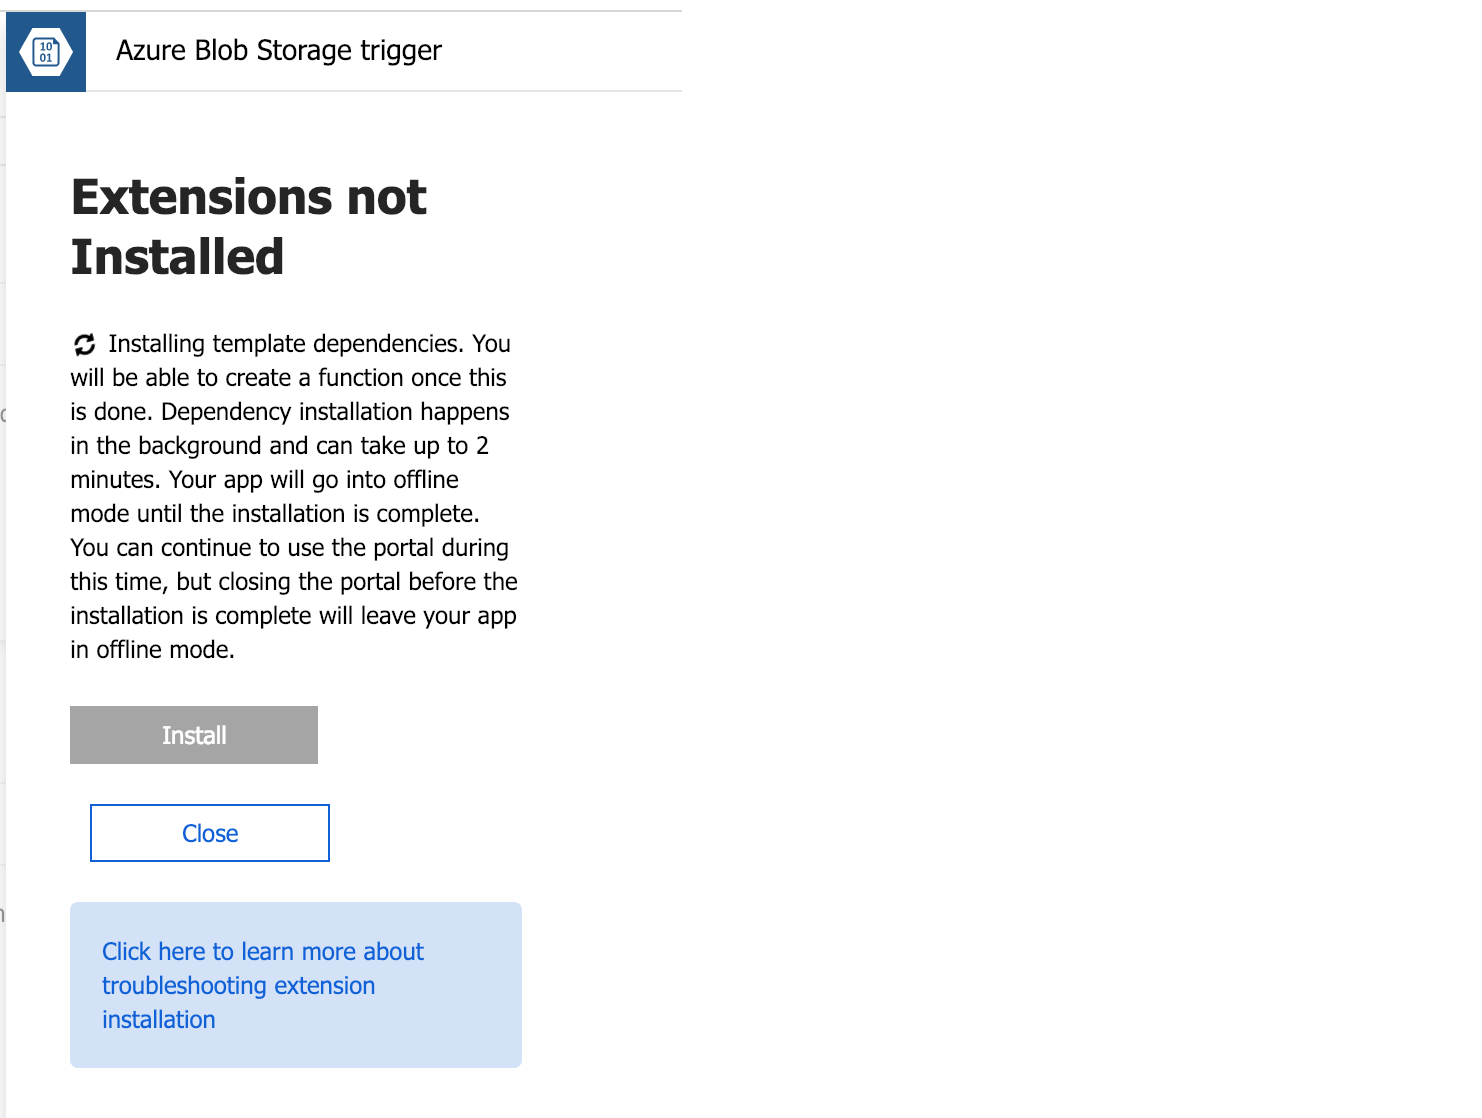
As Azure Functions keeps the footprint very small of each function, integration options such as listening for Azure Blob Storage triggers are not installed by default. Instead, they are installed via an extension system. As this is the first function in this Function App that wants to use the trigger, you have to install the extension first:
-
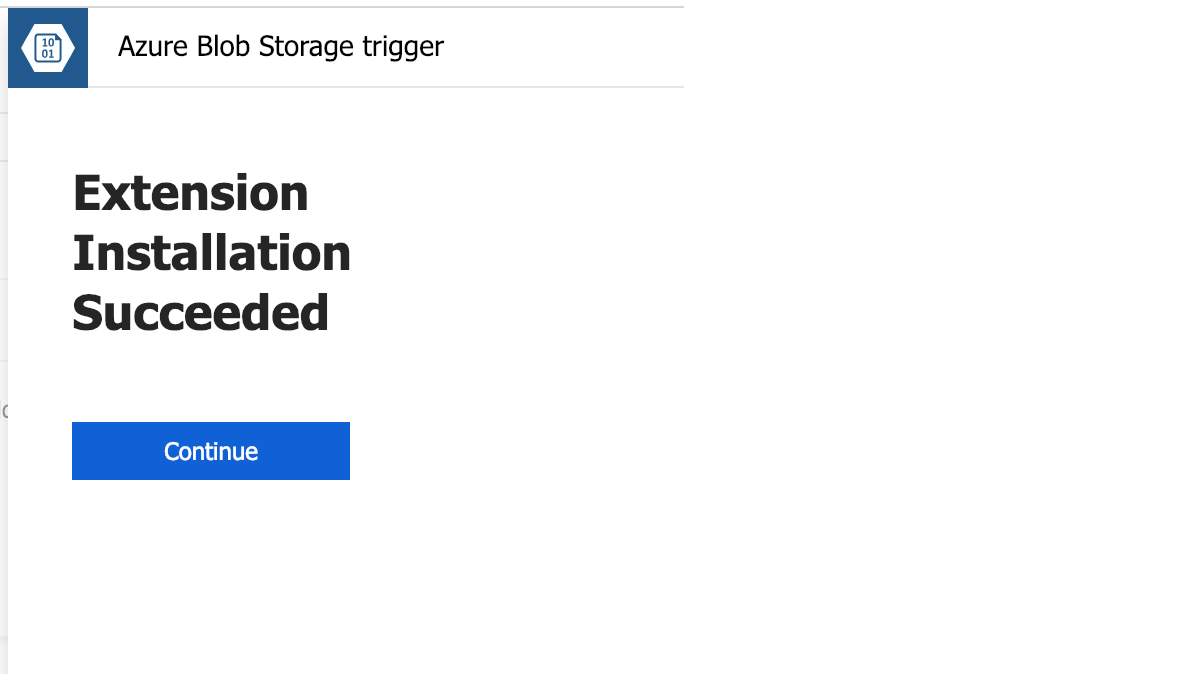
You have to wait until the installation has completed:
-
Now press continue:
-
Finally, create the new function. As function name you, choose
ClassifyImage(1). As path chooseuploaded/{name}(2) (this corresponds to the container in the storage account we have created before). And hit ‘Create’ (3).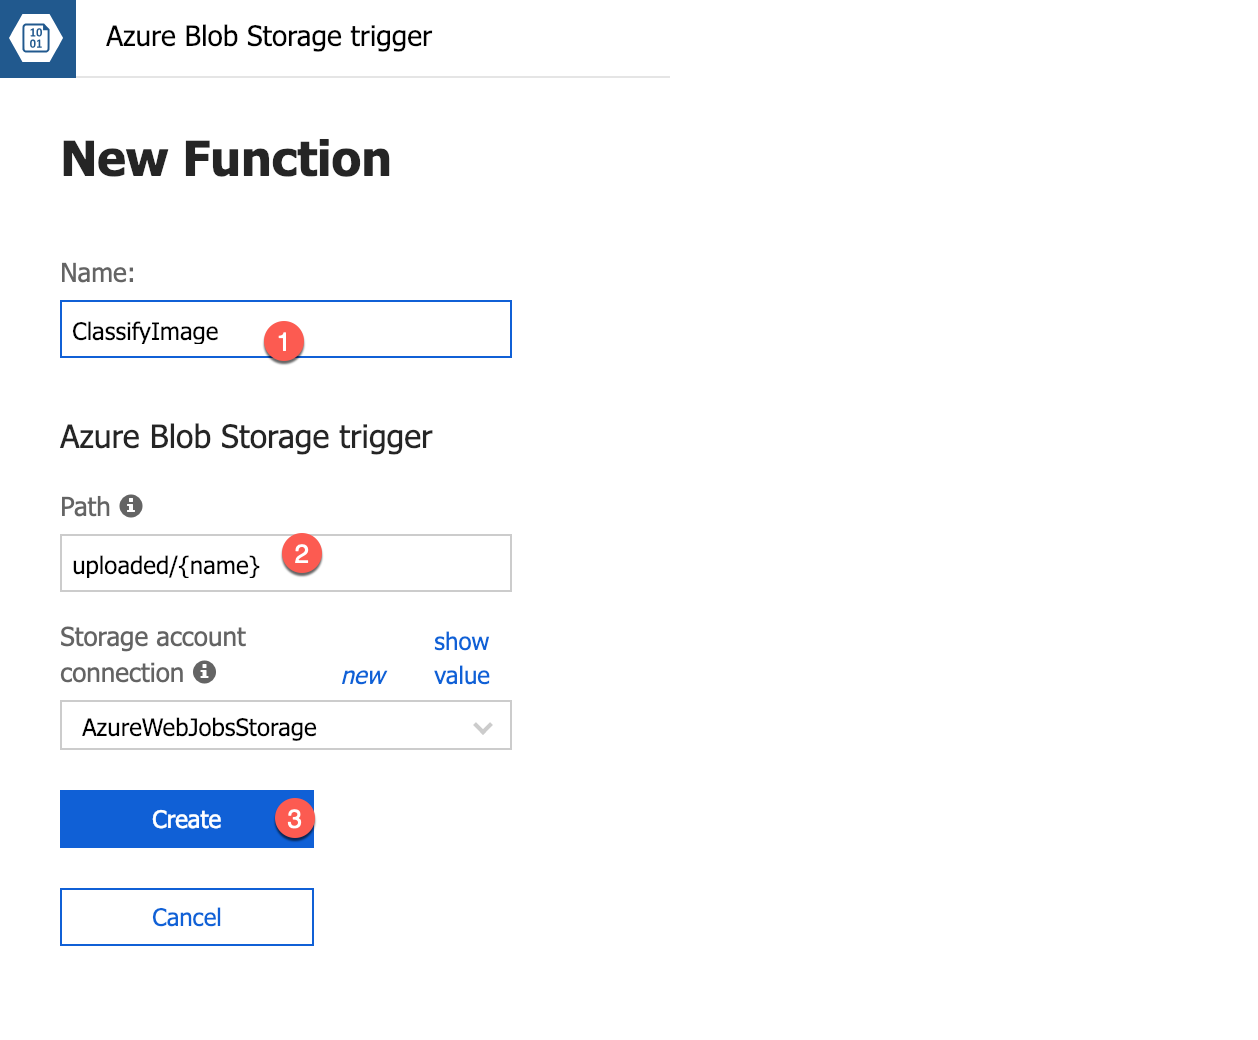
-
The created function should look like this:
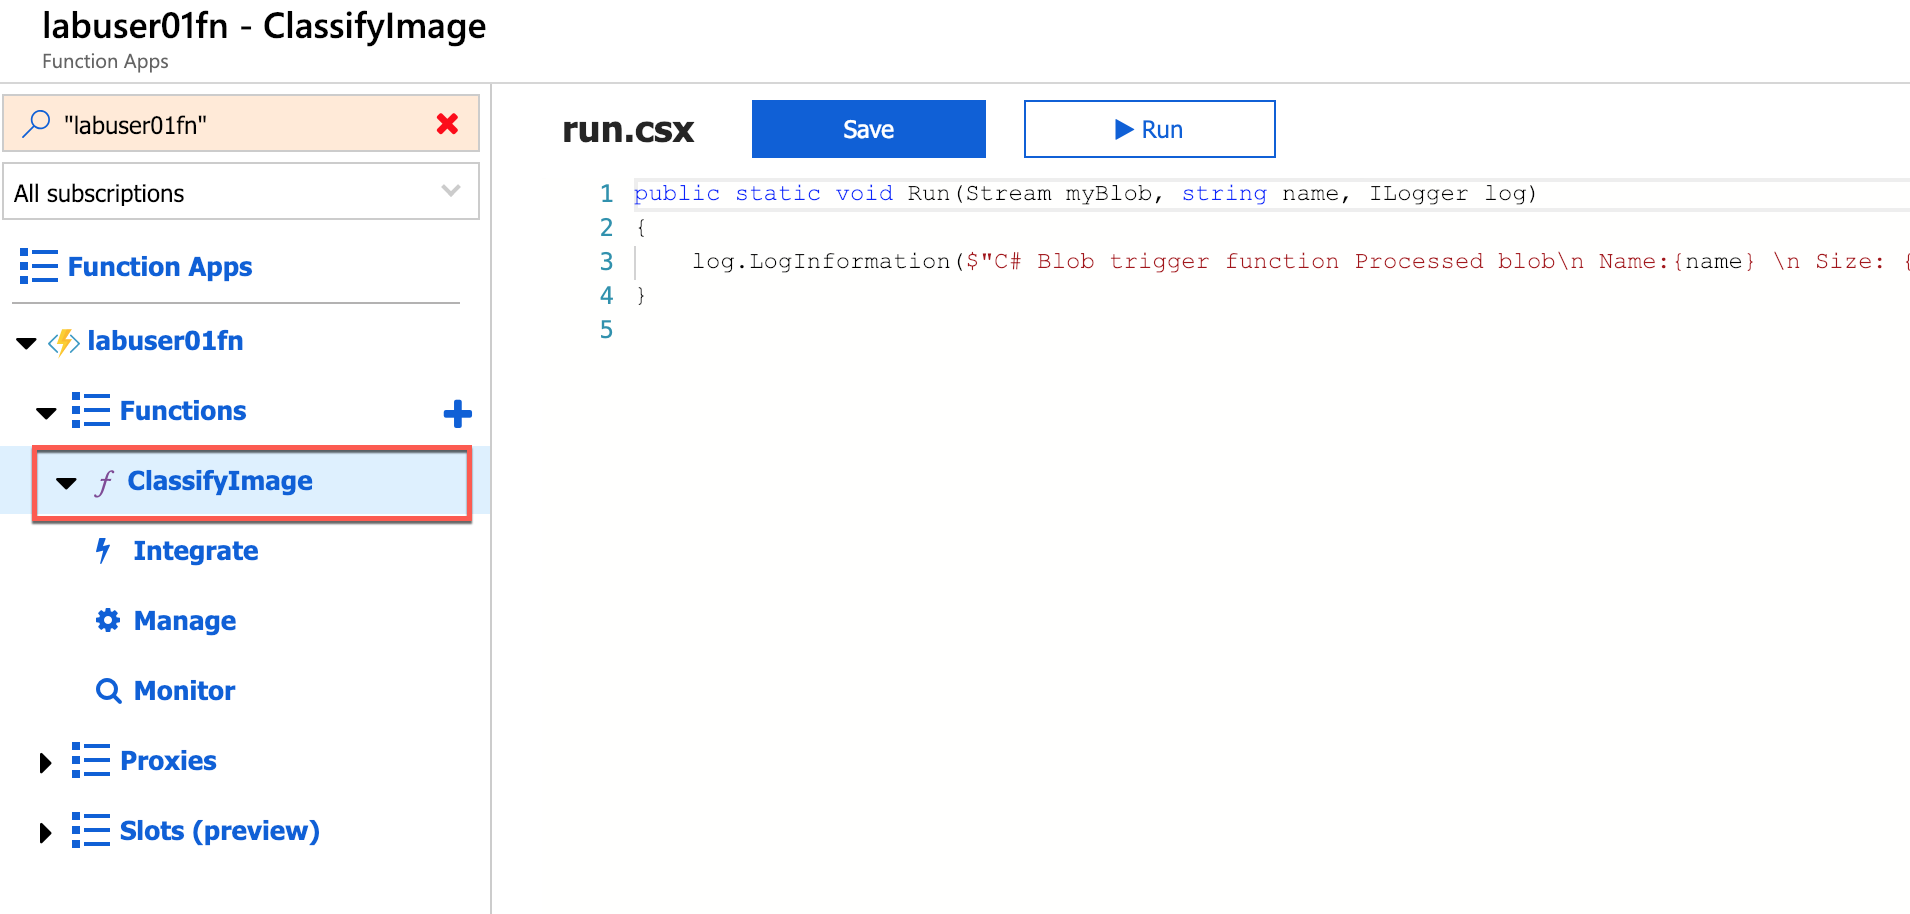
-
Replace the code shown in the code editor with the following statements:
#r "Microsoft.WindowsAzure.Storage" using Microsoft.WindowsAzure.Storage.Blob; using Microsoft.WindowsAzure.Storage; using System.Net.Http.Headers; public async static Task Run(Stream myBlob, string name, ILogger log) { log.LogInformation($"Analyzing uploaded image {name} for adult content..."); log.LogInformation($"SubscriptionKey: {System.Environment.GetEnvironmentVariable("SubscriptionKey")}"); log.LogInformation($"VisionEndpoint: {System.Environment.GetEnvironmentVariable("VisionEndpoint")}"); log.LogInformation($"AzureWebJobsStorage: {System.Environment.GetEnvironmentVariable("AzureWebJobsStorage")}"); var result = await AnalyzeImageAsync(myBlob, log); log.LogInformation("Is Adult: " + result.adult.isAdultContent.ToString()); log.LogInformation("Adult Score: " + result.adult.adultScore.ToString()); log.LogInformation("Is Racy: " + result.adult.isRacyContent.ToString()); log.LogInformation("Racy Score: " + result.adult.racyScore.ToString()); if (result.adult.isAdultContent || result.adult.isRacyContent) { // Copy blob to the "rejected" container await StoreBlobWithMetadata(myBlob, "rejected", name, result, log); } else { // Copy blob to the "accepted" container await StoreBlobWithMetadata(myBlob, "accepted", name, result, log); } } private async static Task<ImageAnalysisInfo> AnalyzeImageAsync(Stream blob, ILogger log) { HttpClient client = new HttpClient(); var key = System.Environment.GetEnvironmentVariable("SubscriptionKey"); client.DefaultRequestHeaders.Add("Ocp-Apim-Subscription-Key", key); HttpContent payload = new StreamContent(blob); payload.Headers.ContentType = new MediaTypeWithQualityHeaderValue("application/octet-stream"); var endpoint = System.Environment.GetEnvironmentVariable("VisionEndpoint"); var results = await client.PostAsync(endpoint + "vision/v2.0/analyze?visualFeatures=Adult", payload); var result = await results.Content.ReadAsAsync<ImageAnalysisInfo>(); return result; } // Writes a blob to a specified container and stores metadata with it private async static Task StoreBlobWithMetadata(Stream image, string containerName, string blobName, ImageAnalysisInfo info, ILogger log) { log.LogInformation($"Writing blob and metadata to {containerName} container..."); var connection = System.Environment.GetEnvironmentVariable("AzureWebJobsStorage").ToString(); var account = CloudStorageAccount.Parse(connection); var client = account.CreateCloudBlobClient(); var container = client.GetContainerReference(containerName); try { var blob = container.GetBlockBlobReference(blobName); if (blob != null) { // Upload the blob await blob.UploadFromStreamAsync(image); // Get the blob attributes await blob.FetchAttributesAsync(); // Write the blob metadata blob.Metadata["isAdultContent"] = info.adult.isAdultContent.ToString(); blob.Metadata["adultScore"] = info.adult.adultScore.ToString("P0").Replace(" ",""); blob.Metadata["isRacyContent"] = info.adult.isRacyContent.ToString(); blob.Metadata["racyScore"] = info.adult.racyScore.ToString("P0").Replace(" ",""); // Save the blob metadata await blob.SetMetadataAsync(); } } catch (Exception ex) { log.LogInformation(ex.Message); throw; } } public class ImageAnalysisInfo { public Adult adult { get; set; } public string requestId { get; set; } } public class Adult { public bool isAdultContent { get; set; } public bool isRacyContent { get; set; } public float adultScore { get; set; } public float racyScore { get; set; } }Runis the method called each time the function is executed. TheRunmethod uses a helper method namedAnalyzeImageAsyncto pass each blob added to theuploadedcontainer to the Computer Vision API for analysis. Then it calls a helper method namedStoreBlobWithMetadatato create a copy of the blob in either theacceptedcontainer or therejectedcontainer, depending on the scores returned byAnalyzeImageAsync. -
As our function code has a reference to an external package (Azure Storage), we need to install the assembly references. To do so, we need to modify a file called
extensions.csprojresiding in the actual function configuration. Open the Console view of the ClassifyImage function:
-
Type the following commands (Note: you cannot yet copy and paste into the console view):
 cd ..
 cat extensions.csproj
The following output is expected:
 <Project Sdk="Microsoft.NET.Sdk">
 <PropertyGroup>
     <TargetFramework>netstandard2.0</TargetFramework>
     <WarningsAsErrors />
 </PropertyGroup>
 <ItemGroup>
     <PackageReference Include="Microsoft.Azure.WebJobs.Extensions.Storage" Version="3.0.0" />
     <PackageReference Include="Microsoft.Azure.WebJobs.Script.ExtensionsMetadataGenerator" Version="1.0.*" />
 </ItemGroup>
 </Project>
Continue typing:
 curl -o extensions.csproj -L https://aka.ms/cs-extensions
 cat extensions.csproj
The following output is expected:
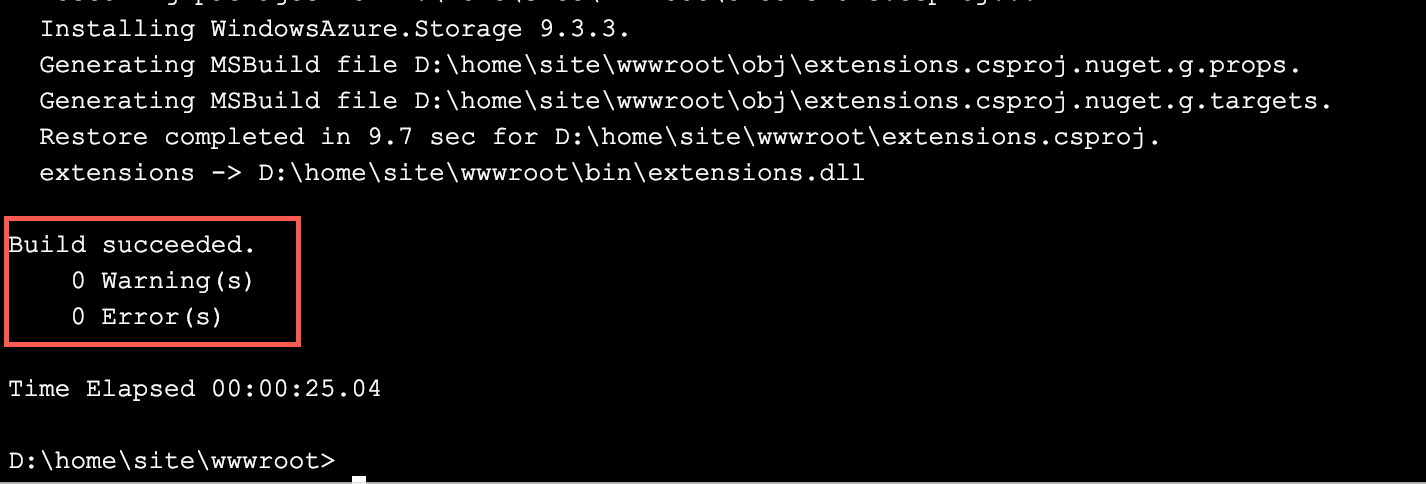
 <Project Sdk="Microsoft.NET.Sdk">
 <PropertyGroup>
     <TargetFramework>netstandard2.0</TargetFramework>
     <WarningsAsErrors />
 </PropertyGroup>
 <ItemGroup>
     <PackageReference Include="Microsoft.Azure.WebJobs.Extensions.Storage" Version="3.0.0" />
     <PackageReference Include="Microsoft.Azure.WebJobs.Script.ExtensionsMetadataGenerator" Version="1.0.*" />
     <PackageReference Include="WindowsAzure.Storage" Version="9.3.3" />
 </ItemGroup>
 </Project>
Finally type:
dotnet build extensions.csproj -o bin --no-incremental --packages D:\home\.nugetYou should see a “Build succeeded” message:
-
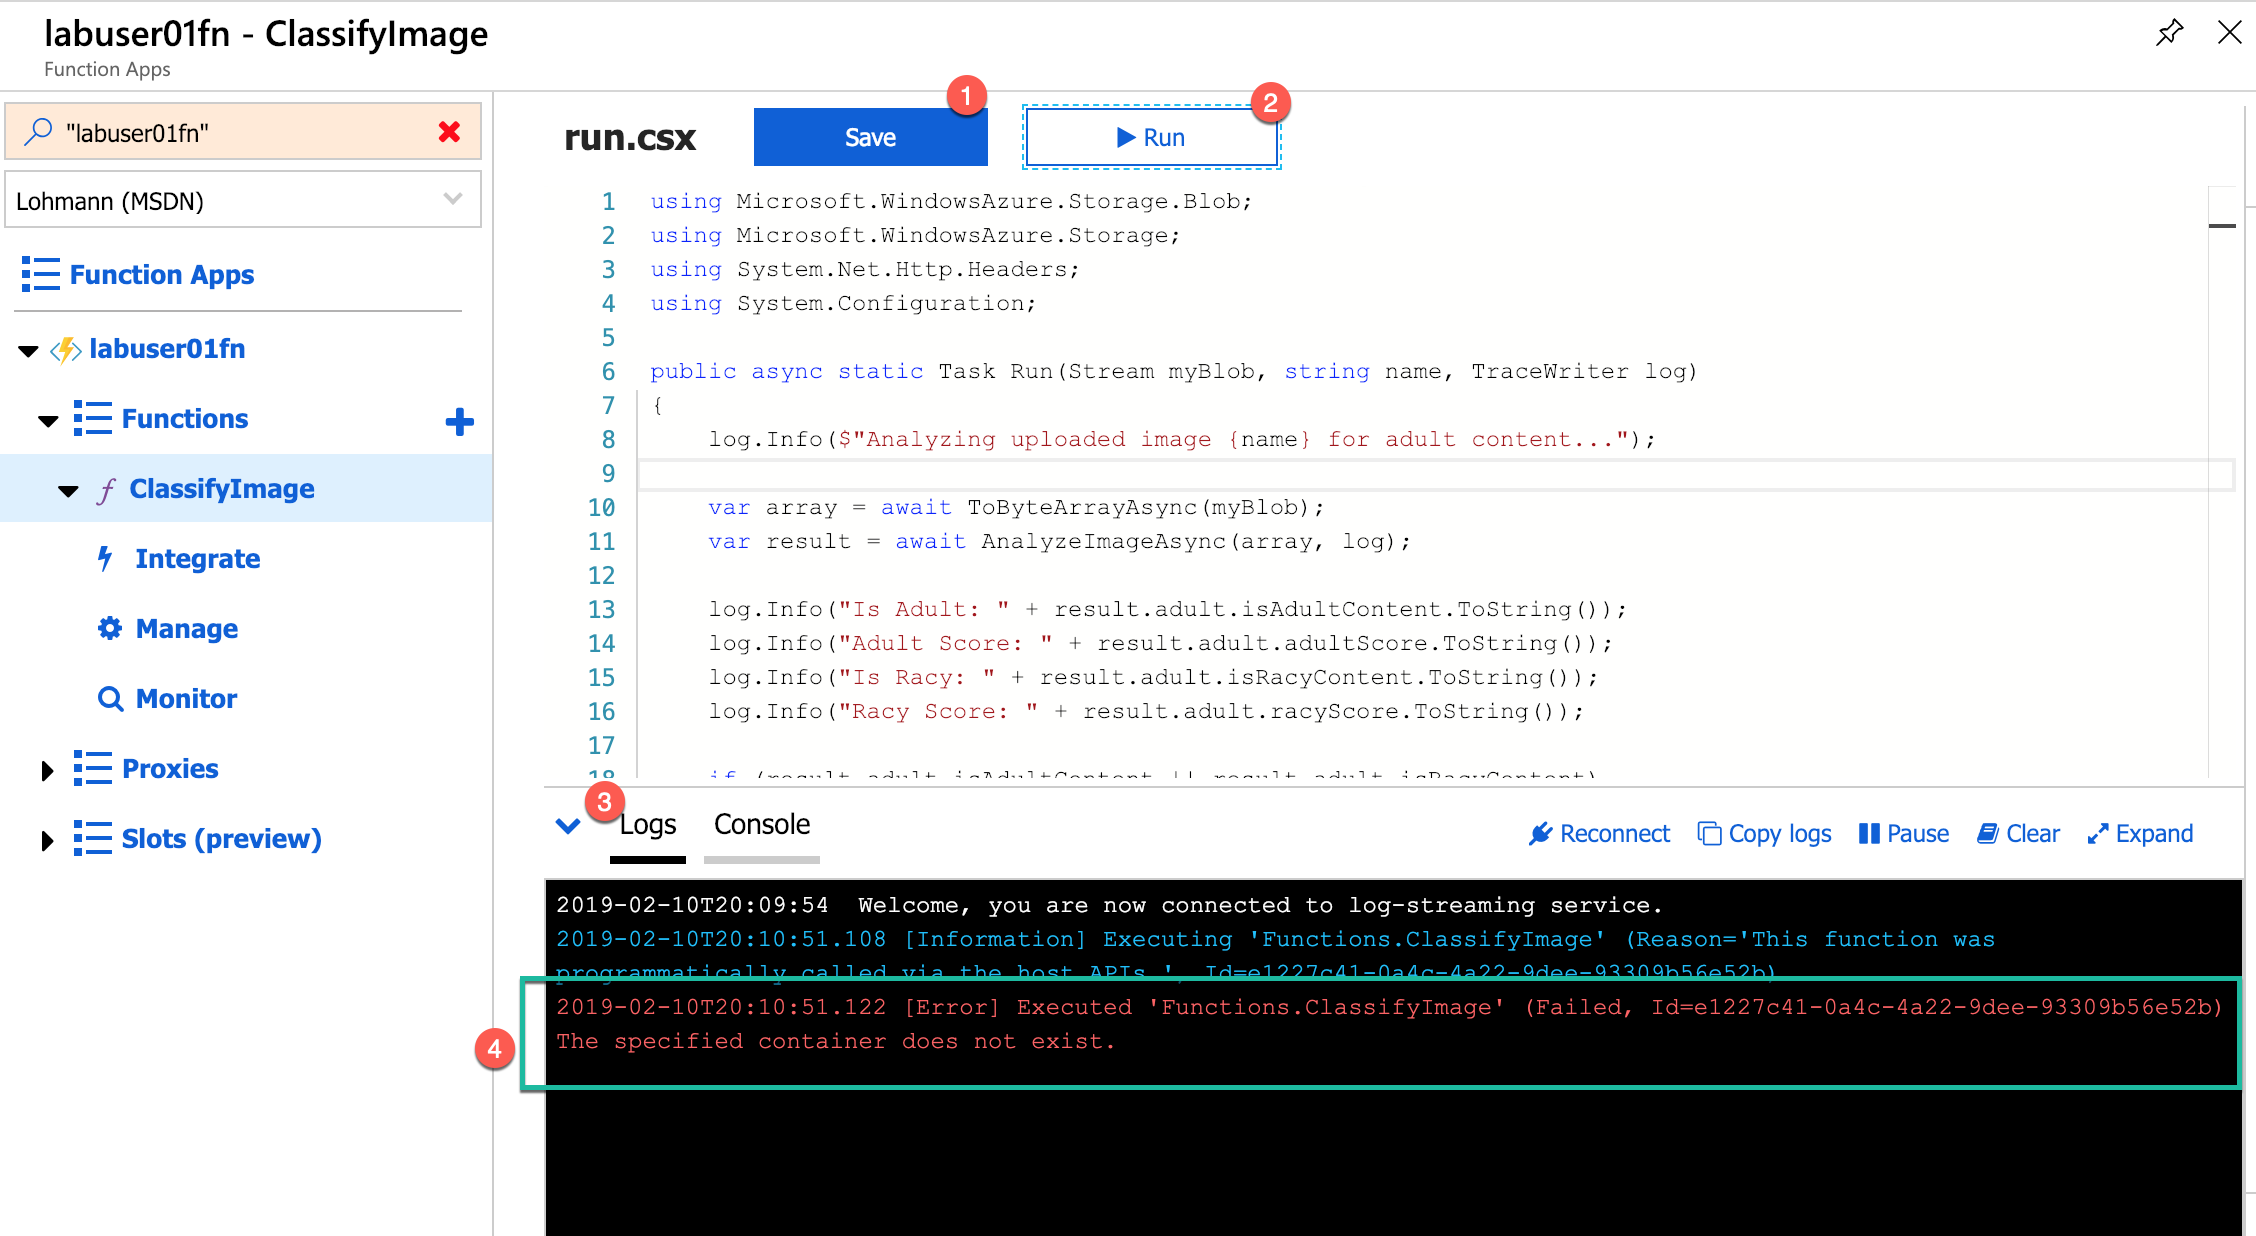
Click the Save button (1) at the top of the code editor to save your changes. Then click Run (2) button to execute the code shown in the editor. Open the log panel (3) and look at the error output (4). A message like “[…] The specified container does not exist.” is expected at this moment!
Summary
An Azure Function written in C# has been created, listening for changes in the associated storage account’s uploaded folder. Still missing is the configuration of the Computer Vision Service for the actual image classification task.
Exercise 3: Add a subscription key for the Computer Vision Service
The Azure Function you created in Exercise 2 loads a subscription key for the Microsoft Cognitive Services Computer Vision API from application settings. This key is required in order for your code to call the Computer Vision API, and is transmitted in an HTTP header in each call. It also loads the base URL for the Computer Vision API (which varies by data center) from application settings. In this exercise, you will subscribe to the Computer Vision API, and then add an access key and a base URL to application settings.
-
We are going to use the Azure CLI to create a new Computer Vision Service endpoint. We are using the CLI to provide additional arguments which cannot be specified in the UI. In the Azure Portal, click on the Azure Shell symbol, to start the Azure Shell:
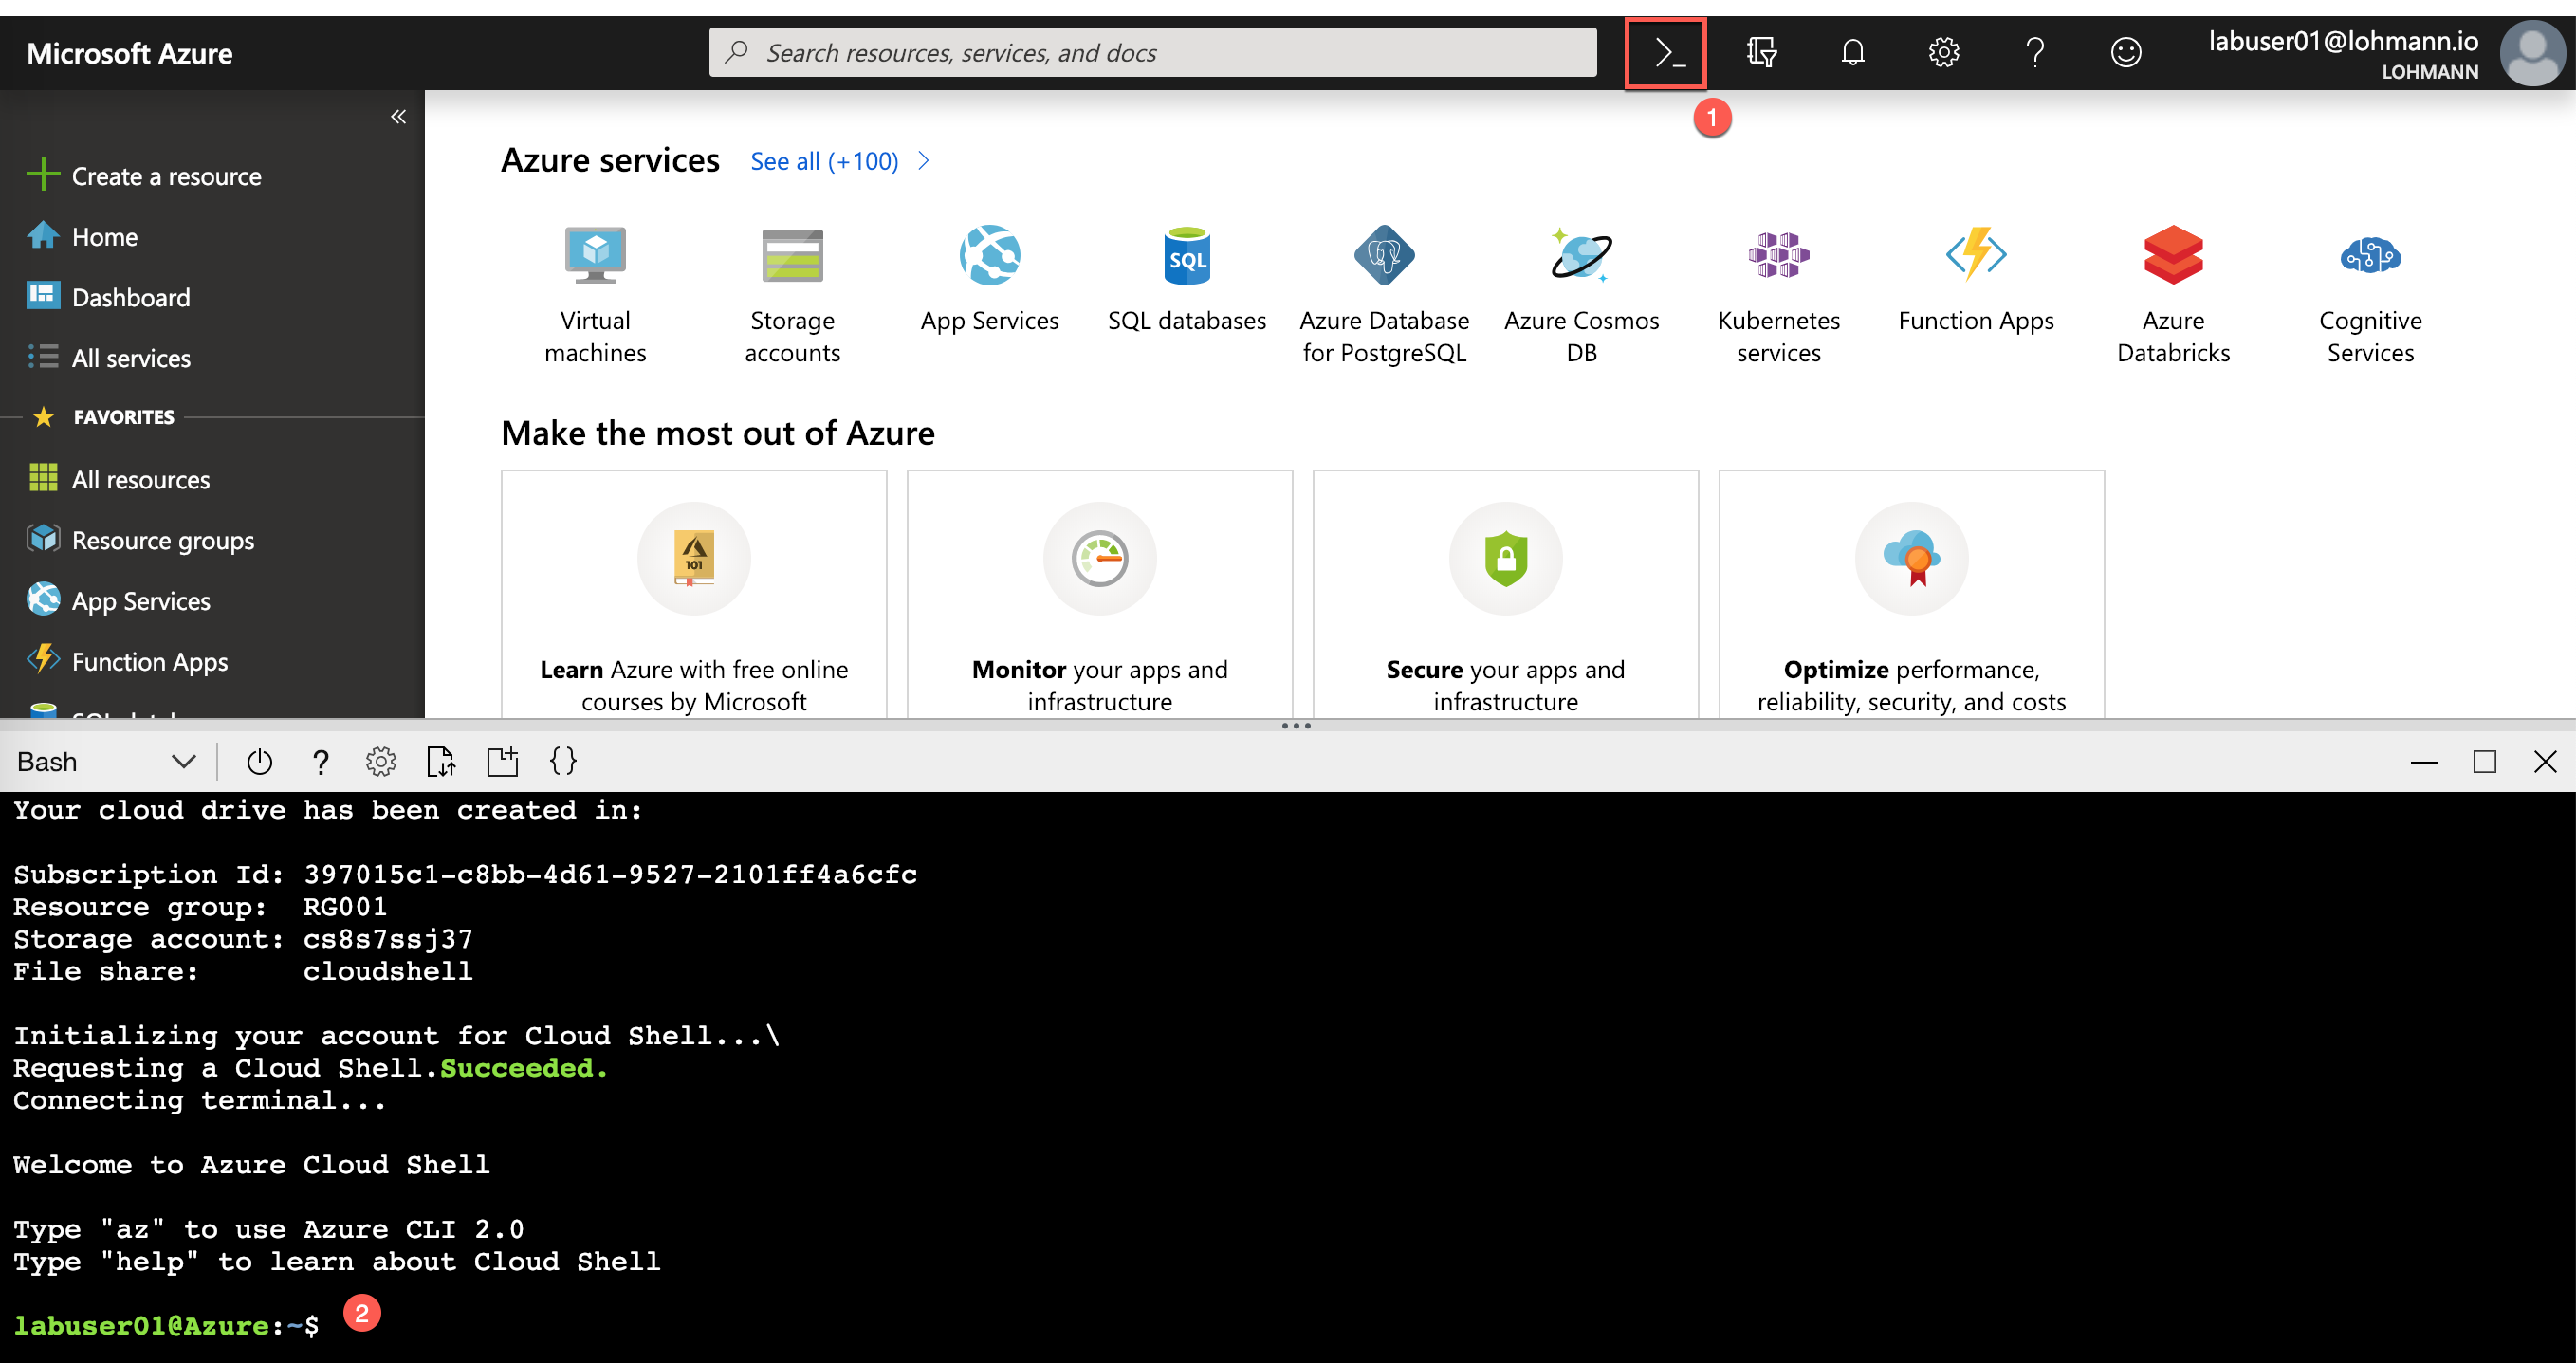
-
Paste the following command in the shell and replace the
--resource-groupand--nameparameter values. If your location is different thanWestEurope, also update it:az cognitiveservices account create --resource-group MY-RESOURCE-GROUP --name MY-SERVICE-NAME --sku S1 --kind ComputerVision --location WestEurope --yes -
On success the result looks like this:
[...] { "endpoint": "https://westeurope.api.cognitive.microsoft.com/", "etag": "\"00000a0c-0000-0000-0000-5c608d0c0000\"", "id": "/subscriptions/397015c1-c8bb-4d61-9527-2101ff4a6cfc/resourceGroups/RG001/providers/Microsoft.CognitiveServices/accounts/labuser01-cv", "internalId": "c20e032001ae48e7a5630e92841a01cd", "kind": "ComputerVision", "location": "WestEurope", "name": "labuser01-cv", "provisioningState": "Succeeded", "resourceGroup": "RG001", "sku": { "name": "S1", "tier": null }, "tags": null, "type": "Microsoft.CognitiveServices/accounts" } -
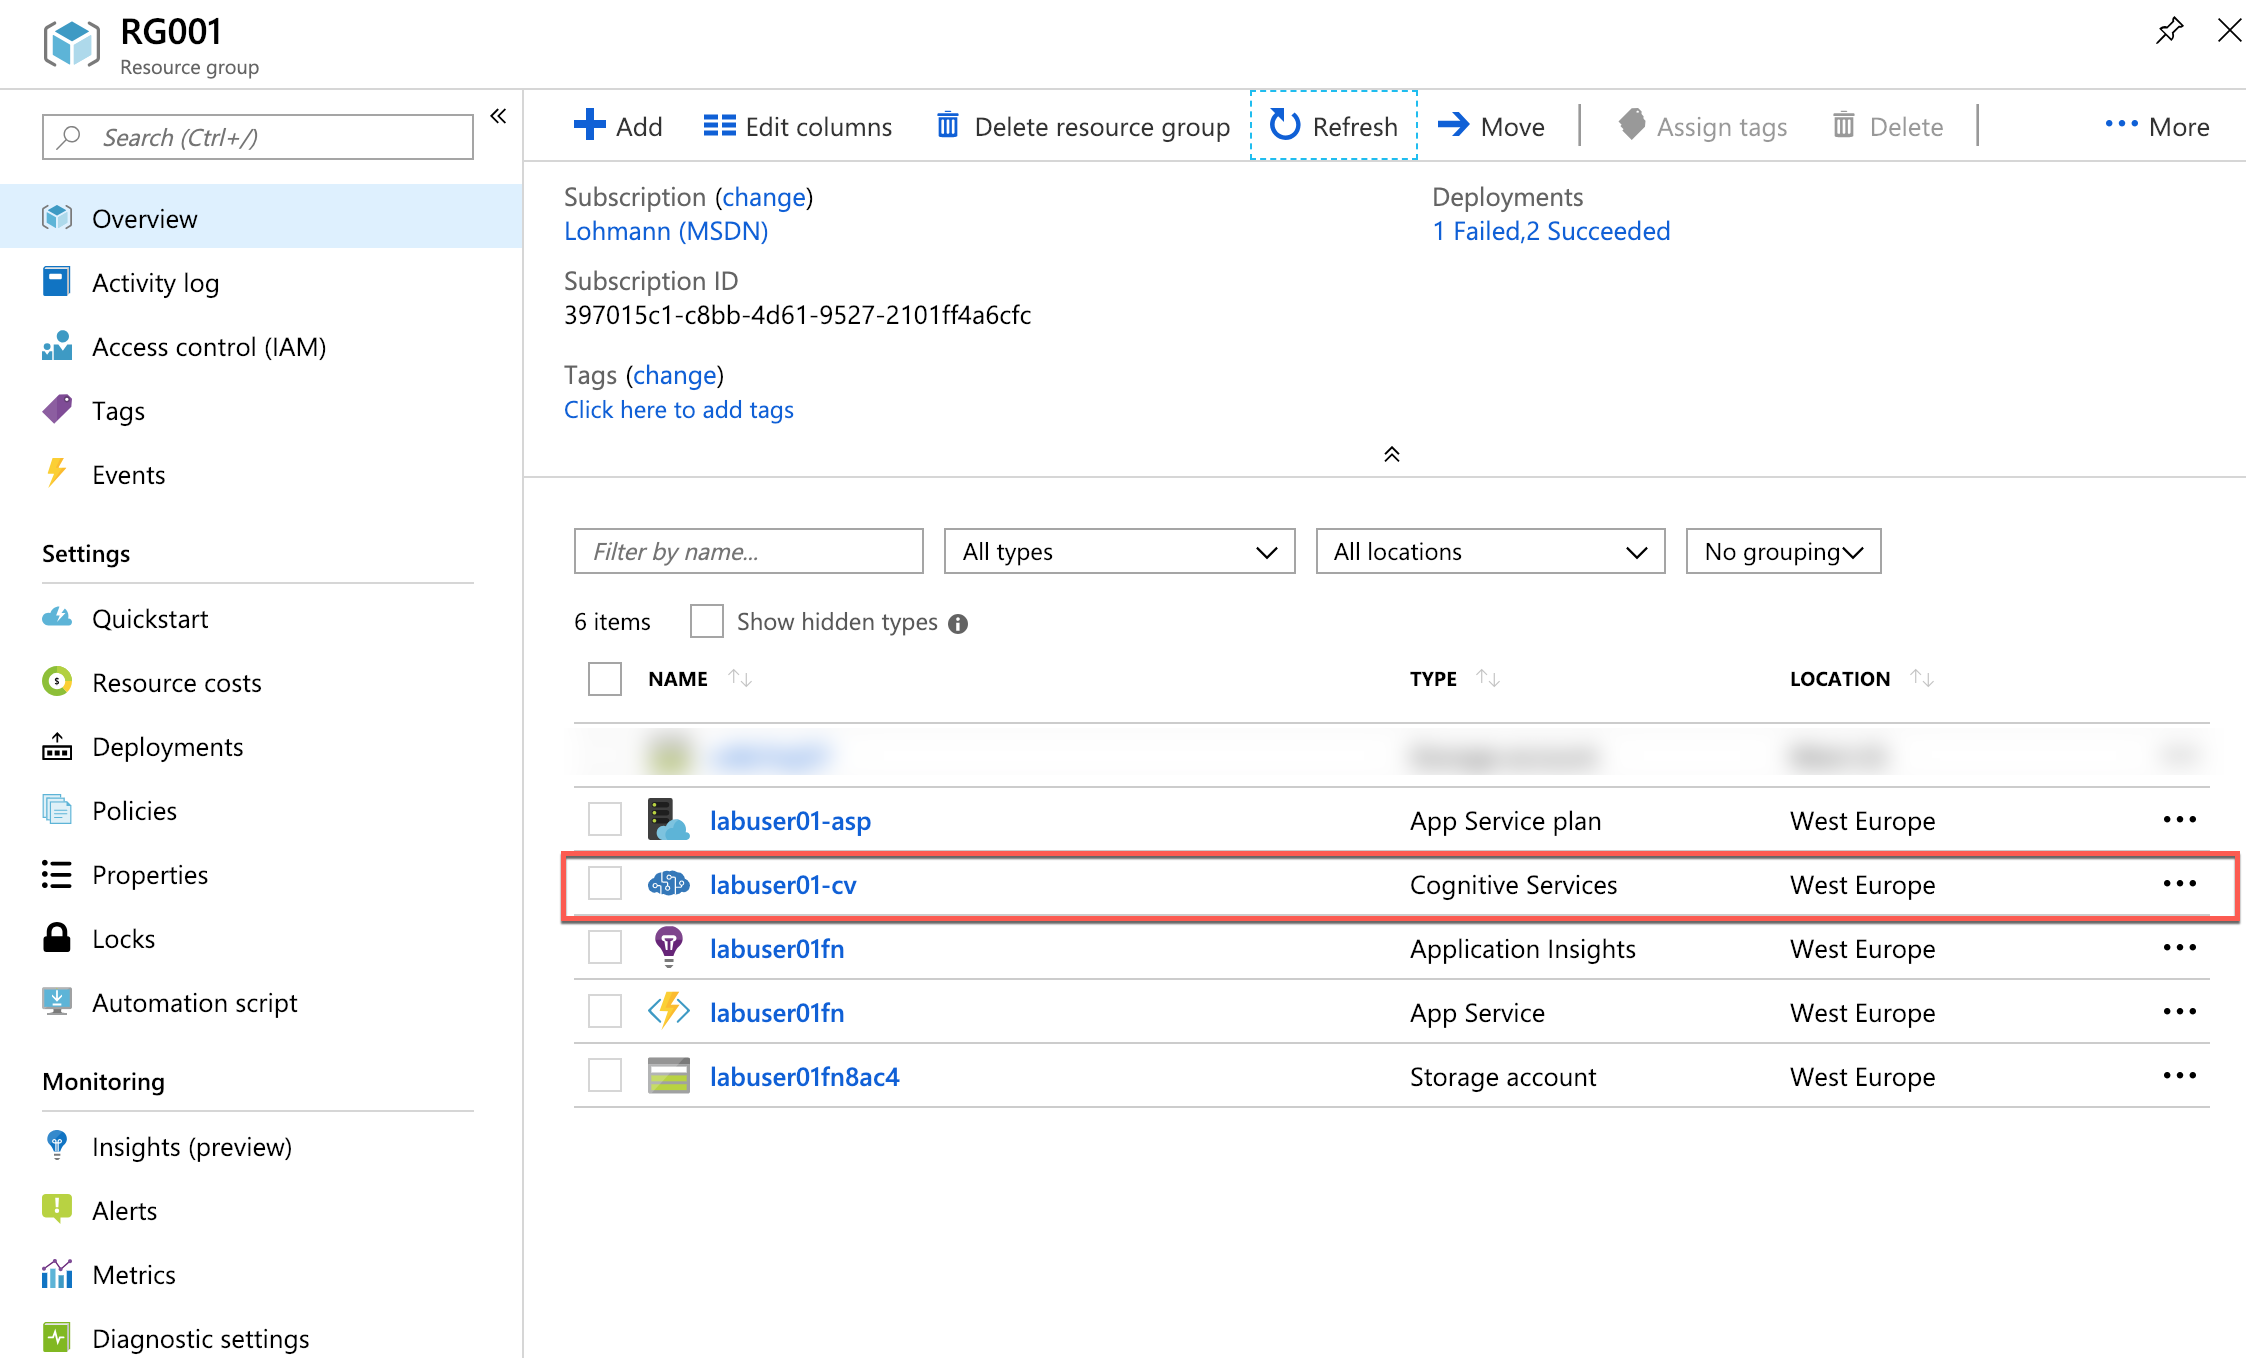
Return to your resource group overview and click the Computer Vision API subscription that you just created.
-
Copy the URL under Endpoint into your favorite text editor so you can easily retrieve it in a moment (e.g. use notepad to cache it). Then click Show access keys.
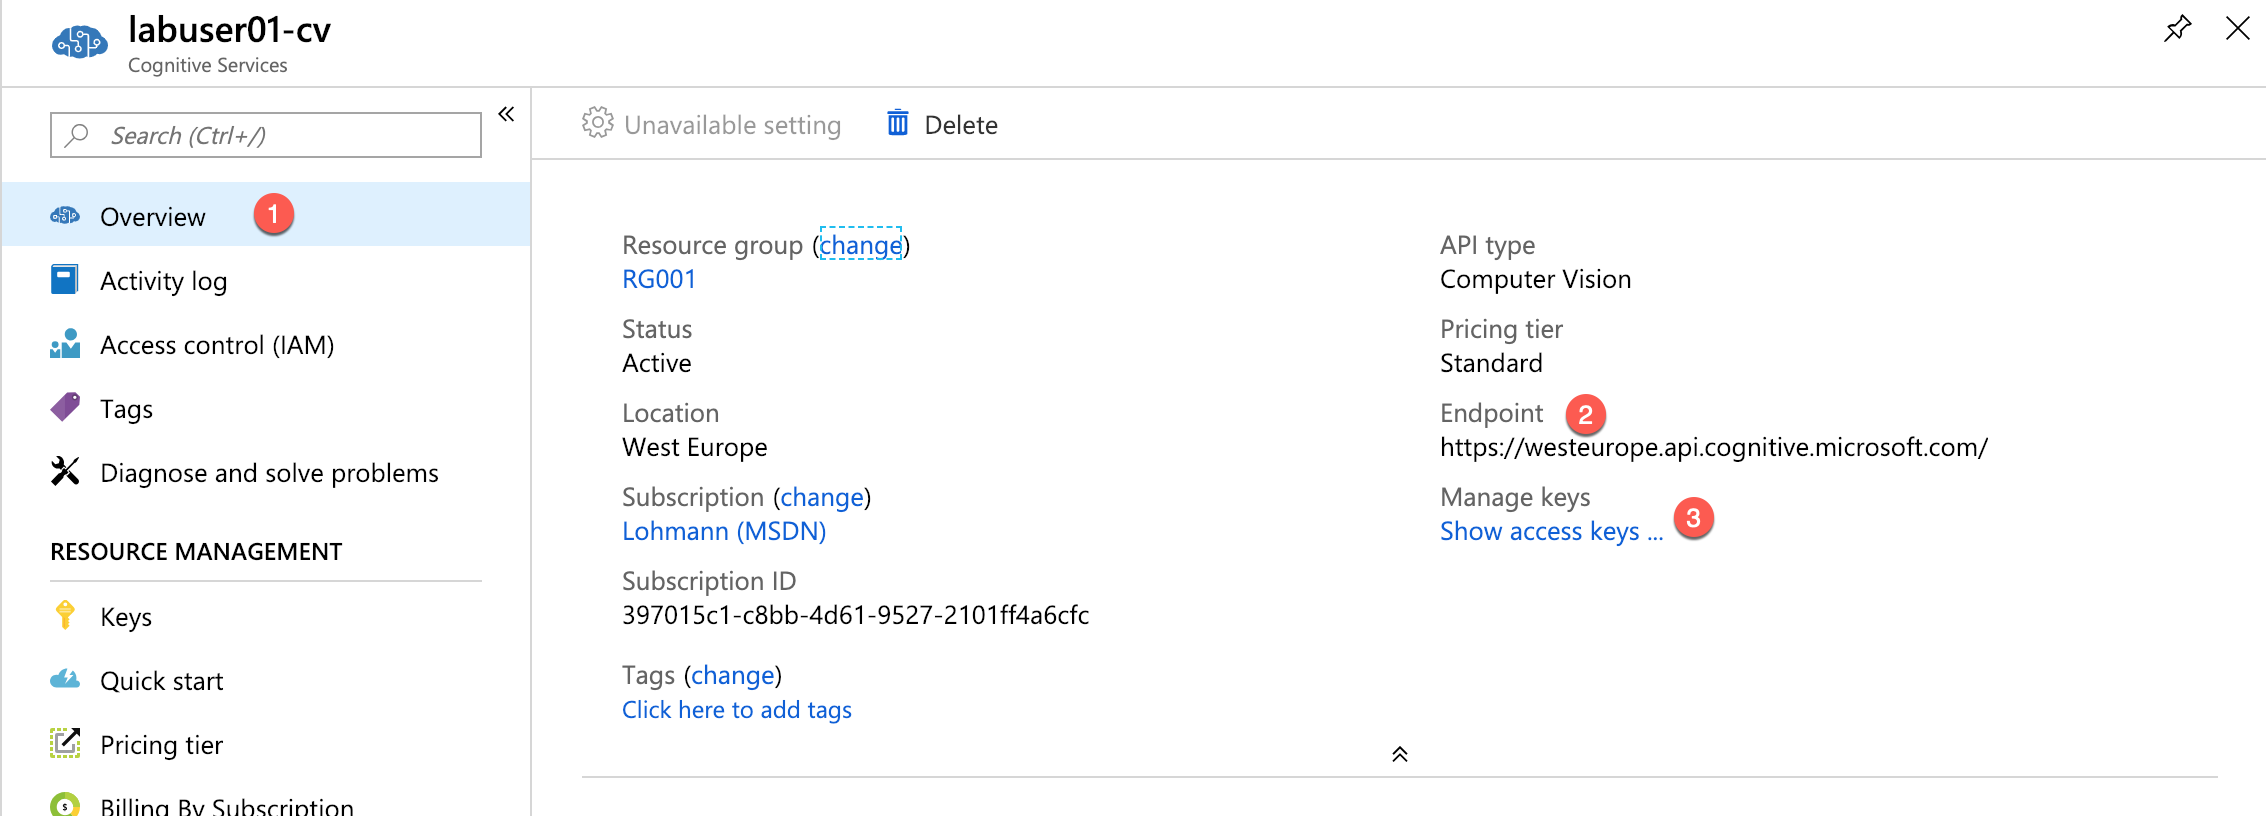
-
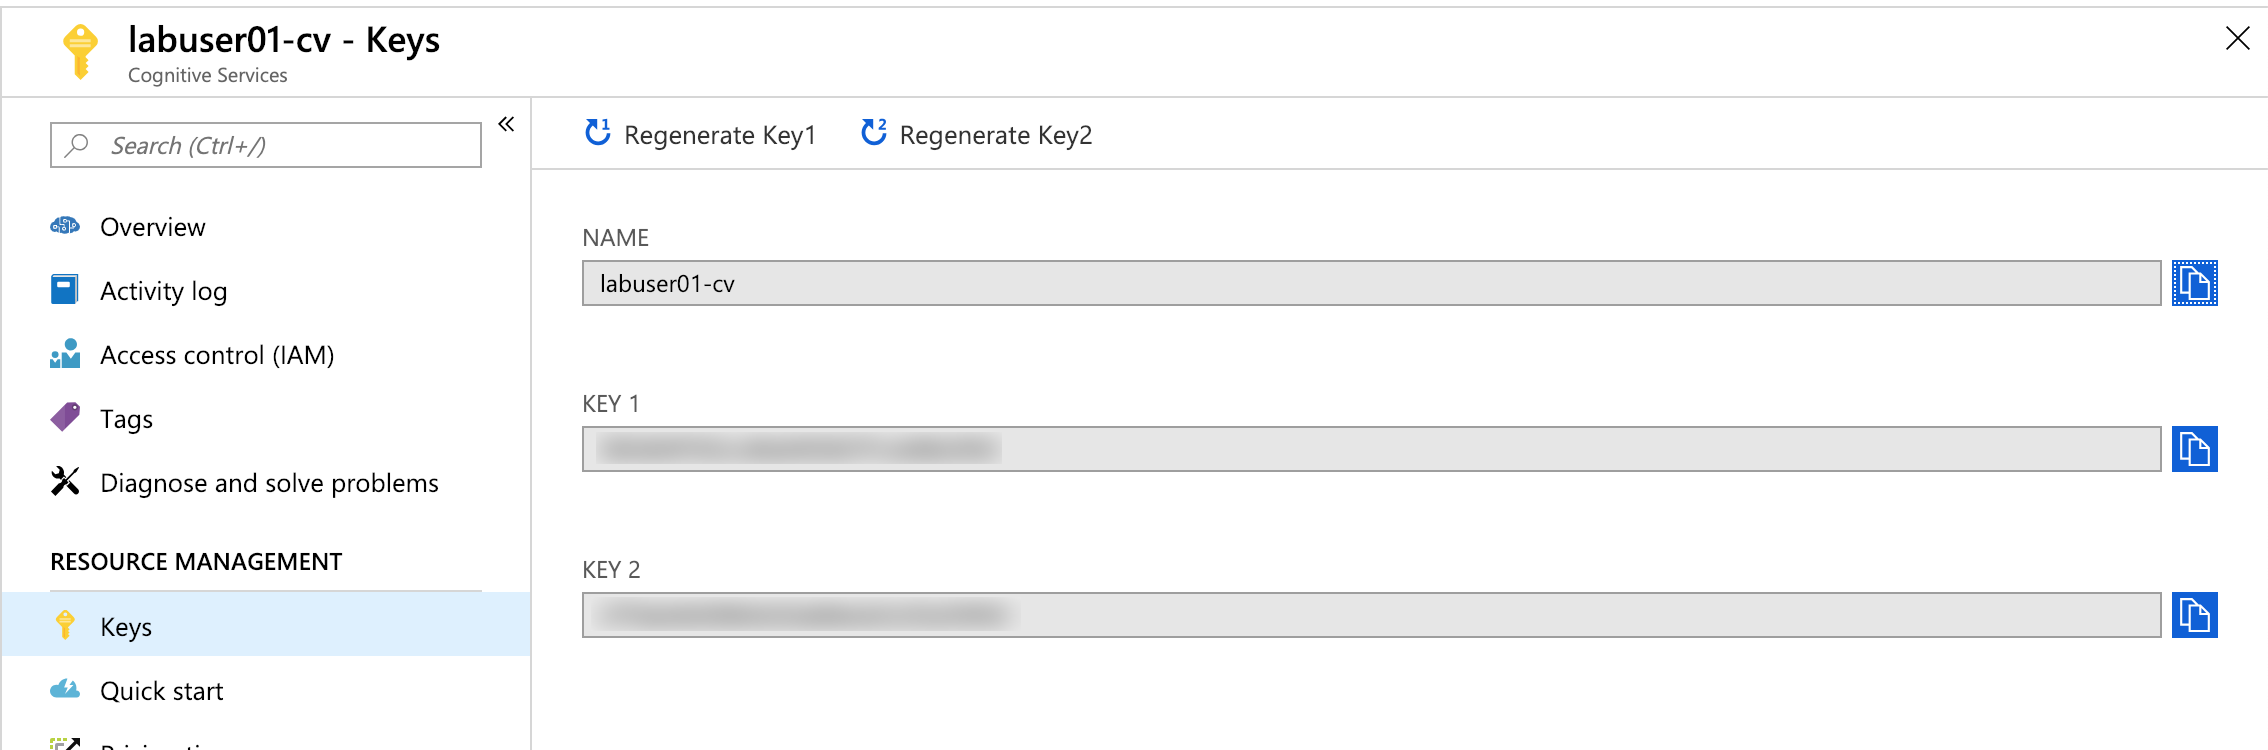
Click the Copy button to the right of KEY 1 to copy the access key to the clipboard. Put the access key also in a text editor to cache it.
-
Return to the Function App that we created a while ago. Click on the Function App Name (1) in the ribbon on the left. Then click Application settings (2).
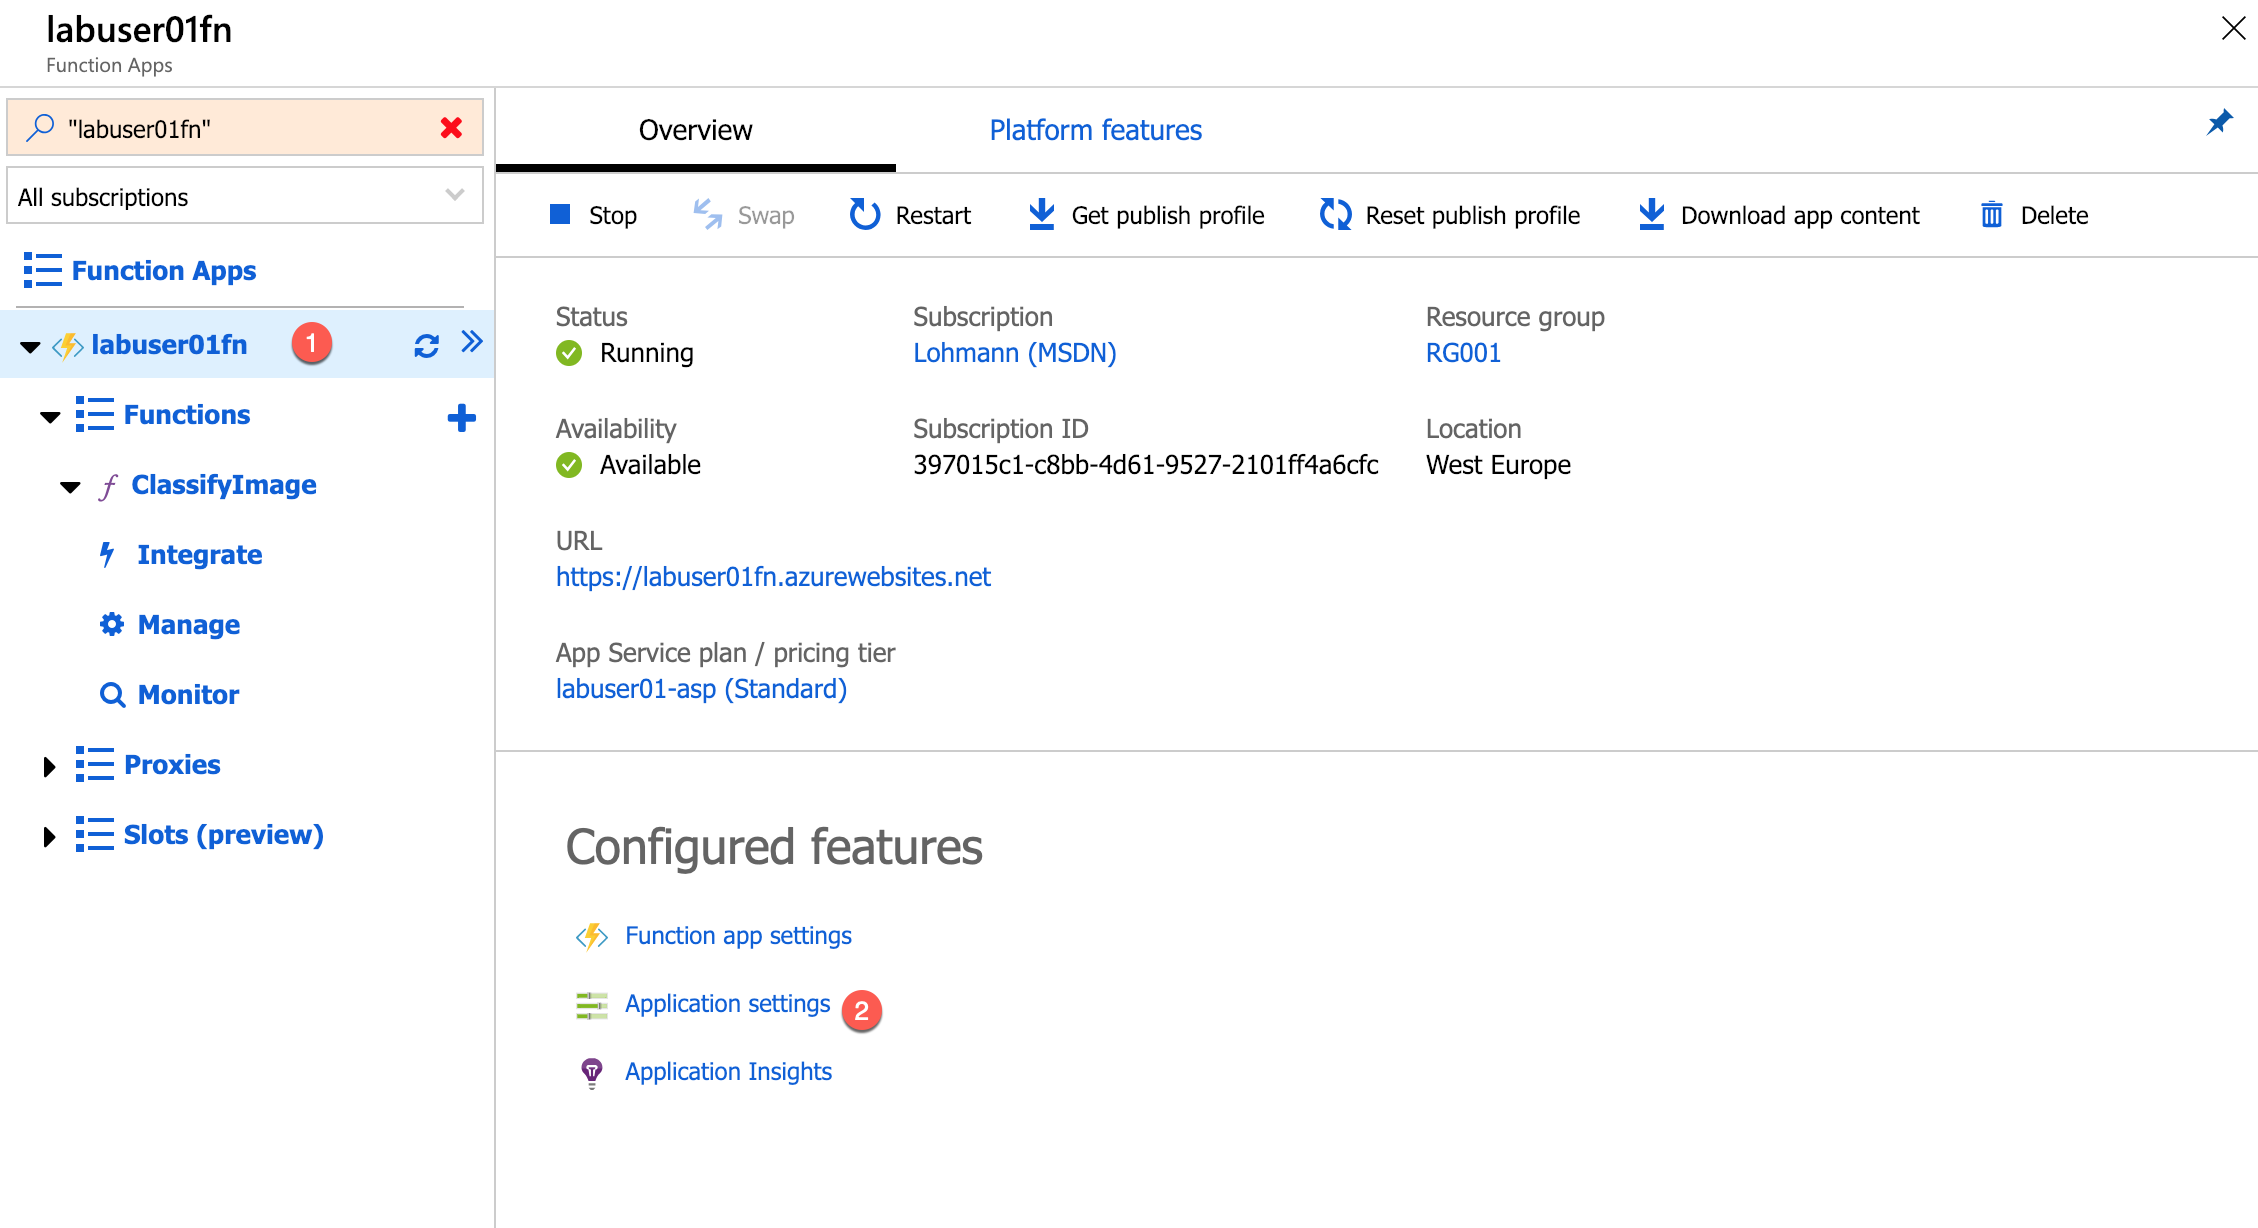
-
Scroll down to the “Application settings” section.
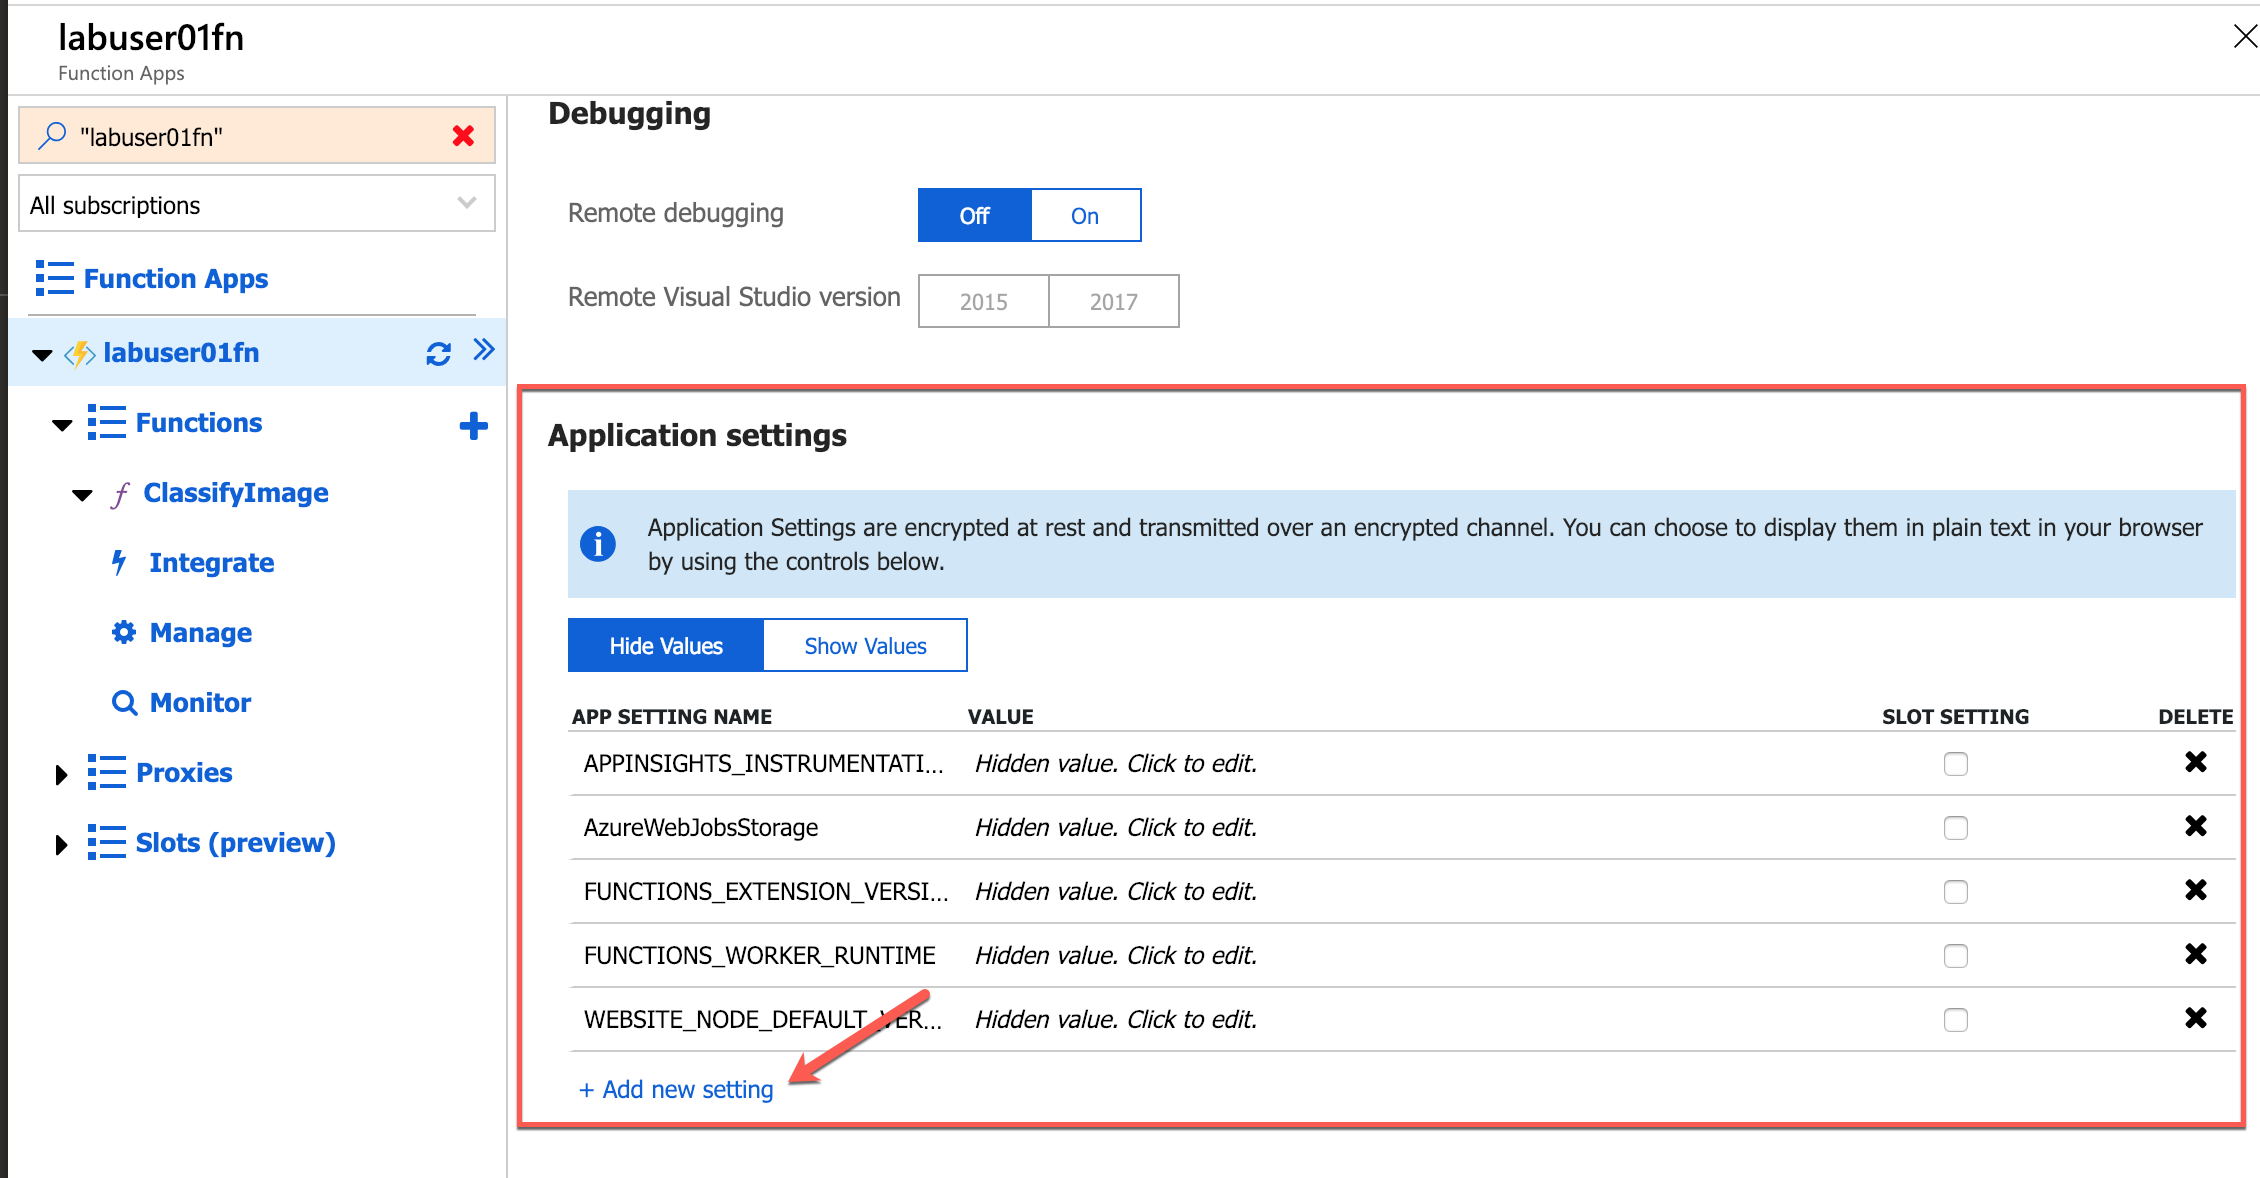
-
Add a new app setting named
SubscriptionKey, and paste the subscription key from the Vision Service into the Value box. Then add a setting namedVisionEndpointand set its value to the endpoint URL you saved previously.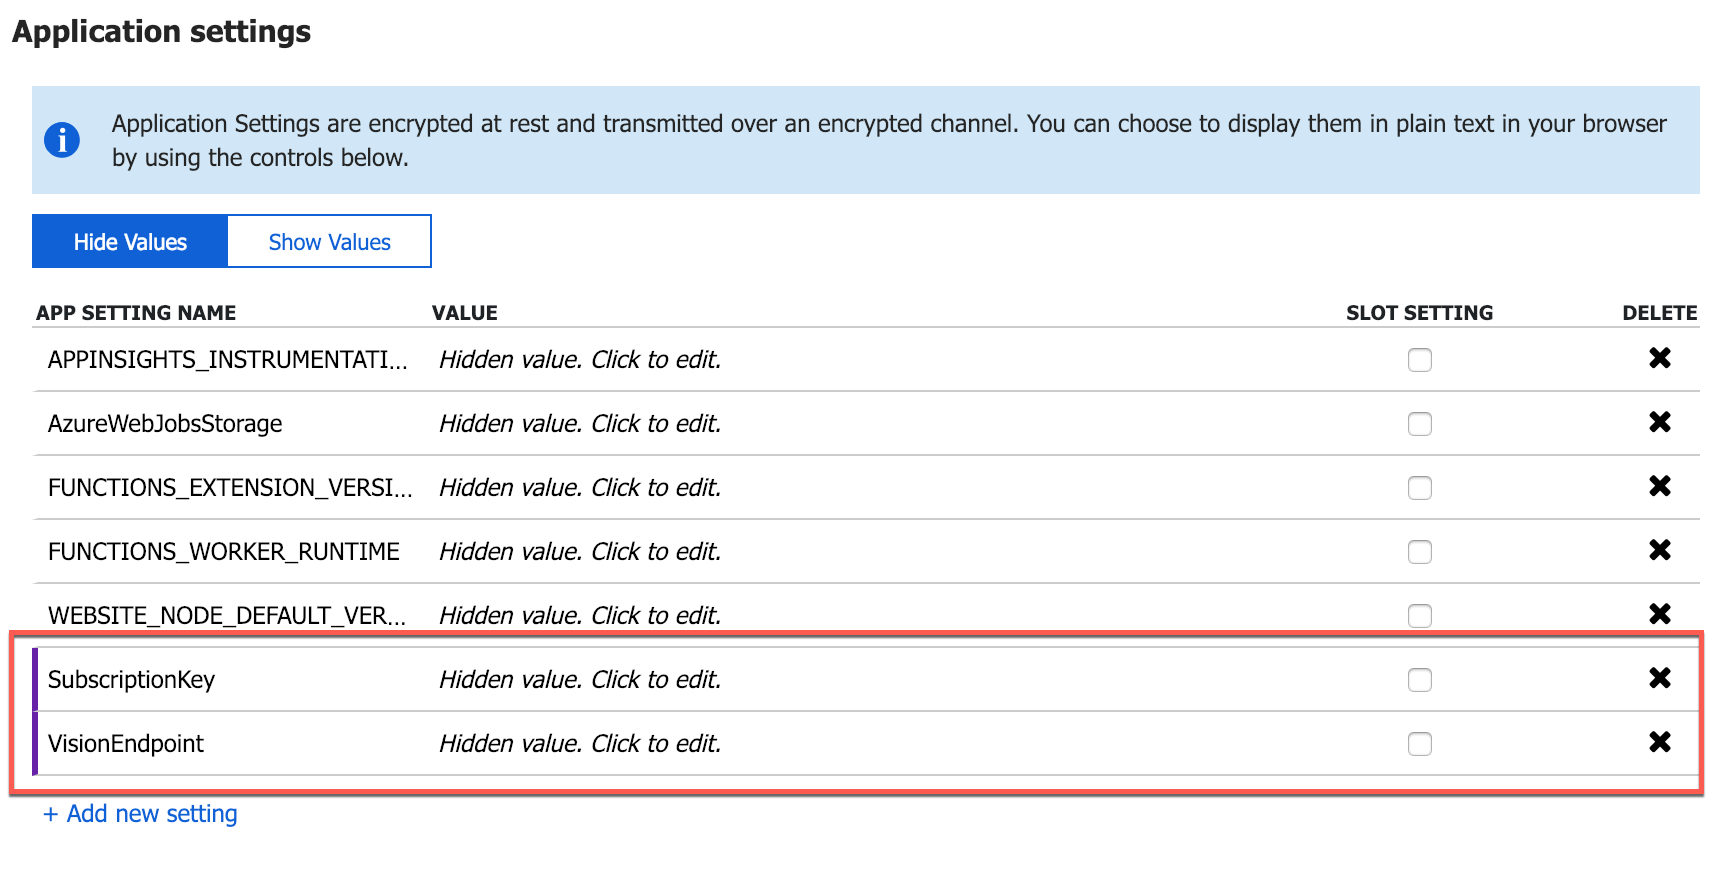
-
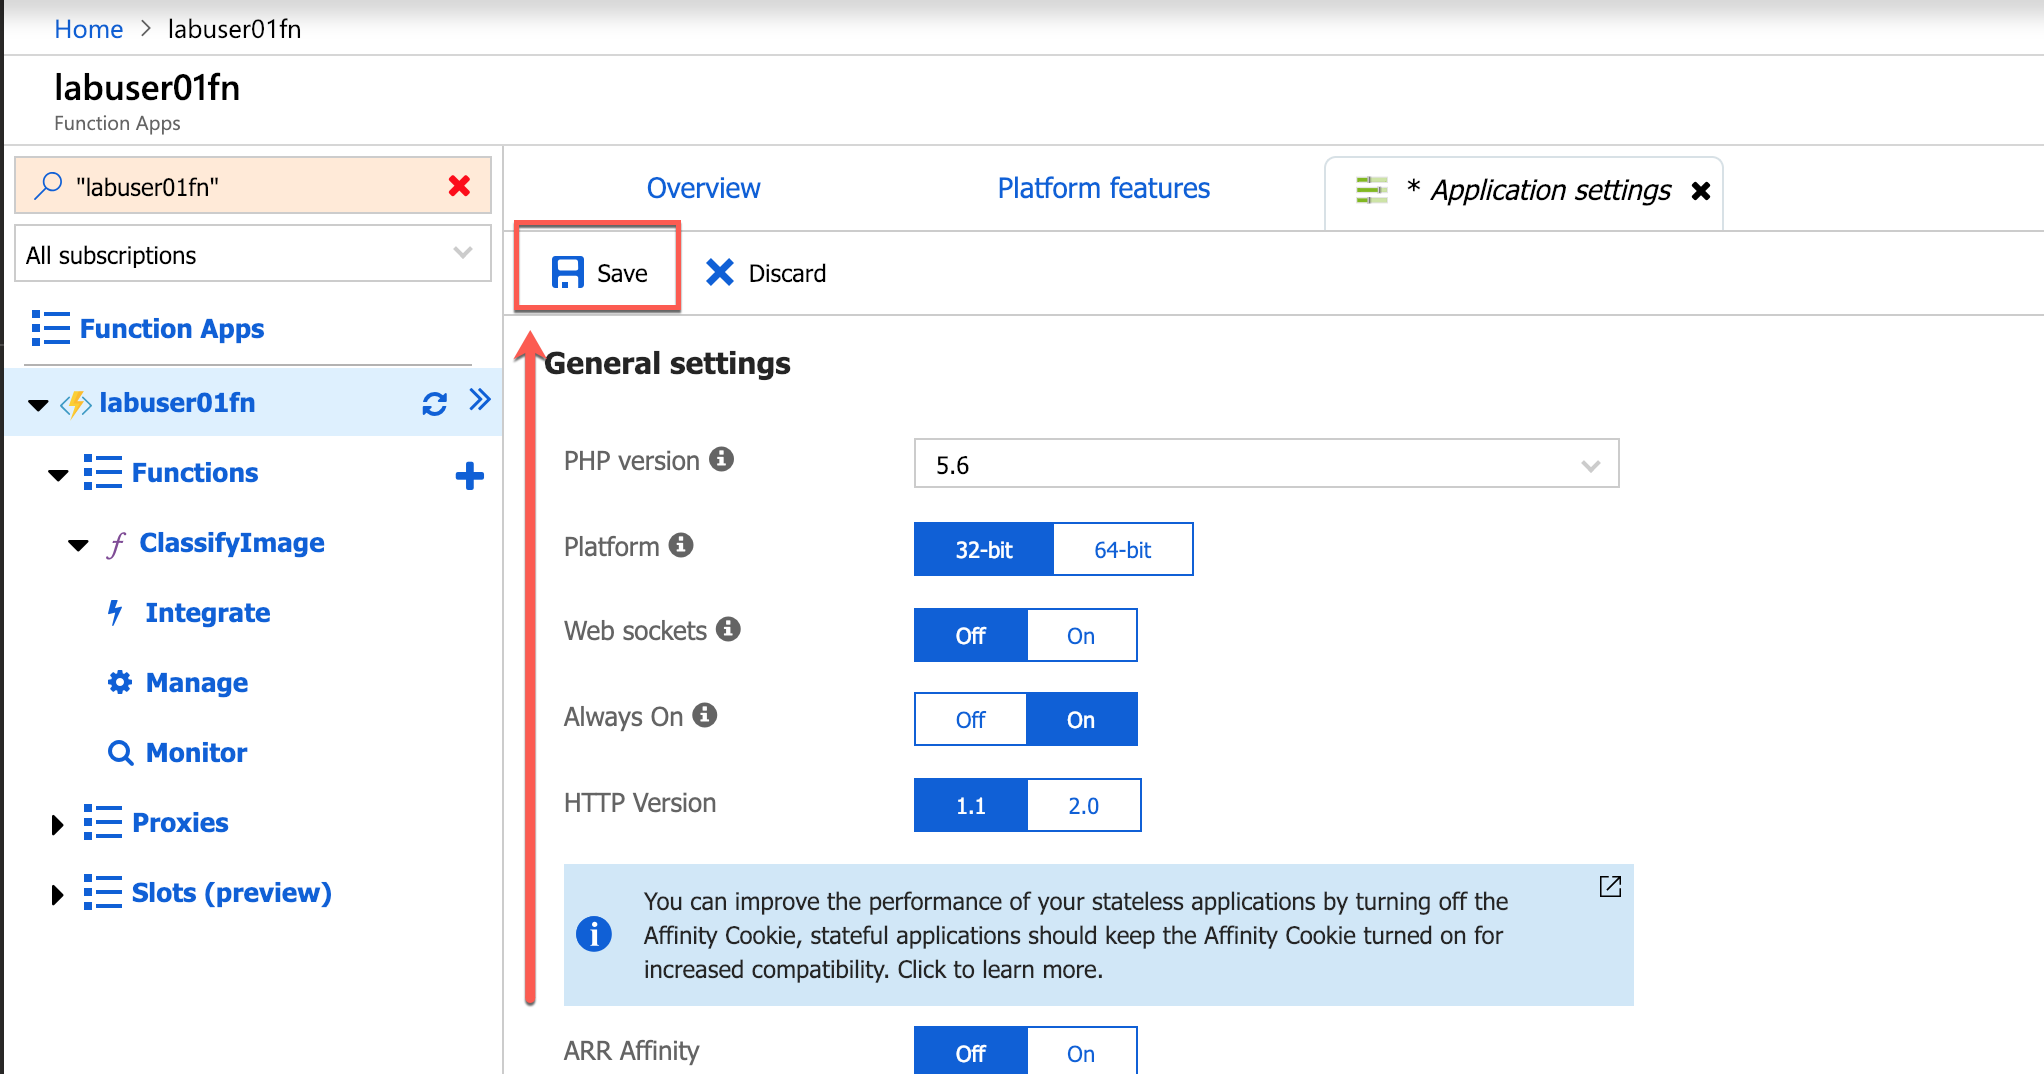
Finish up by clicking Save at the top of the blade.
-
The app settings are now configured for your Azure Function. The work of writing and configuring the Azure Function is complete. Now comes the fun part: testing it out.
Exercise 4: Test the Azure Function
Your function is configured to listen for changes to the blob container named uploaded that you created in Exercise 1. Each time an image appears in the container, the function executes and passes the image to the Computer Vision API for analysis. To test the function, you simply upload images to the container. In this exercise, you will use the Azure Portal to upload images to the uploaded container and verify that copies of the images are placed in the accepted and rejected containers.
-
In the Azure Portal, go to the resource group created for your Function App. Then click the storage account that was created for it.
-
Click Blobs to view the contents of blob storage.
-
Click uploaded to open the “uploaded” container.
-
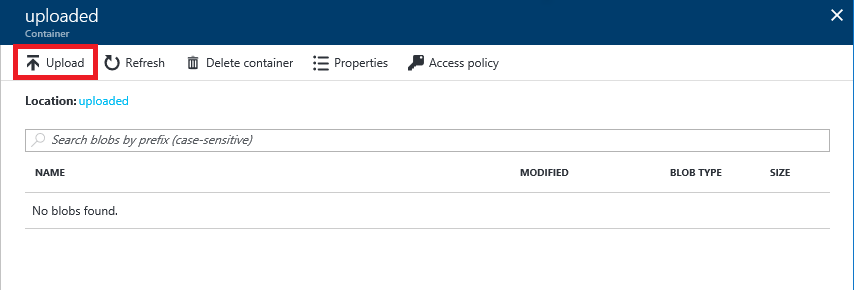
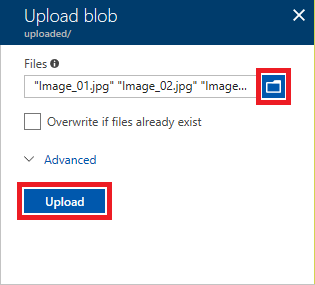
Click Upload.
-
Click the button with the folder icon to the right of the Files box. Select all of the files in this lab’s “Resources” folder. Then click the Upload button to upload the files to the “uploaded” container. If you have not downloaded the resources yet, click here to download a zip file containing the images used in this lab.
-
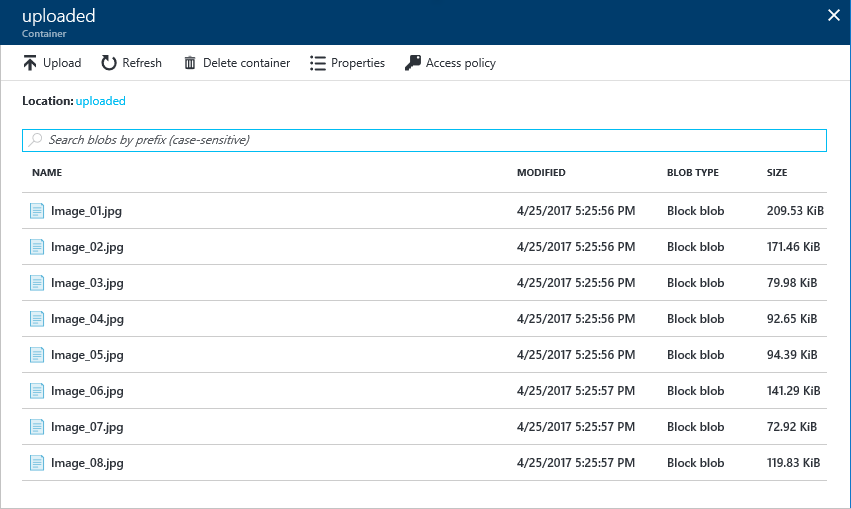
Return to the blade for the “uploaded” container and verify that eight images were uploaded.
-
Close the blade for the “uploaded” container and open the “accepted” container.
-
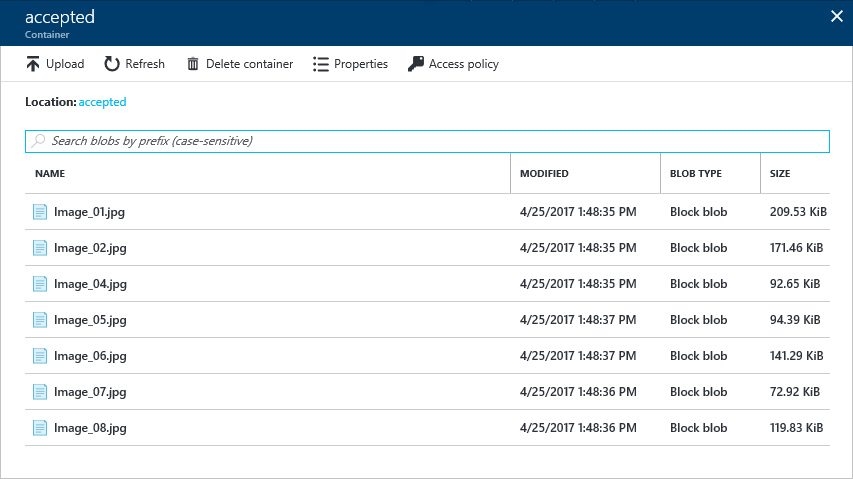
Verify that the “accepted” container holds seven images. These are the images that were classified as neither adult nor racy by the Computer Vision API.
Because you chose “Consumption Plan” when creating the Function App, it may take a few minutes for all of the images to appear in the container. If necessary, click Refresh periodically until you see all seven images.
-
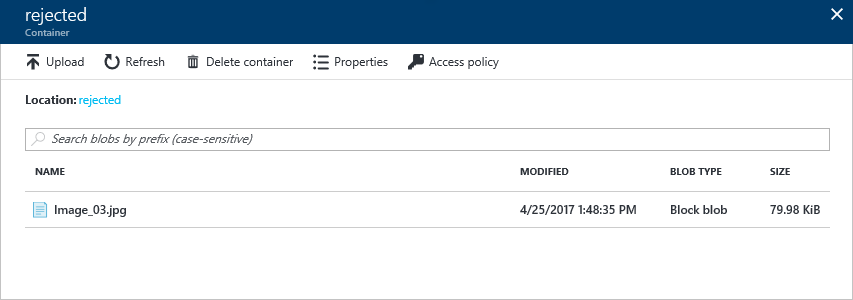
Close the blade for the “accepted” container and open the blade for the “rejected” container. Verify that the “rejected” container holds one image. This image was classified as adult or racy (or both) by the Computer Vision API.
The presence of seven images in the “accepted” container and one in the “rejected” container is proof that your Azure Function executed each time an image was uploaded to the “uploaded” container. If you would like, return to the BlobImageAnalysis function in the portal and click Monitor. You will see a log detailing each time the function executed.
Exercise 5: View blob metadata
What if you would like to view the scores for adult content and raciness returned by the Computer Vision API for each image uploaded to the “uploaded” container? The scores are stored in blob metadata for the images in the “accepted” and “rejected” containers, but blob metadata can’t be viewed through the Azure Portal.
In this exercise, you will use the cross-platform Microsoft Azure Storage Explorer to view blob metadata and see how the Computer Vision API scored the images you uploaded. Alternatively, you can also use the Azure Portal and the built-in storage explorer.
-
If you haven’t installed the Microsoft Azure Storage Explorer, go to https://storageexplorer.com and install it now. Versions are available for Windows, MacOS, and Linux.
-
Start Storage Explorer. If you are asked to log in, do so using the same account you used to log in to the Azure Portal.
-
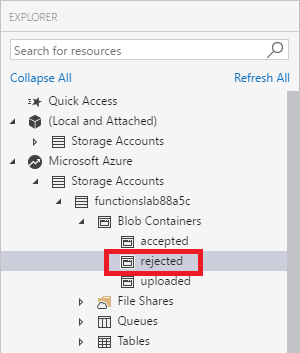
Find the storage account that was created for your Azure Function App in Exercise 1 and expand the list of blob containers underneath it. Then click the container named “rejected.”
-
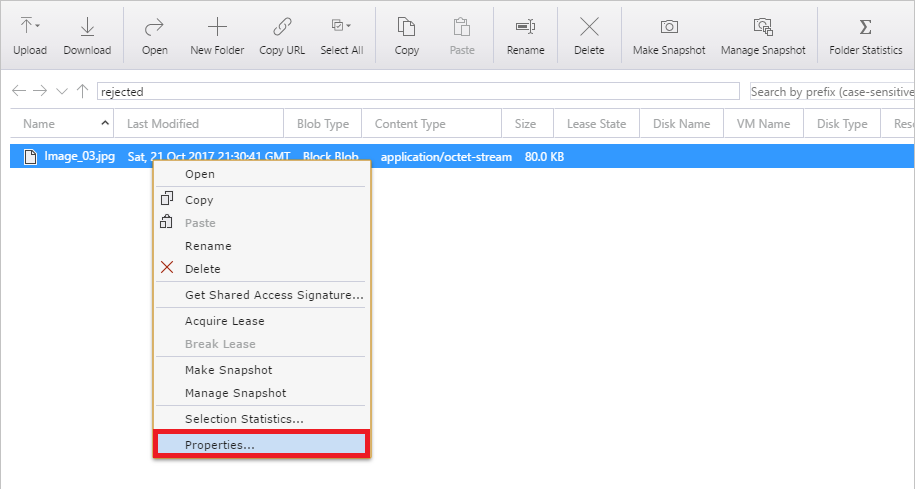
Right-click (on a Mac, Command-click) the image in the “rejected” container and select Properties from the context menu.
-
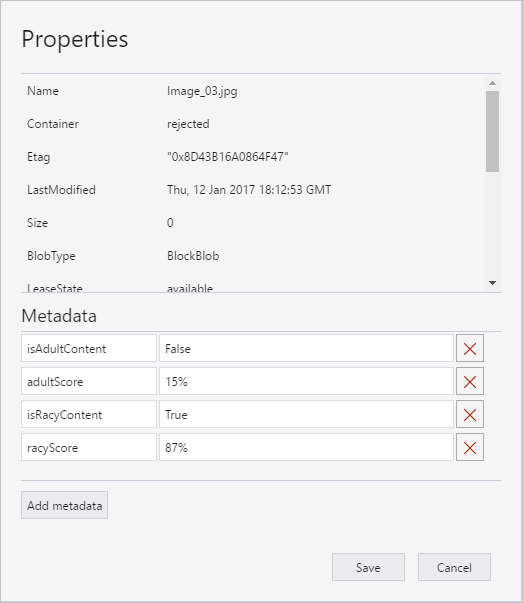
Inspect the blob’s metadata. IsAdultContent and isRacyContent are Boolean values that indicate whether the Computer Vision API detected adult or racy content in the image. adultScore and racyScore are the computed probabilities.
-
Open the “accepted” container and inspect the metadata for some of the blobs stored there. How do these metadata values differ from the ones attached to the blob in the “rejected” container?
You can probably imagine how this might be used in the real world. Suppose you were building a photo-sharing site and wanted to prevent adult images from being stored. You could easily write an Azure Function that inspects each image that is uploaded and deletes it from storage if it contains adult content.
Exercise 6: Add an Azure Logic App to Report Rejections
-
Create a new Azure Logic App by using the resource creation dialog and searching for
logic: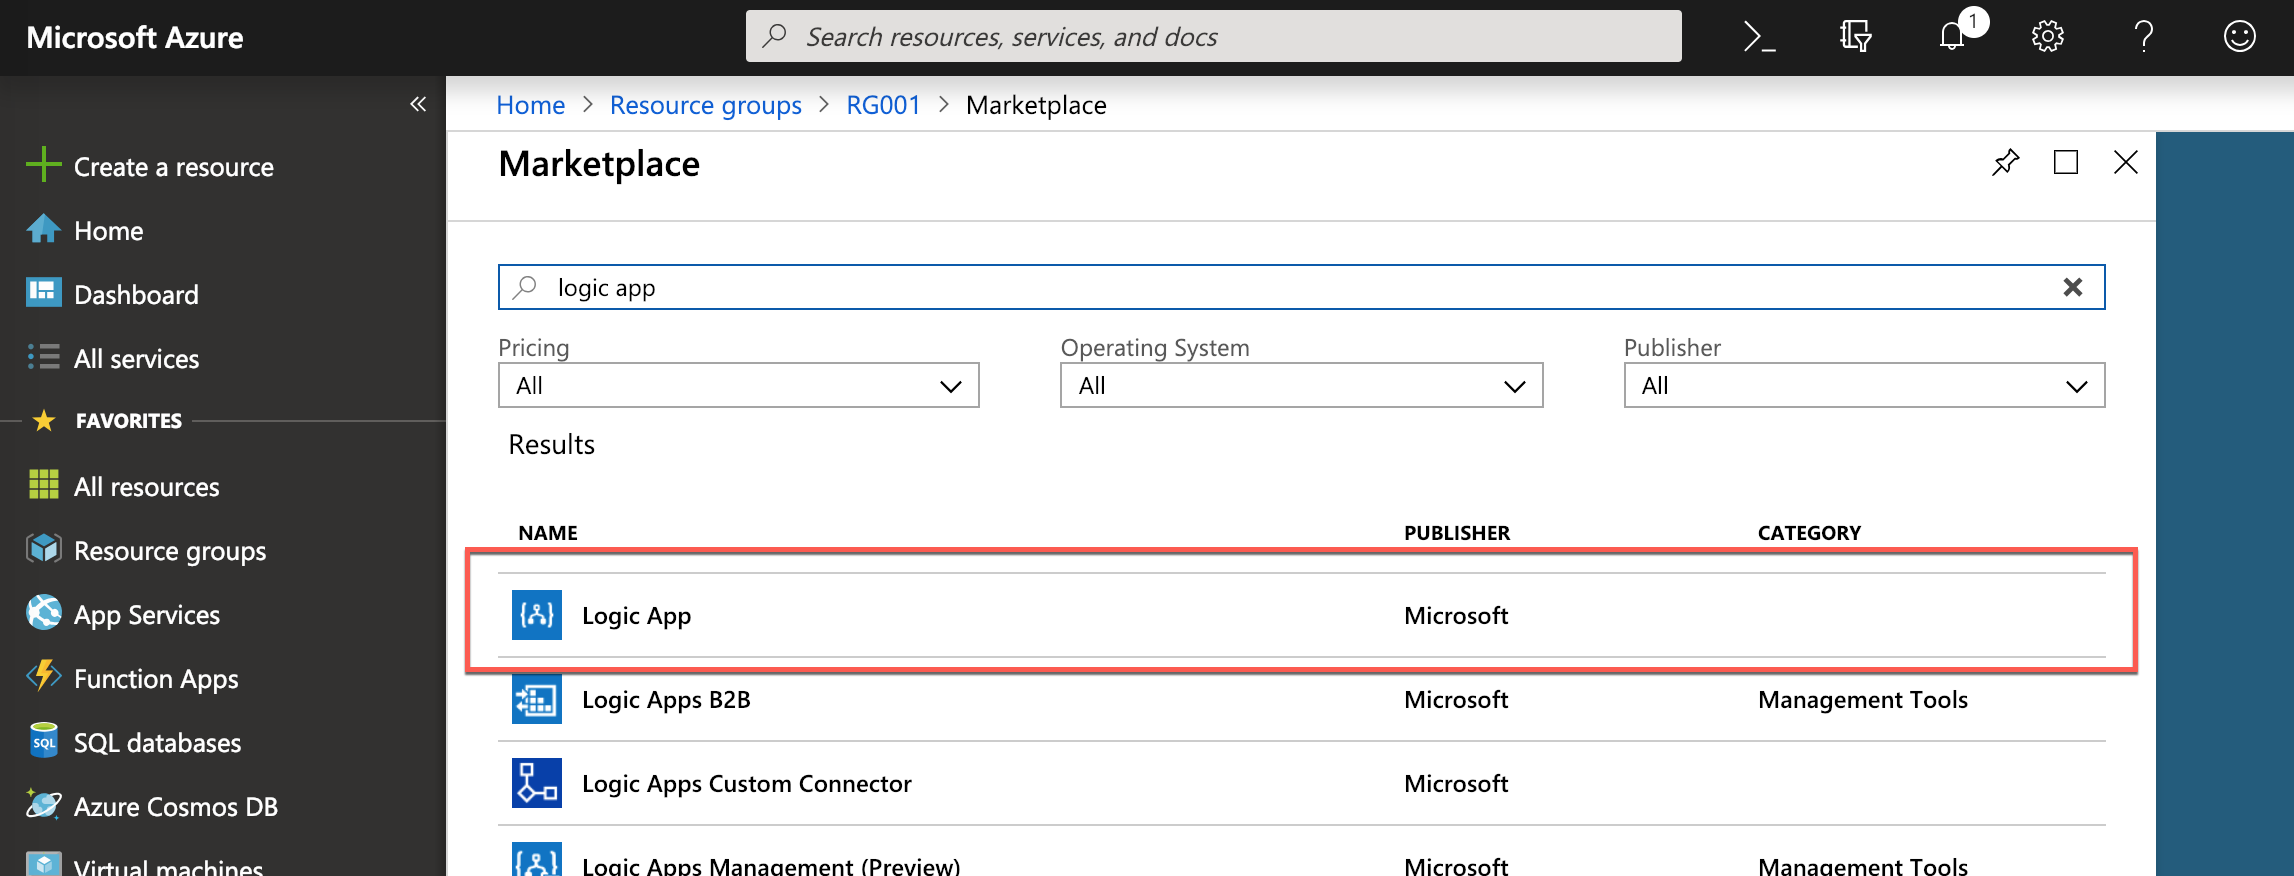
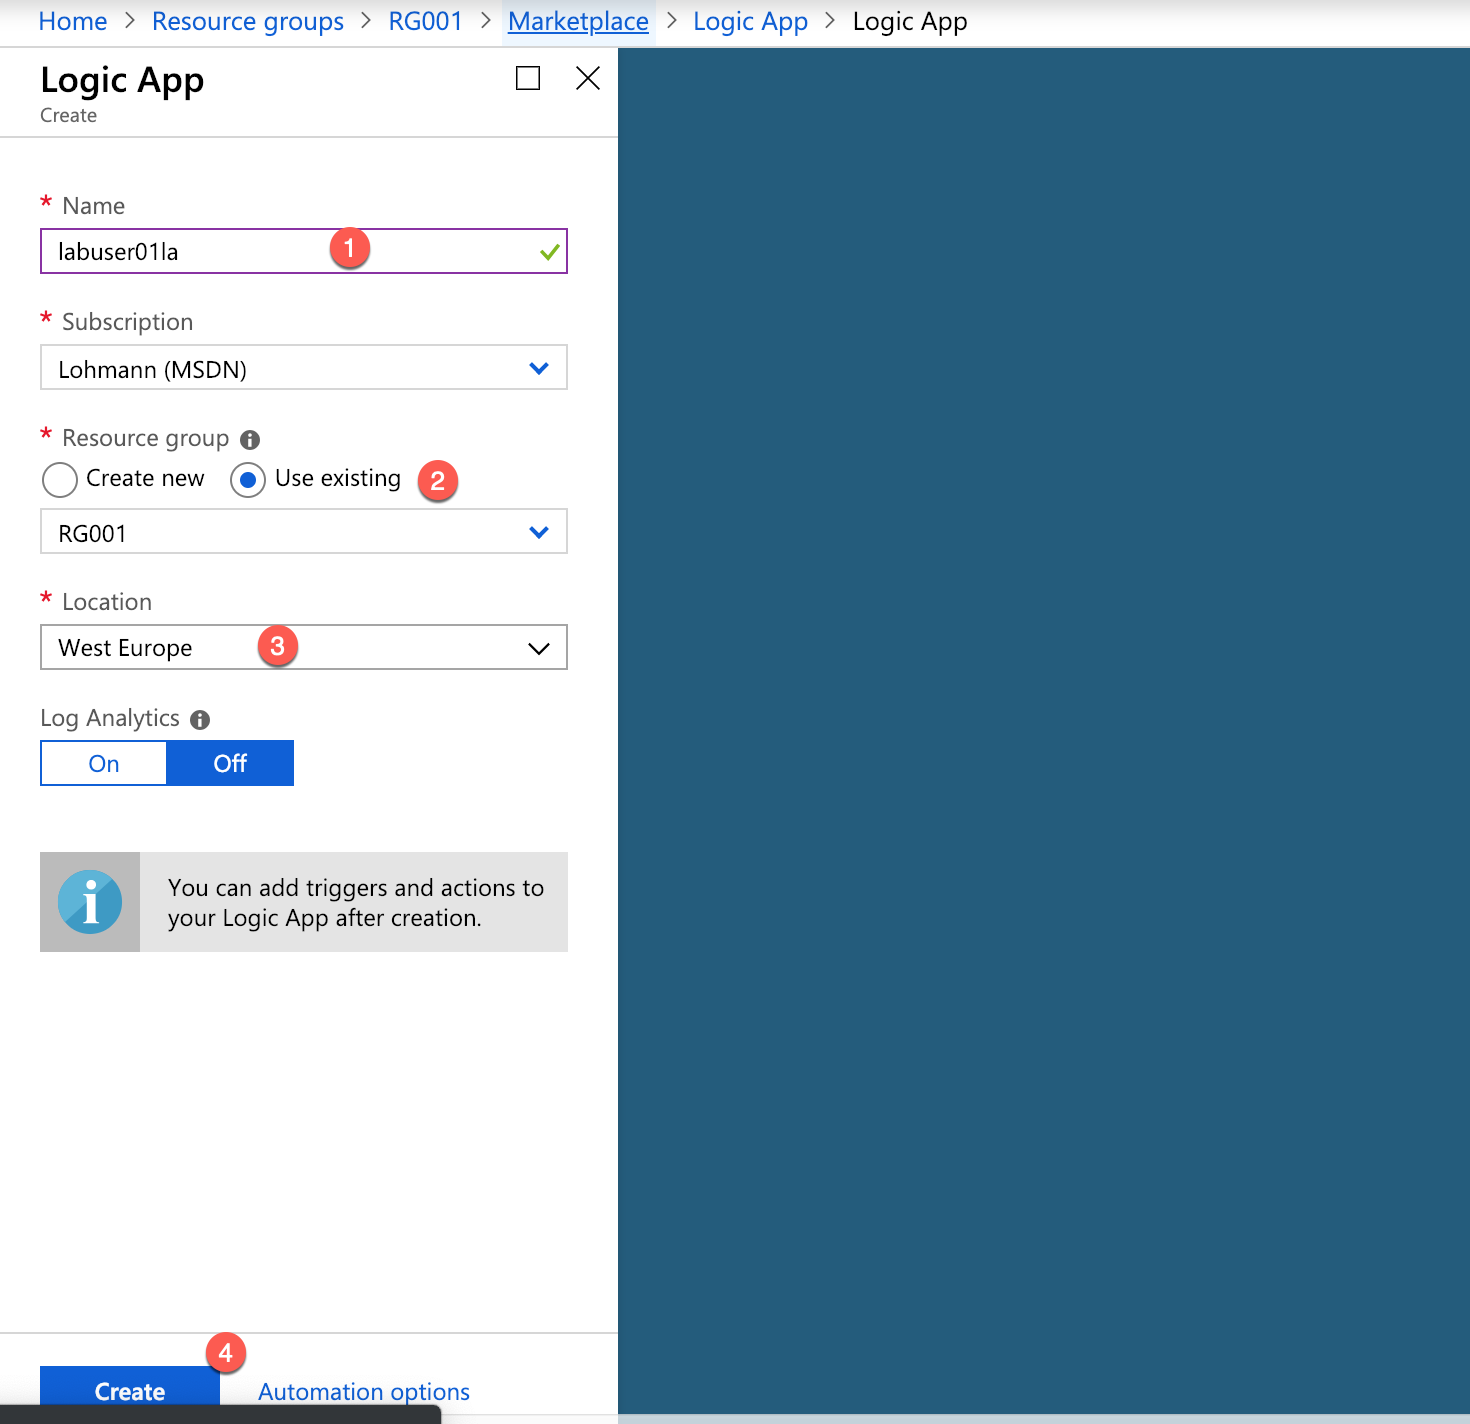
-
In the creation wizard provide a custom name (1) and re-use the existing resource group (2):
-
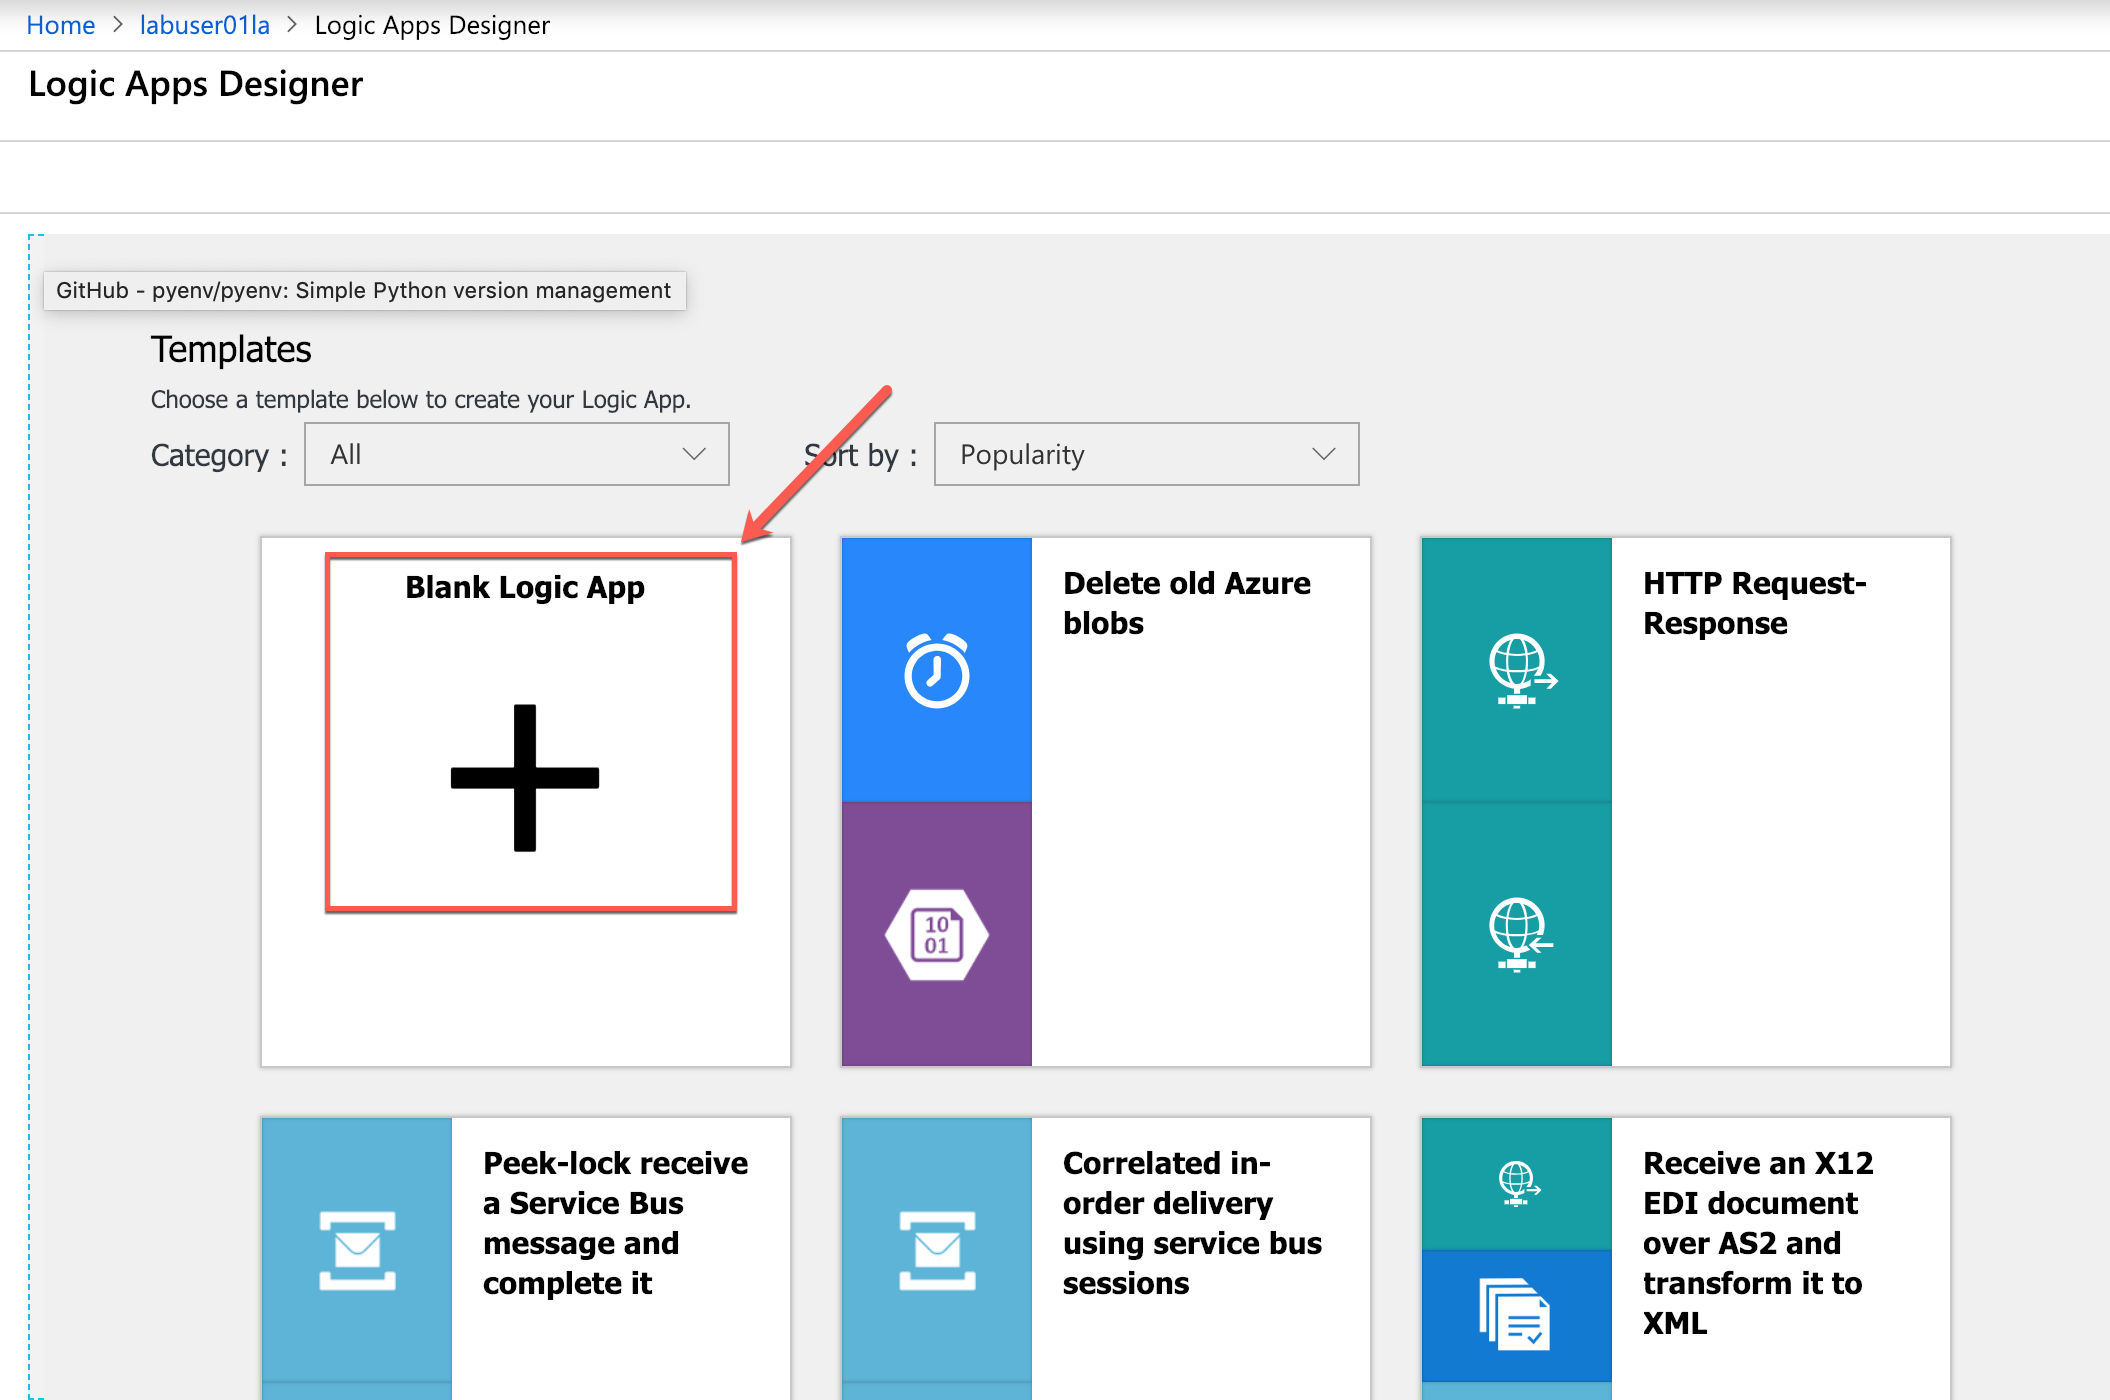
When the logic app has been created, open it. You will see a welcome screen and need to scroll down…

-
… and select ‘blank logic app’:
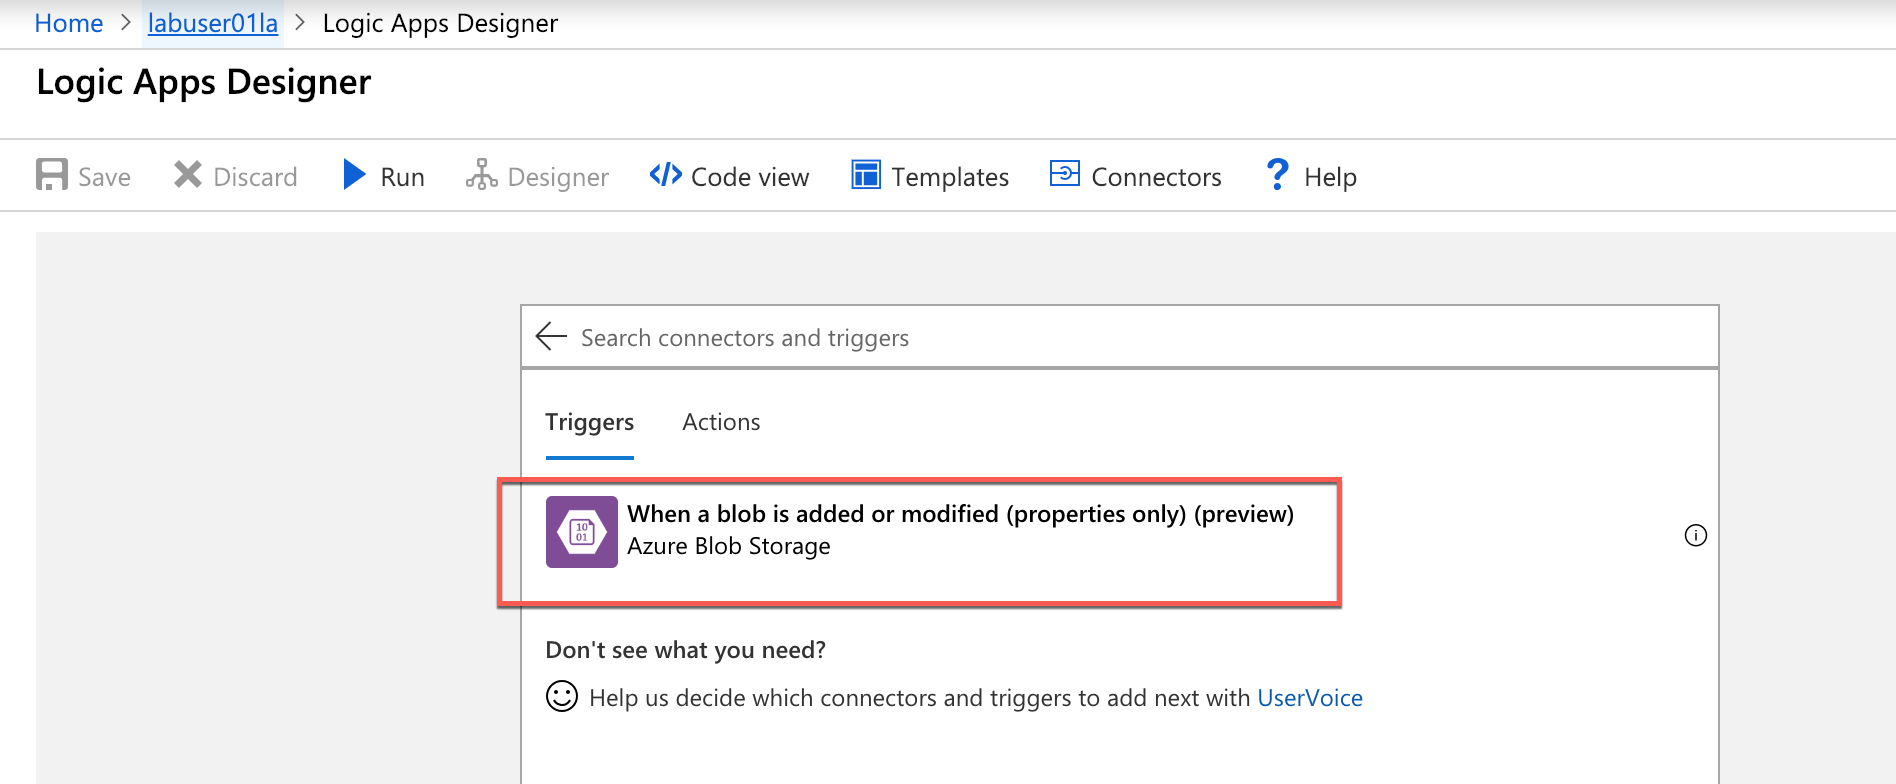
-
In the logic app designer search for the ‘When a blob is added or modified […]’ trigger:
-
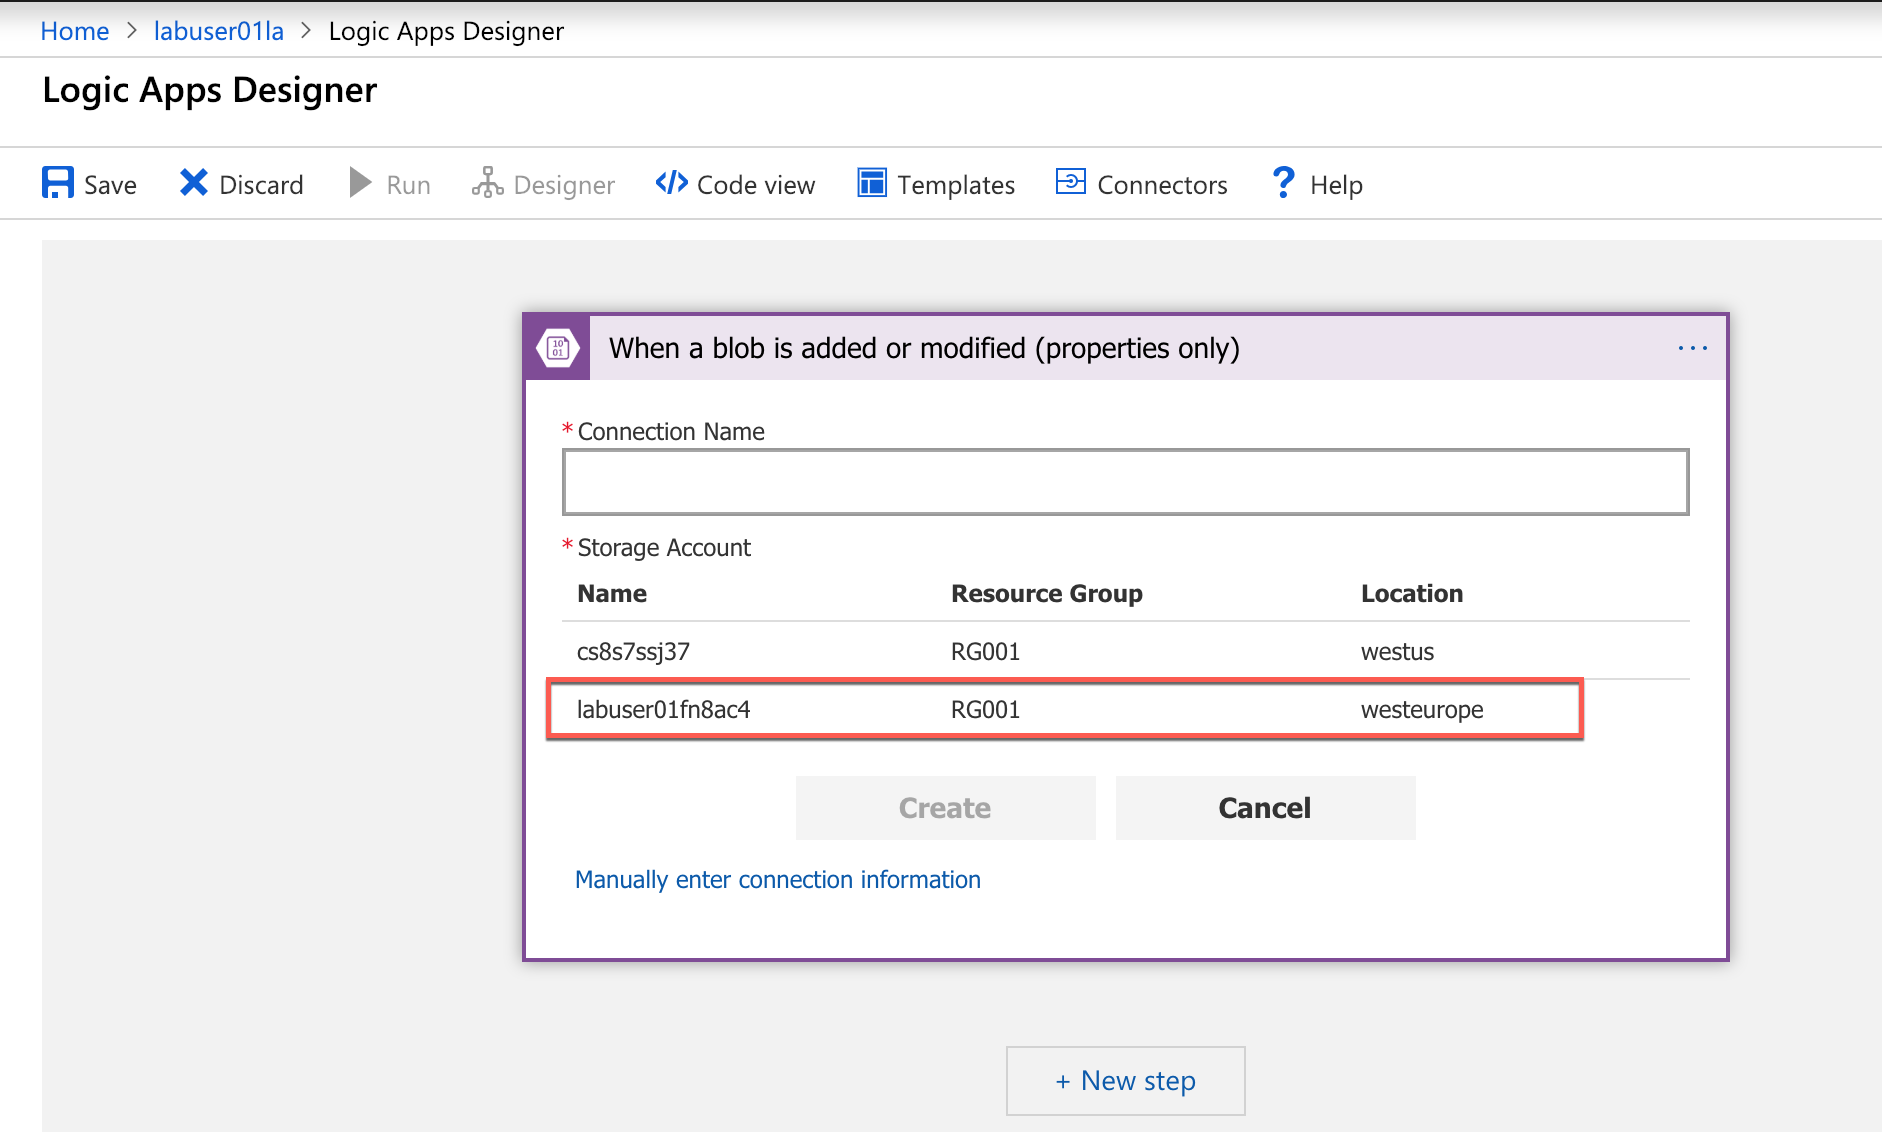
In the selection of the Azure Storage connection for that step, create a connection to the same storage account that we have been using the whole lab:
-
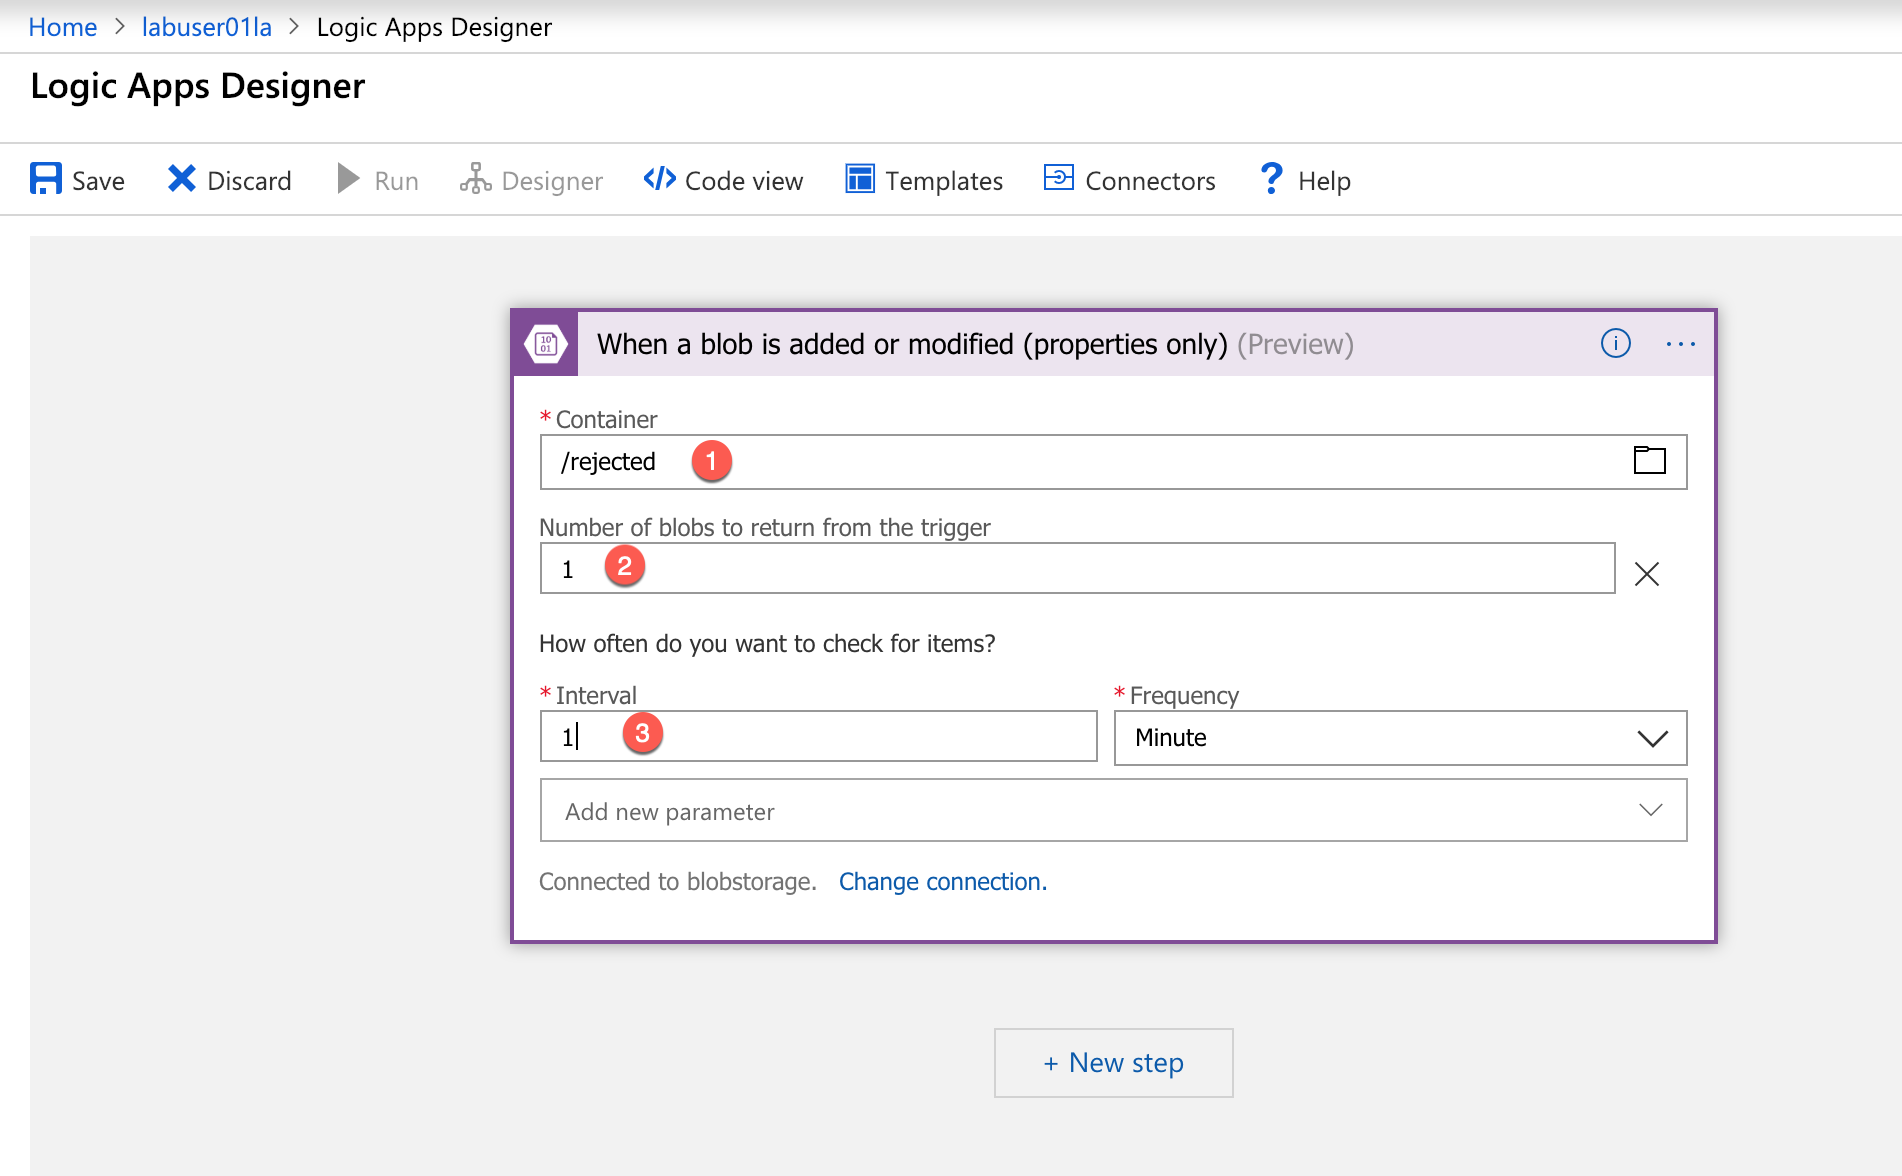
Fill in the details as depicted in the screenshot:
-
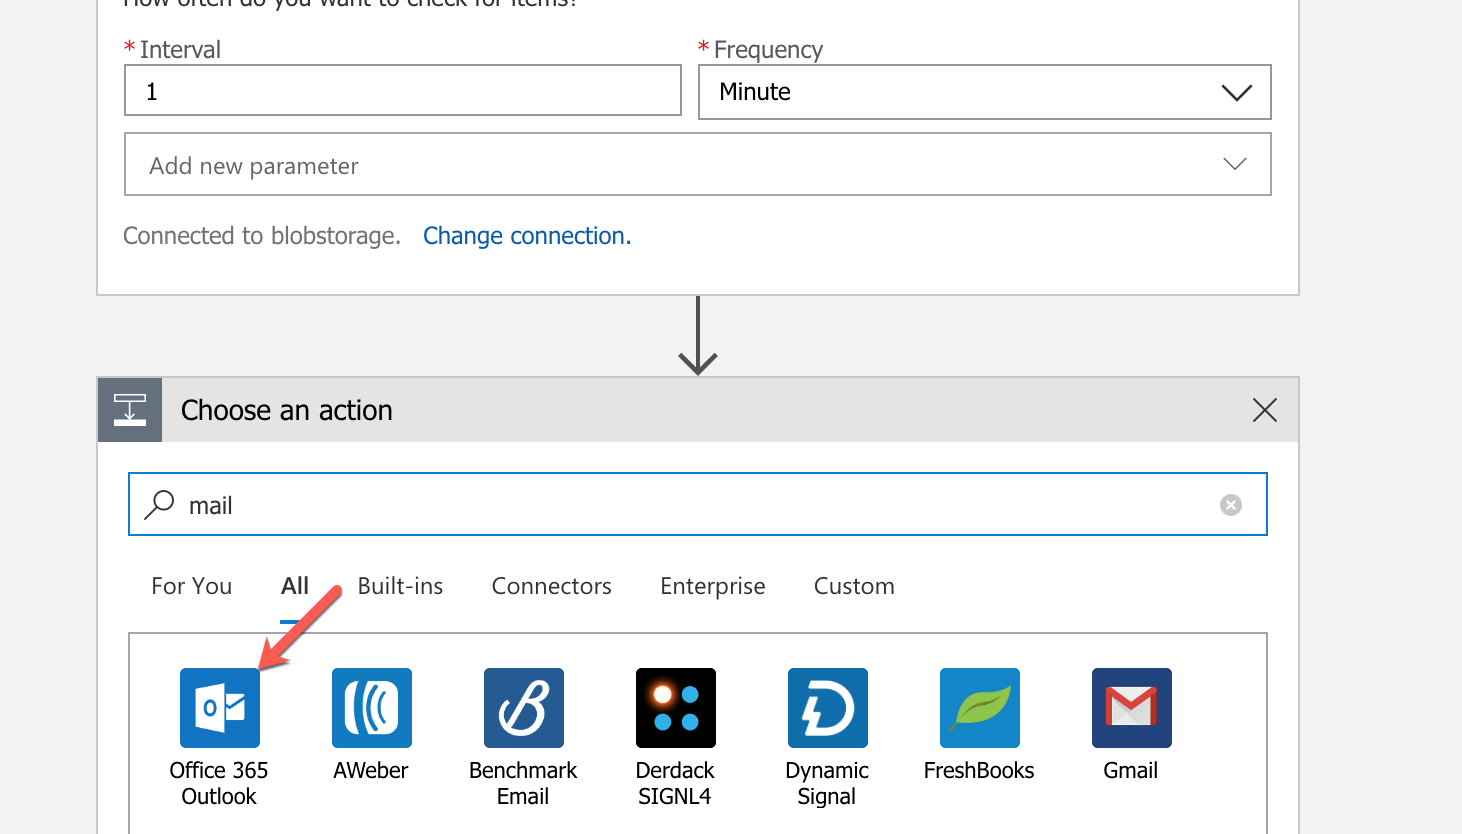
Next, we’ll append an action. Search for ‘Office 365 Outlook’ and select it:
-
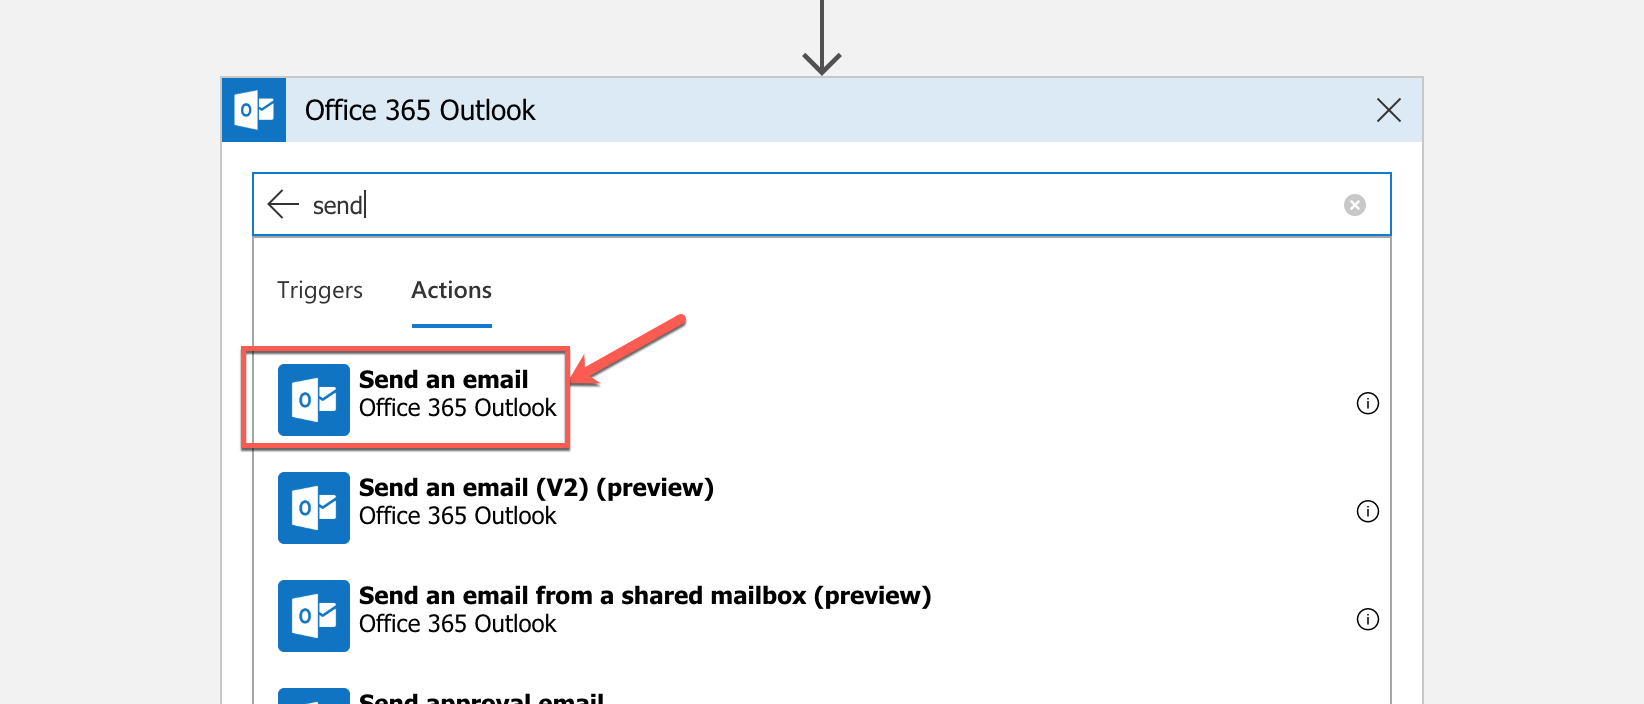
Select ‘Send an email’:
-
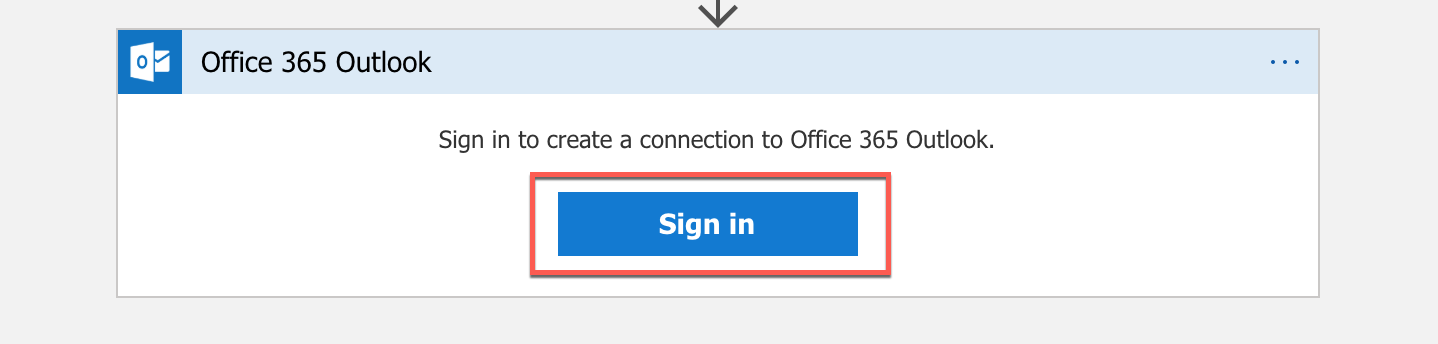
Press ‘Sign in’ and authenticate with the credentials provided by the lab instructor or you own:
-
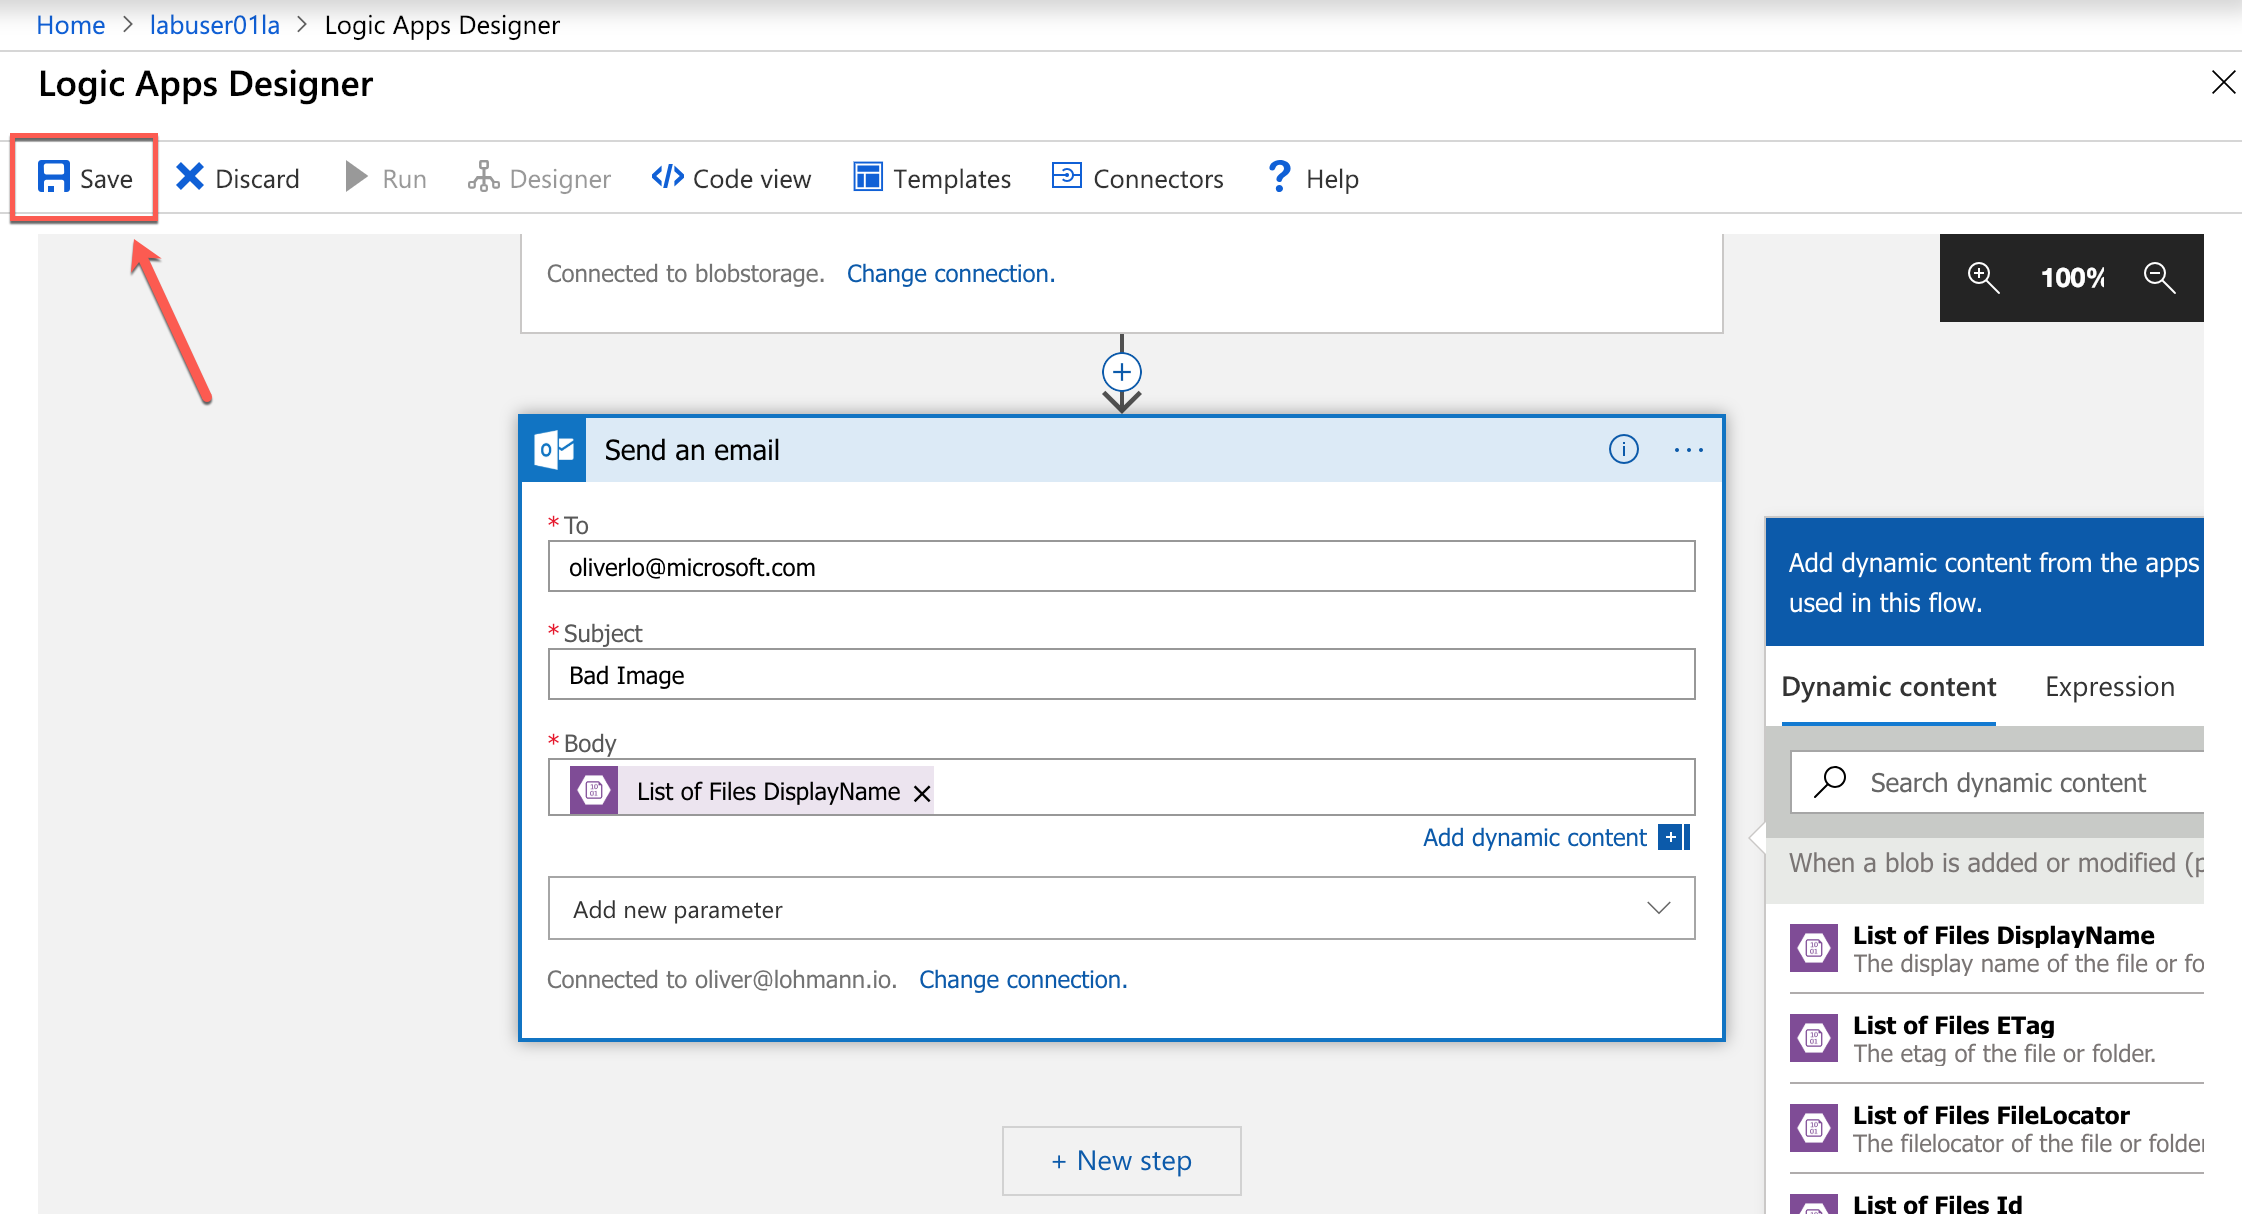
Again, fill in the details for this step. For the recipient mail address, please choose a mail you can verify:
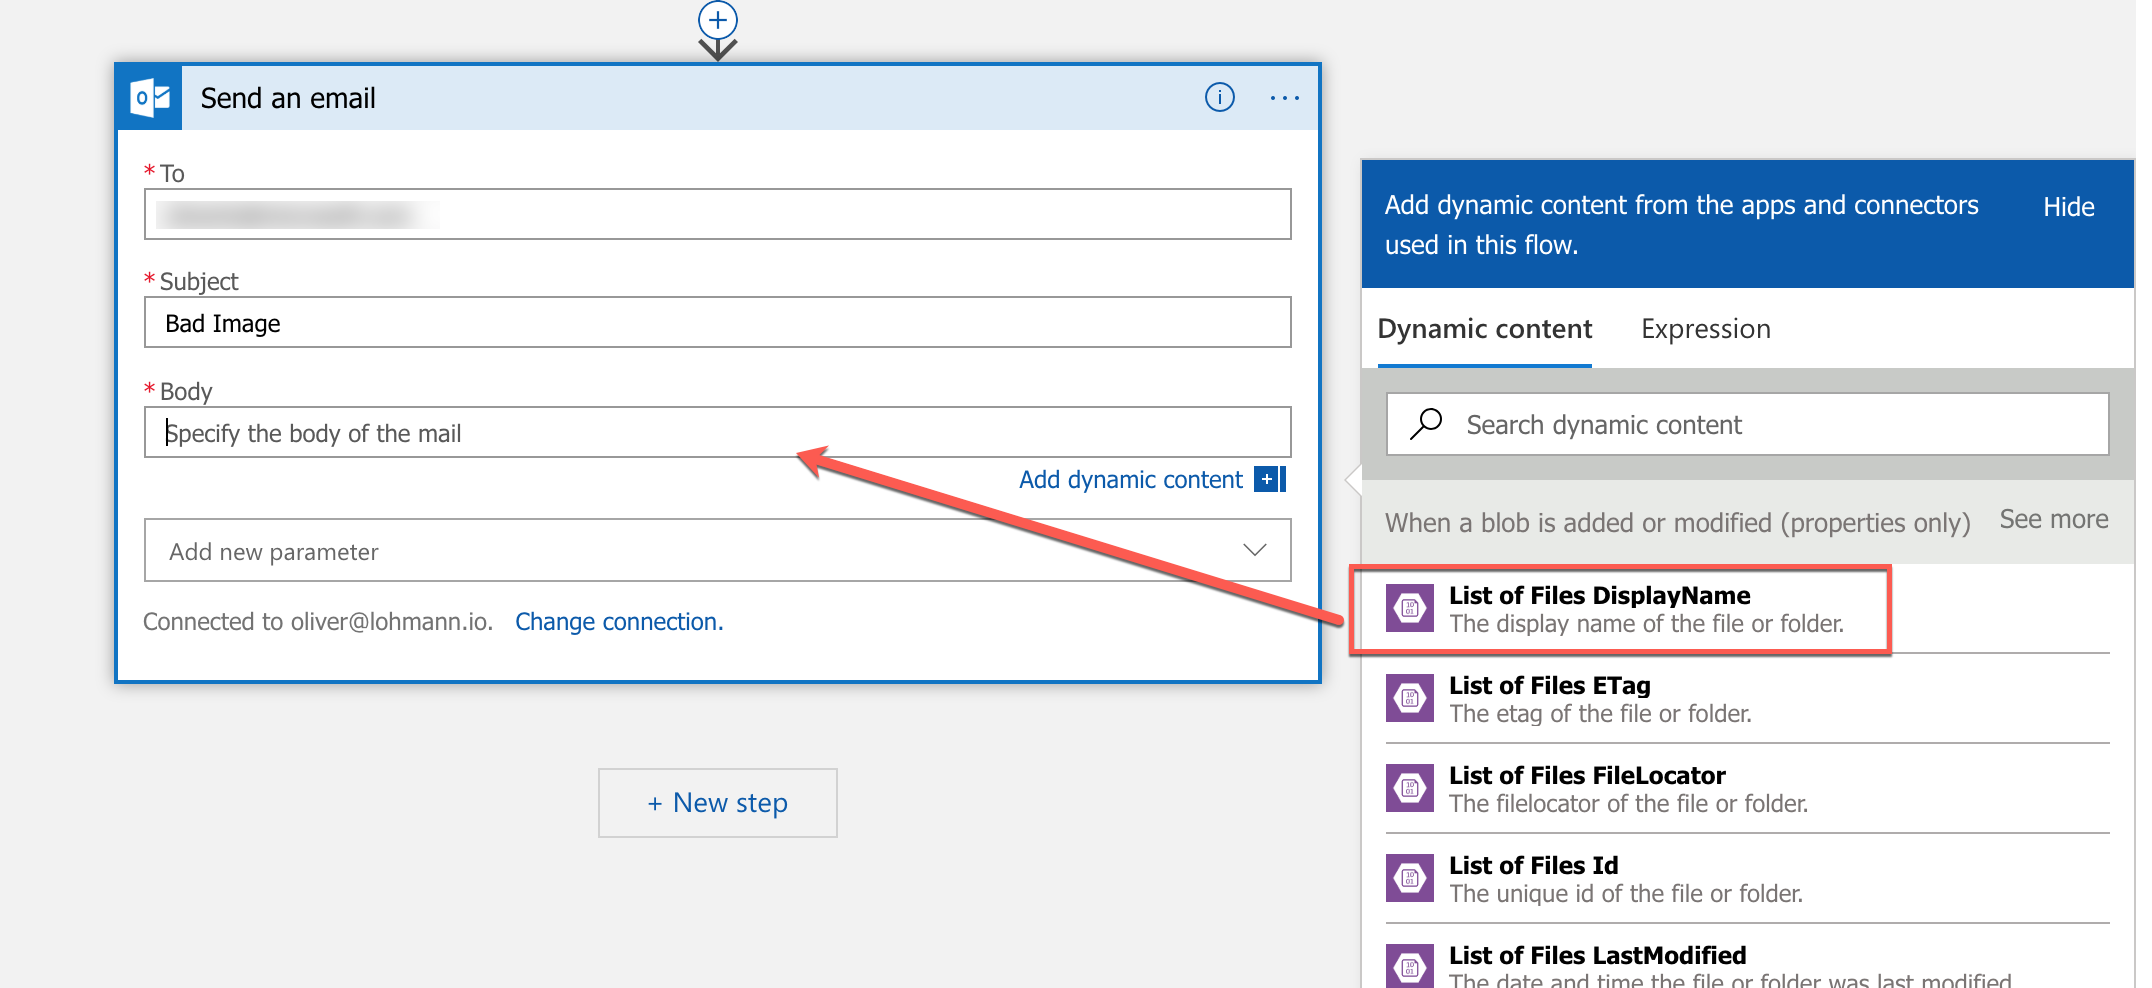
-
Hit ‘Save’:
-
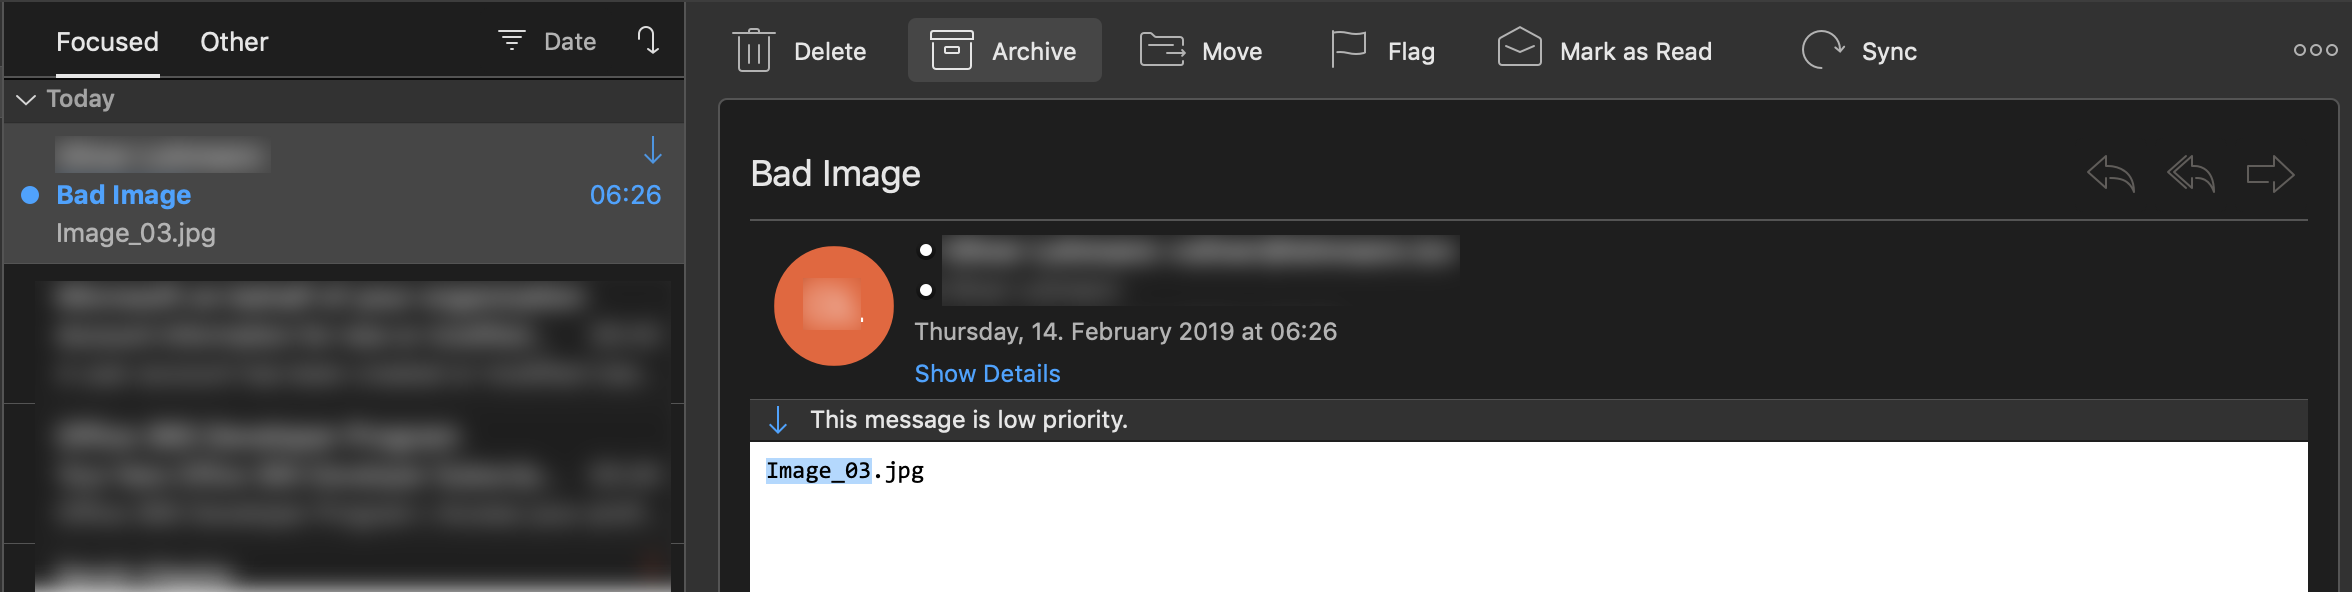
Upload the image
Image_03.jpgto theuploadedfolder. It will be processed by the Azure Function as before and will be put into therejectedcotntainer. There, our Azure Logic App Workflow will pick it up and will send out an email. -
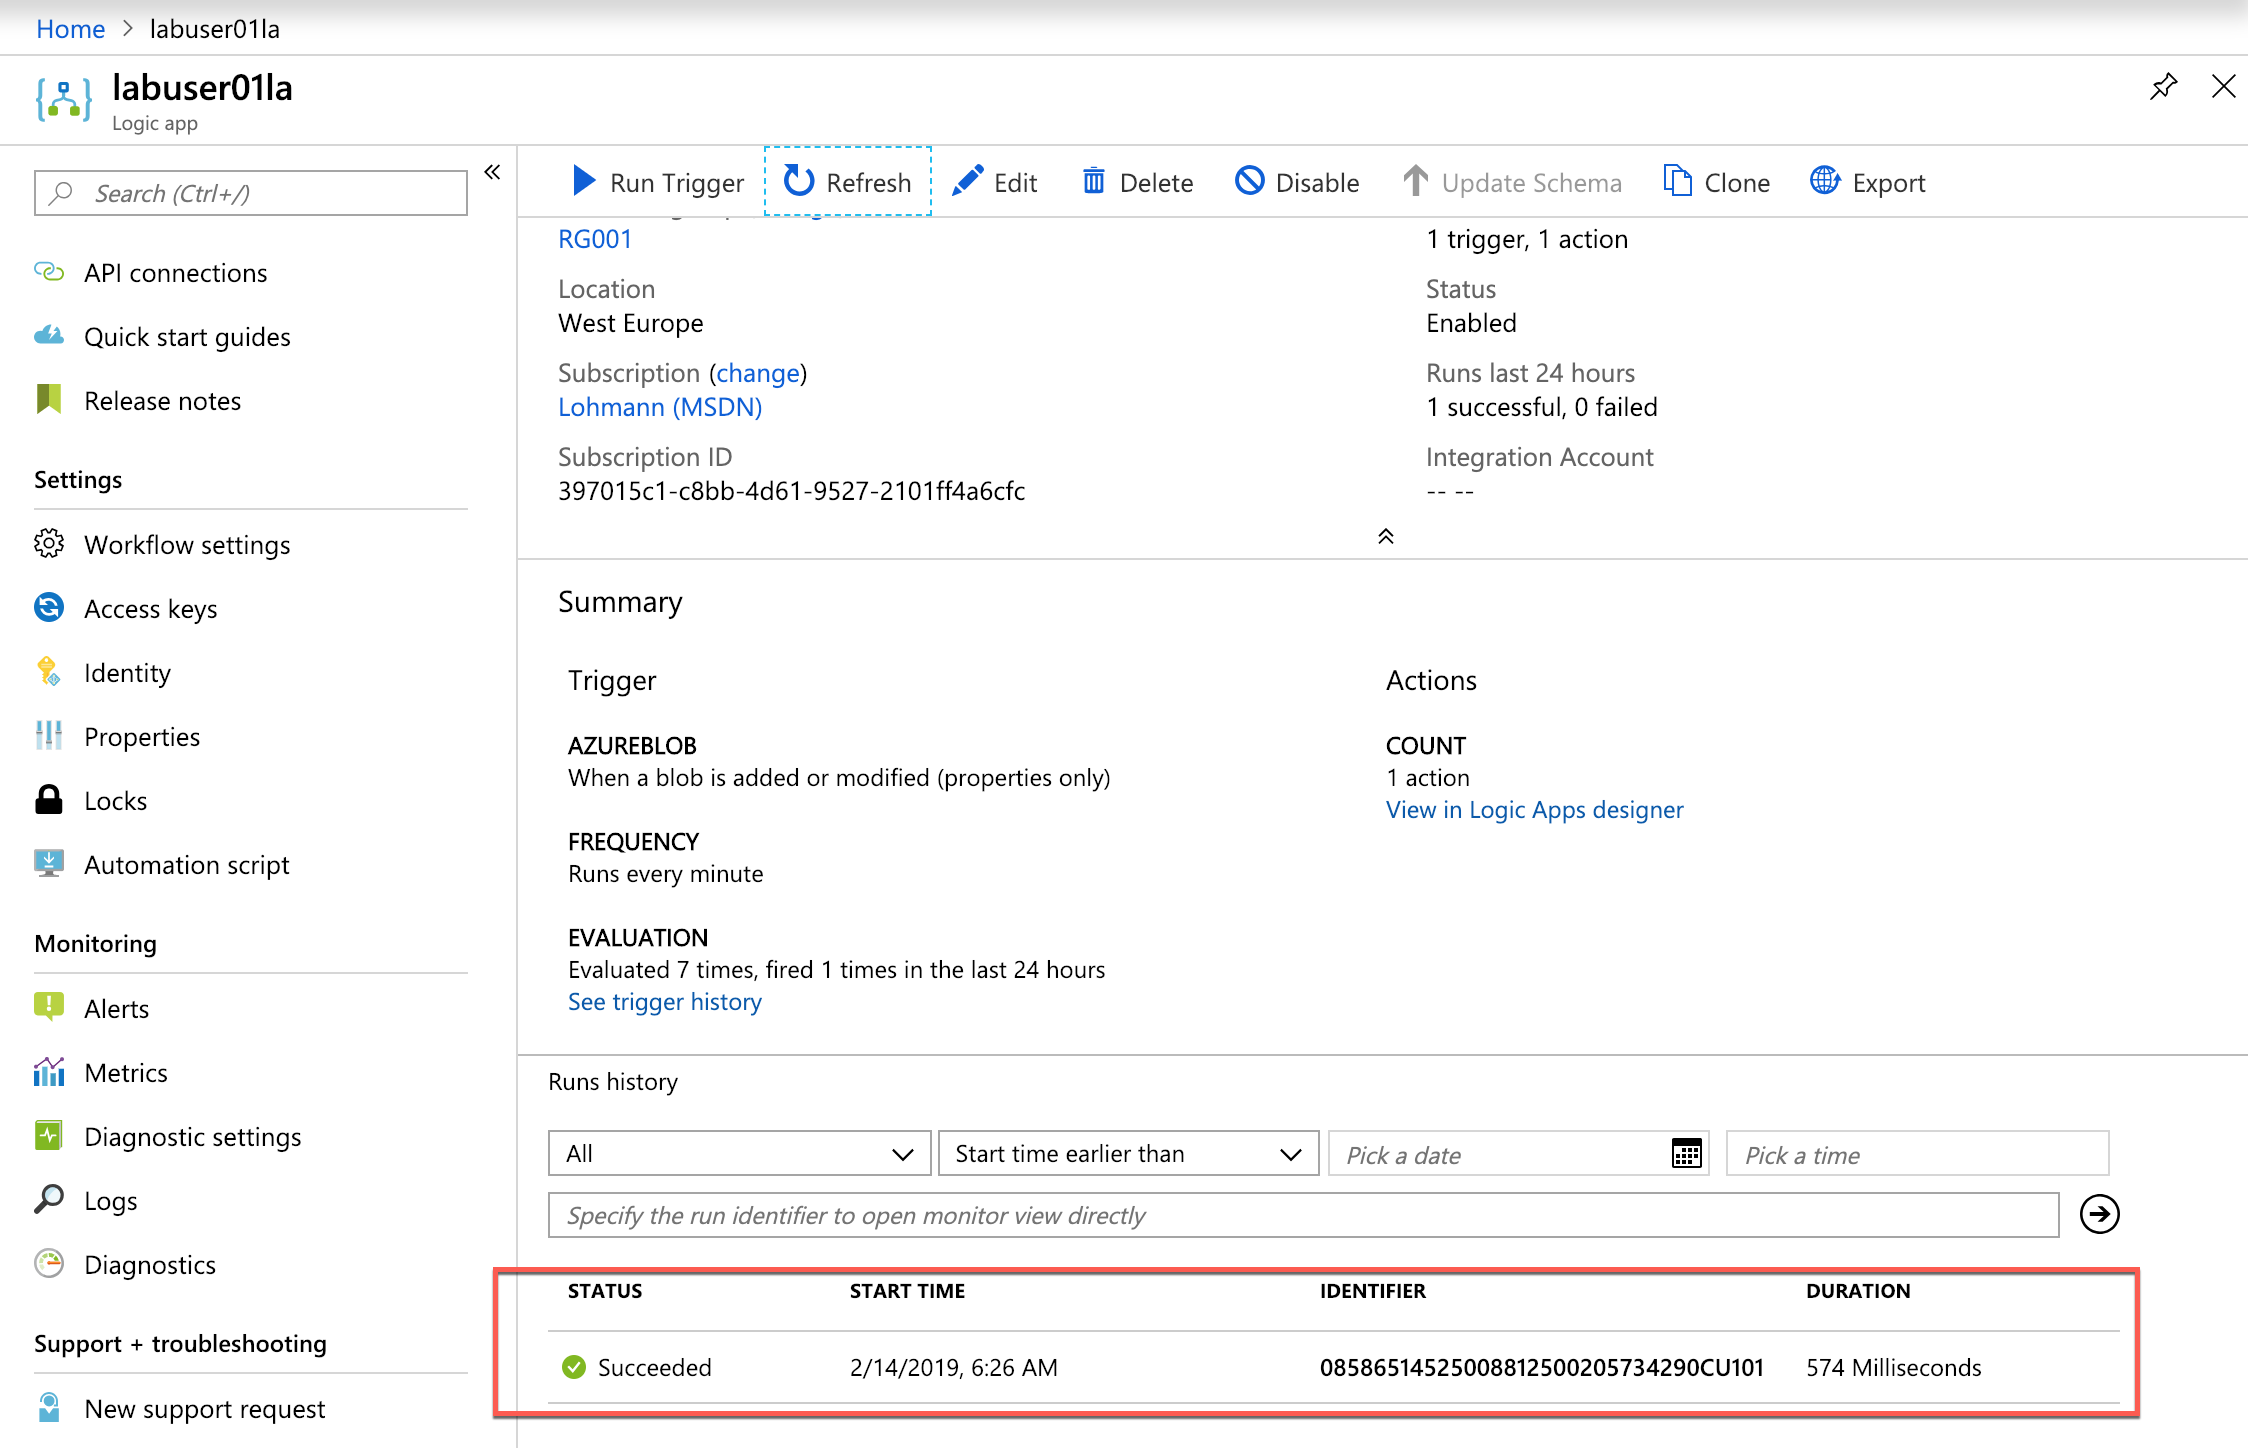
You can observe the process when you go to the Overview area of the service:
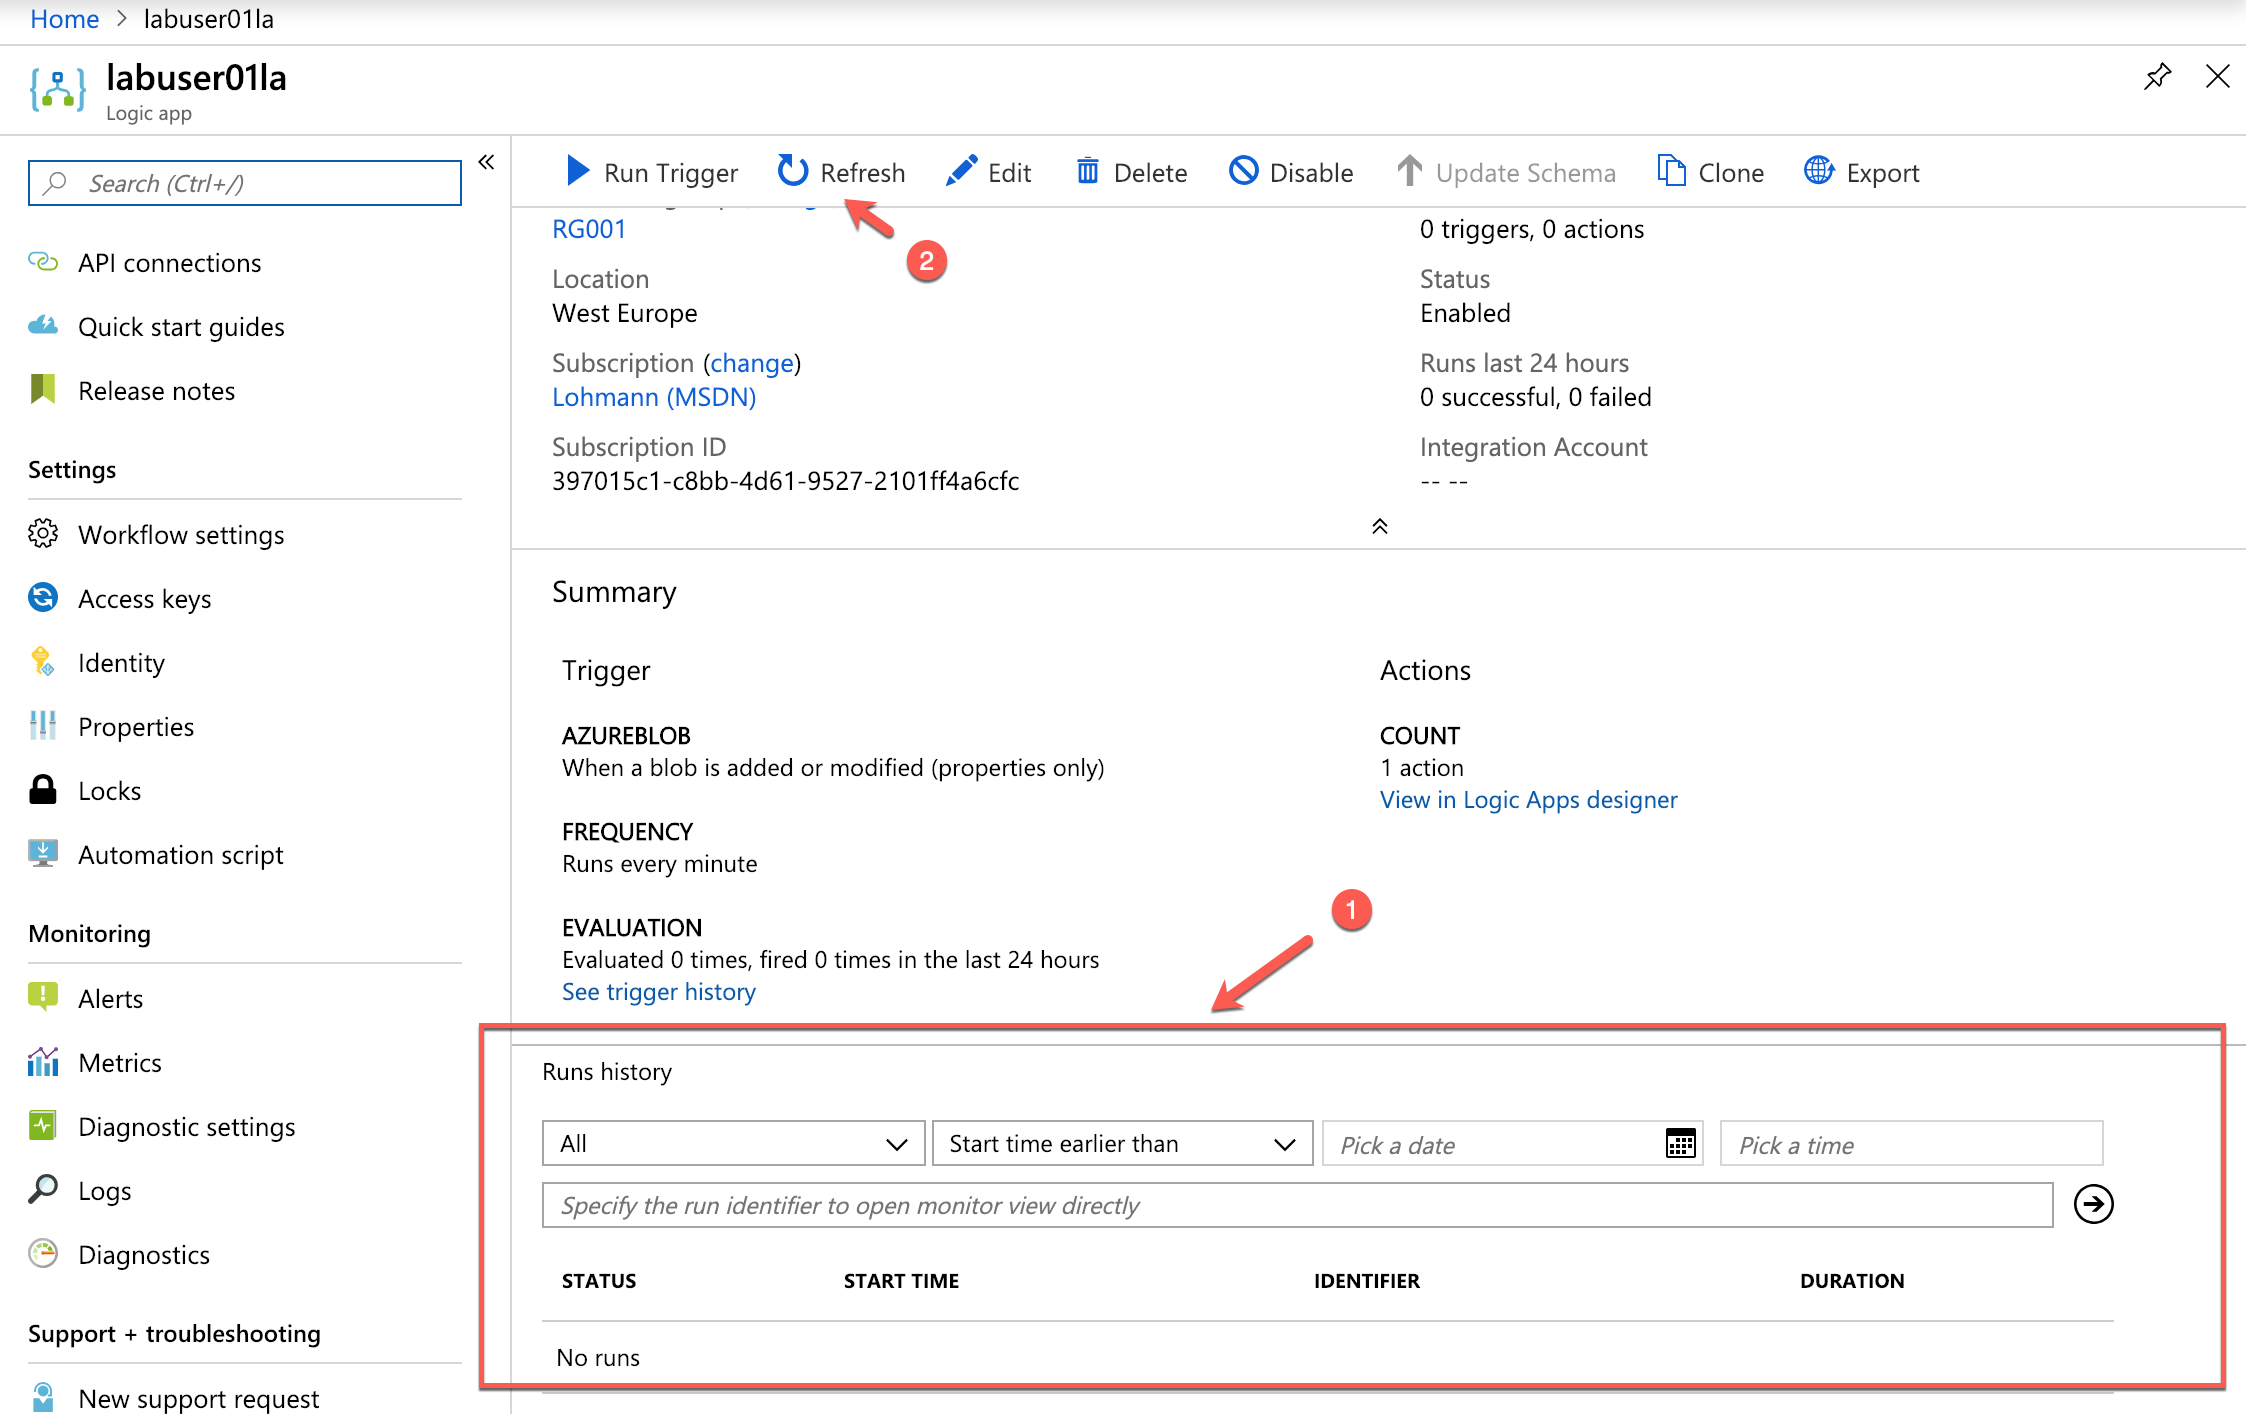
-
Eventually it should reach the ‘Succeeded’ state:
-
And you should see an email in your inbox like this:
Exercise 7: Challenge - Build an Approval Workflow with Azure Logic Apps
The last exercise in this lab is actually a challenge. Achieve the following:
- Build an approval workflow
- Images that are stored in the rejected container, trigger the creation of an approval workflow
- Approved images are moved into the accepted container
- Rejected images are deleted for good.
Yes, the setup that we created here is a bit over the top for this use case. But imagine how you can integrate approval workflows and other great workflow-like task into your serverless application with Azure Logic Apps.
Summary
In this hands-on lab you learned how to:
- Create an Azure Function App
- Write an Azure Function that uses a blob trigger
- Add application settings to an Azure Function App
- Use Microsoft Cognitive Services to analyze images and store the results in blob metadata
- Use Azure Logic Apps to build serverless workflows
This is just one example of how you can leverage Azure Functions to automate repetitive tasks. Experiment with other Azure Function templates to learn more about Azure Functions and to identify additional ways in which they can aid your research or business.